Creating Segments with Rules
Divide your visitors in segments and create more personalized and effective marketing campaigns.
Prerequisites
Before you start:
-
Log in to Content Studio.
-
Create a widget in your dashboard of type
Website KPIs.
Steps
1. Open the segment management window
-
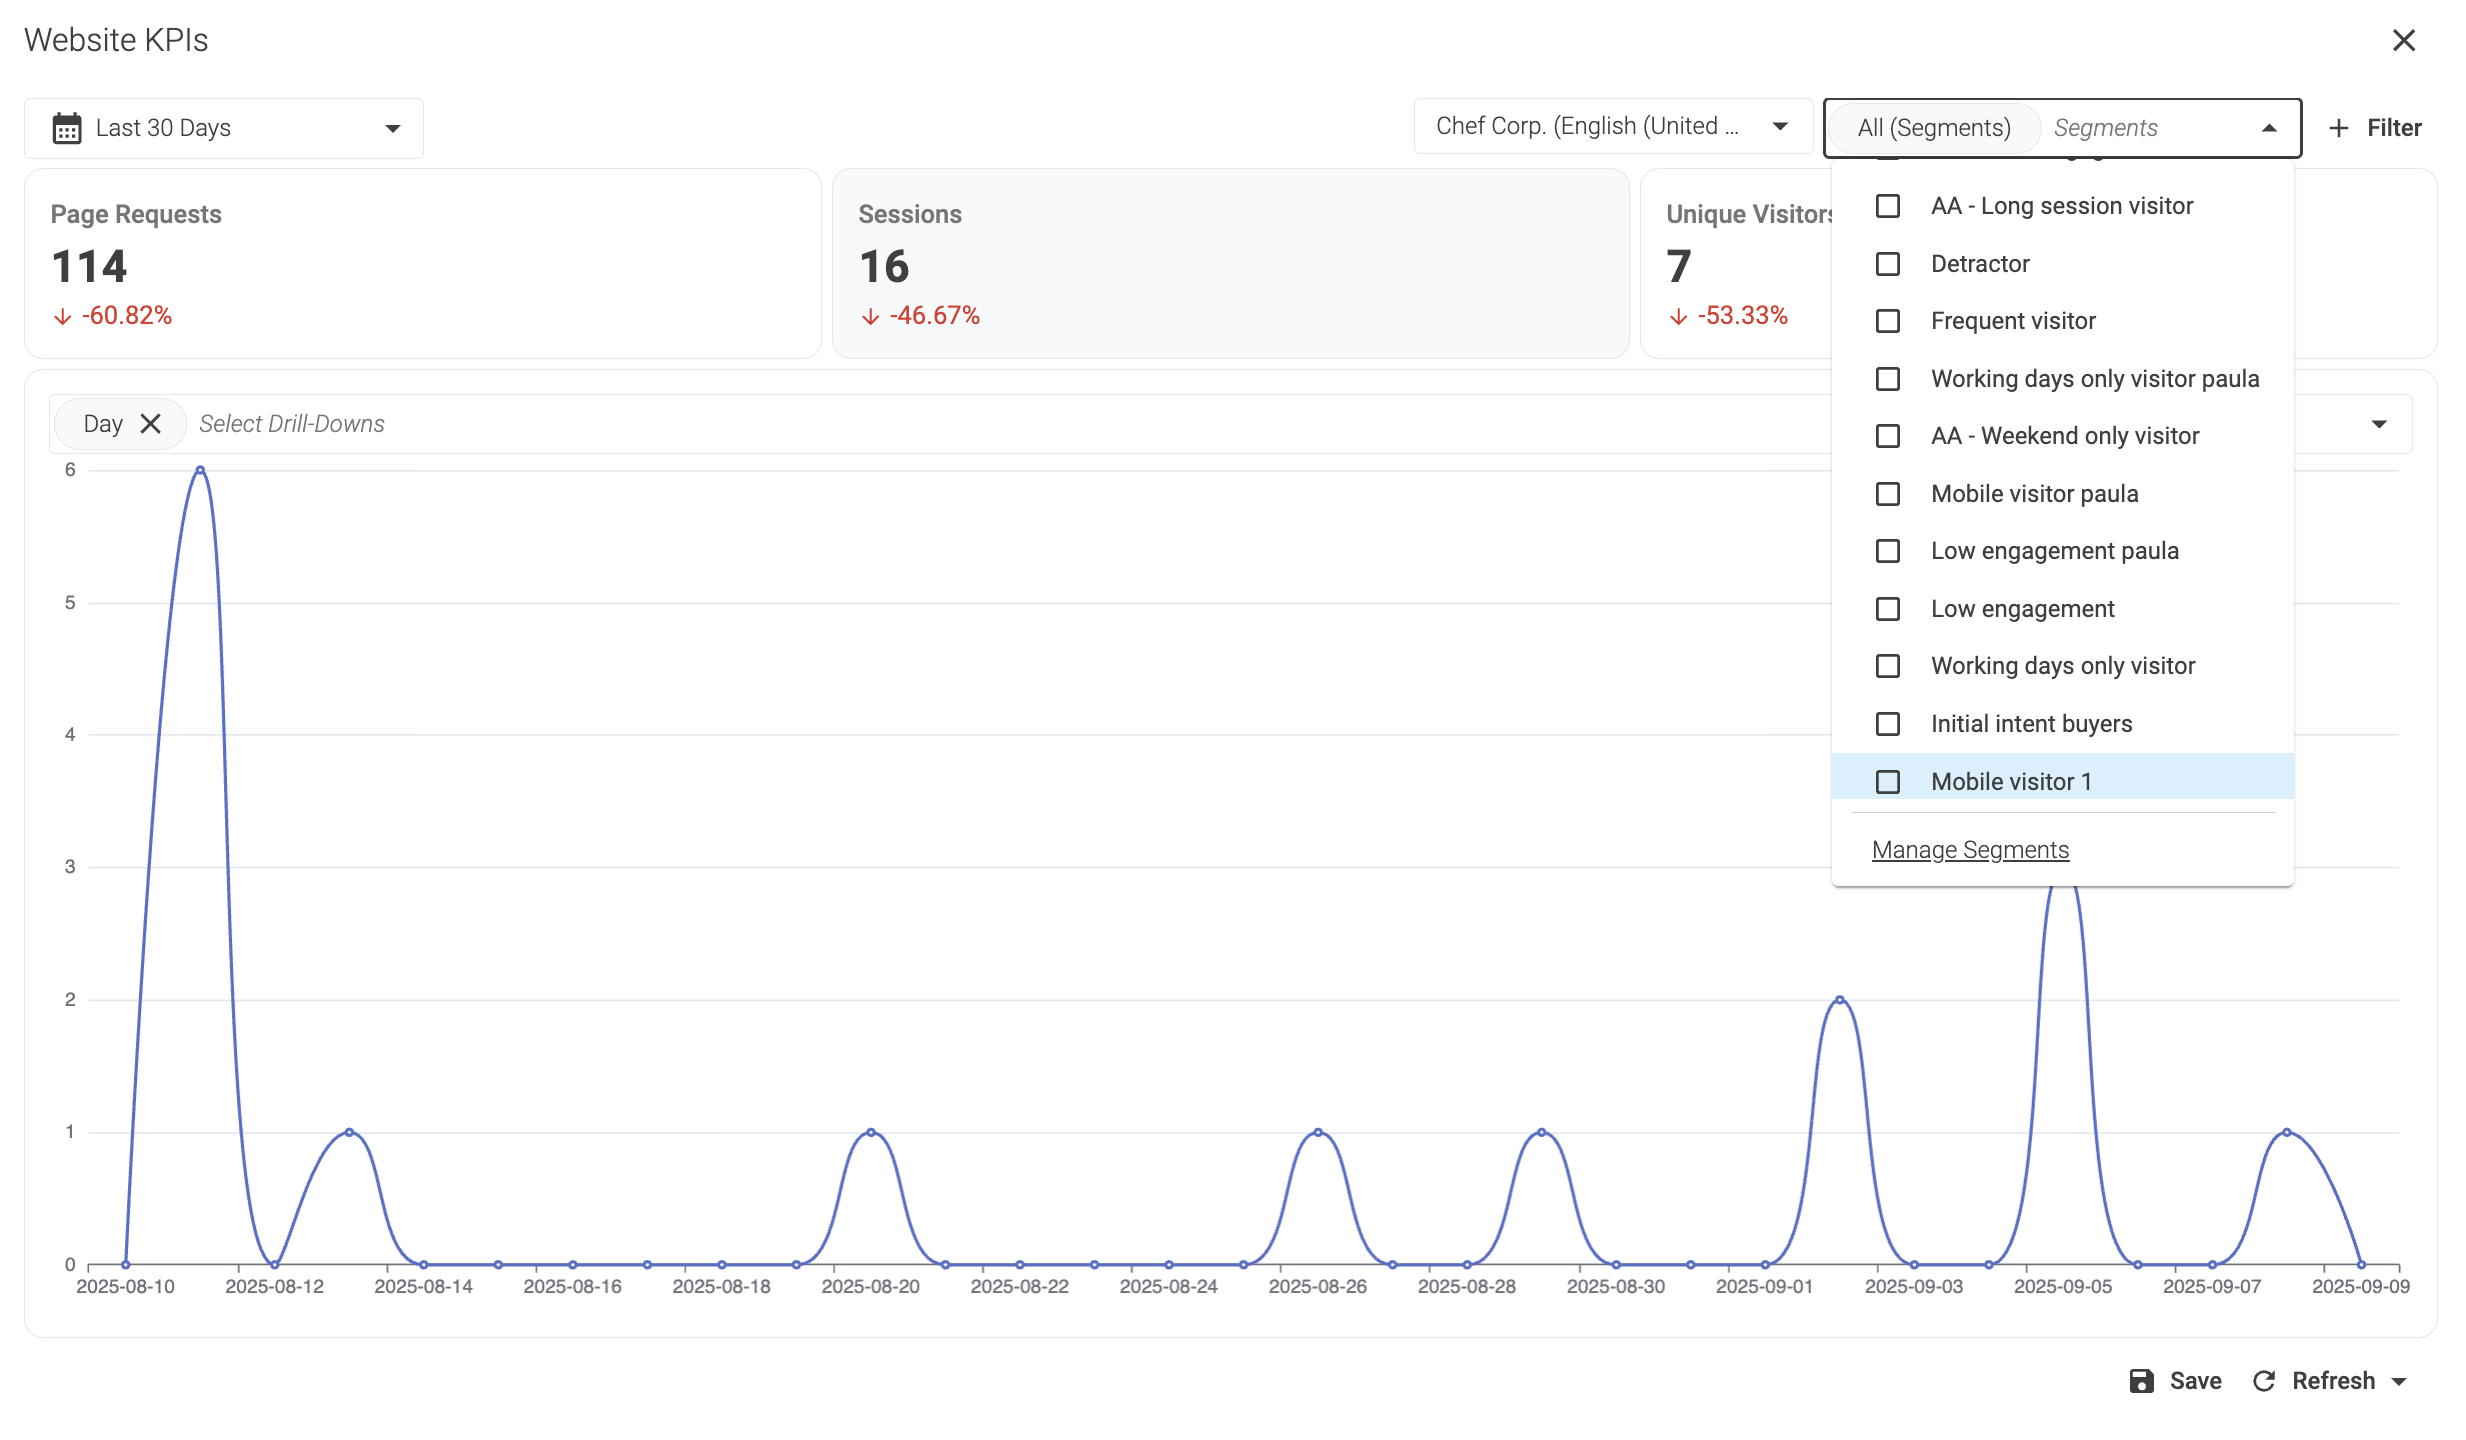
Filter data by segments in the
Website KPIswindow.

-
Select Manage Segments in the bottom of the
Segmentsdropdown menu.
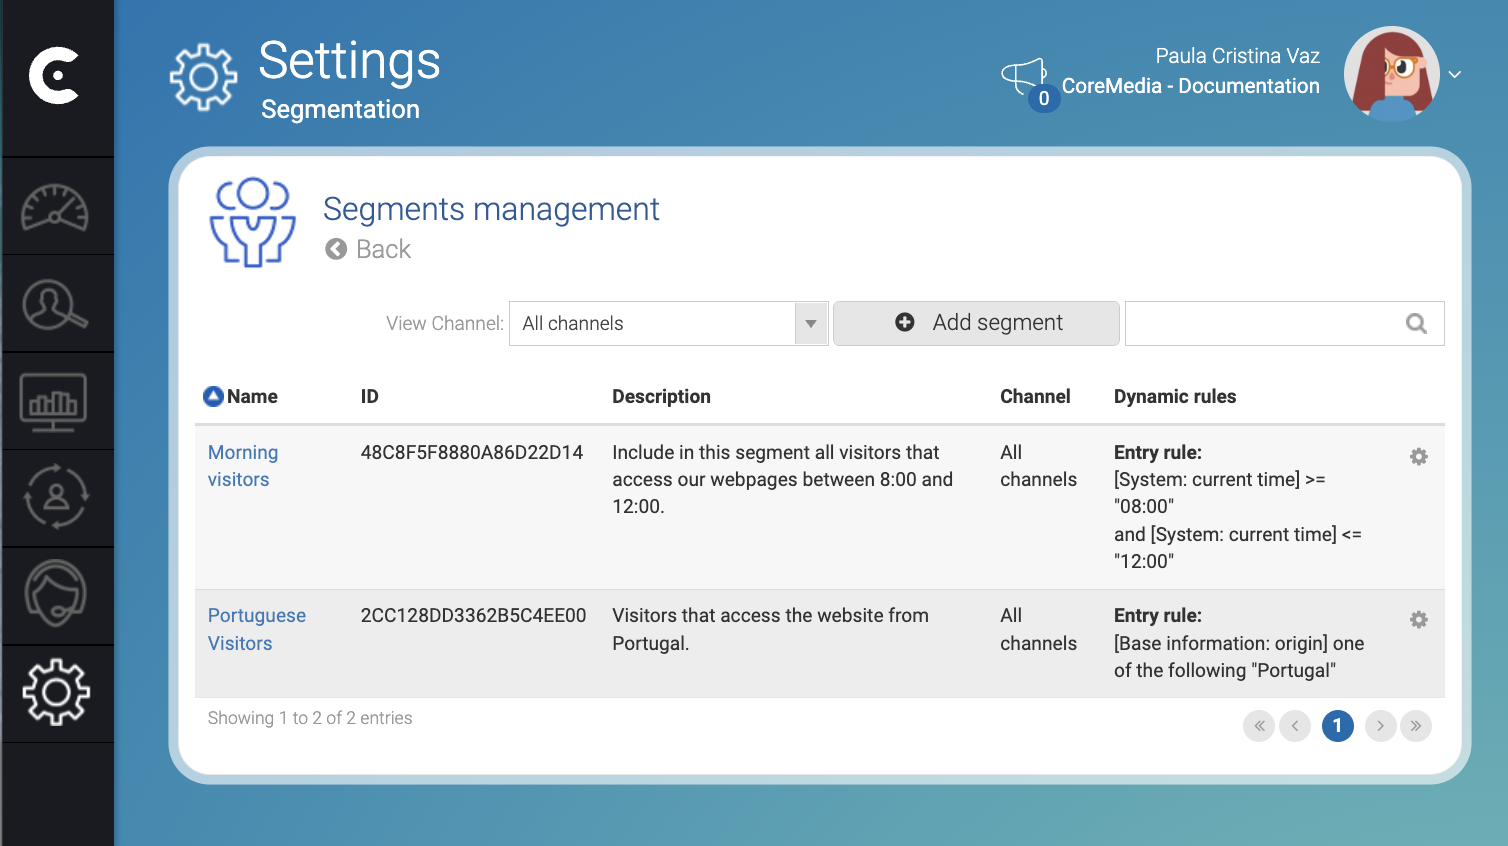
2. Add a new segment
-
Click Add Segment in the top right corner of the Segments management window.
-
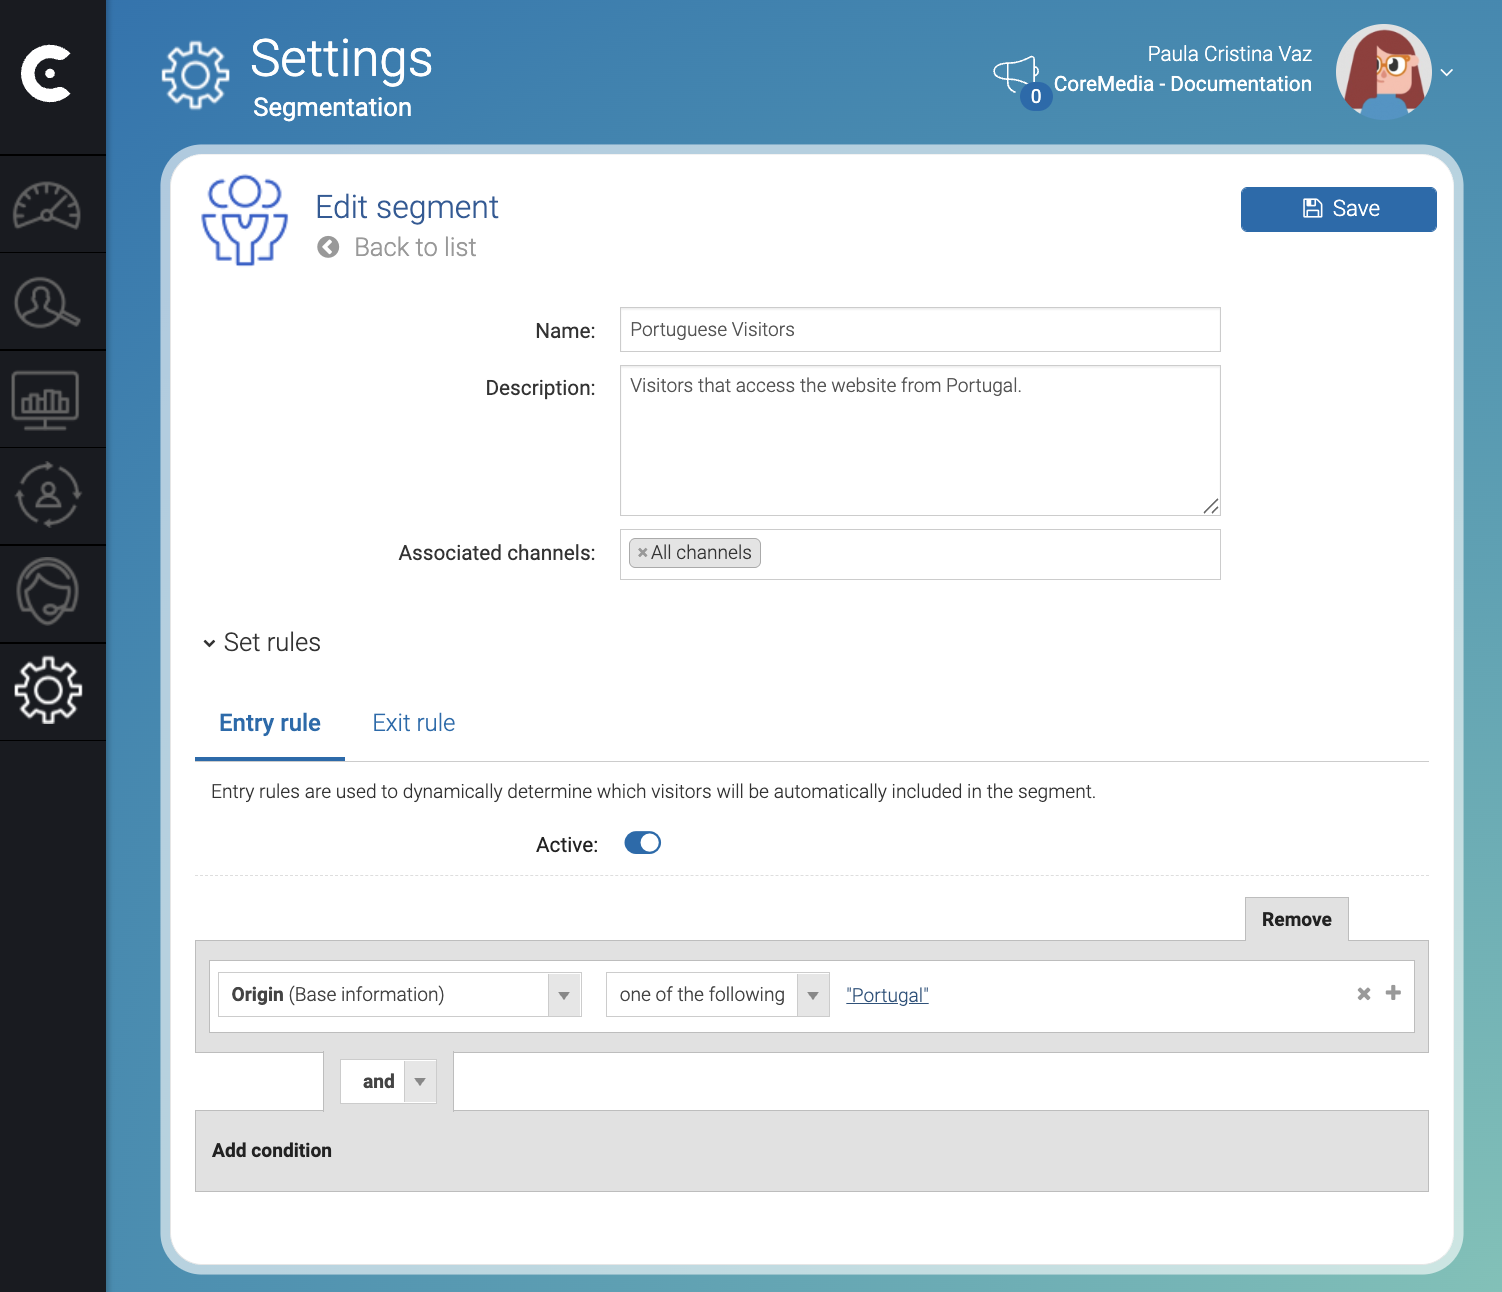
Fill the segment information:
-
Name: Give a meaningful name to the segment. For example,
Portuguese visitors. -
Description: Briefly describe the segment with meaningful information. For example,
Visitors that access the website from Portugal.
-
-
Click Accept in the bottom right corner of the Add segment window.
3. Add rules to the segment
-
Click Set rules.
-
Click the Active switch to activate the entry rules of the segment in the Entry rule tab.
4. Add conditions to the rule
-
Click Add condition.
-
Select a field. For example,
Originin the Select new field dropdown, . -
Select
One of the following. -
Click Click to set.
-
Select Country:
Portugalin the Region window. -
Click Add.
-
Click Accept.
-
Click Save in the top right corner of the Edit Segment window.
Result
After you click Save the Engagement Cloud creates the segment and starts collecting visitors that match the entry rule conditions.
In the top left corner of window Edit segment, click Back to list to see the list of existing segments and you can now target the segment in campaigns.
For information on how to create and manage campaigns, visit the following links:
Note that you need to register.