Quickly Unpublish an Article from a Live Site - CMCC 10
From time to time, you may need to remove content from your live site fast and without much complexity. Learn how to configure the visibility of a content item and use this as a workaround when time is of the essence.
This guide applies to CMCC 10
This how-to guide has yet to be updated for the most recent product release. Some of the elements in this guide might not work as described, if you are on the latest version.
Thank you for your patience!
 What you'll learn
- Quickly depublish an article that may be linked to several pages on your live site
 Prerequisites
- CoreMedia Studio
- Knowledge about the CoreMedia system's file structure, configuration and operation
 Time matters
 Should I read this?
As an editor, you sometimes need a quick solution to ensure that a specific content item is no longer visible on a live site. Instead of using the Withdraw function, you can use the Validity settings – not to remove the content, but to make it invisible for the public – instantly.
|
The following steps are not a permanent solution but a workaround. |
Steps
-
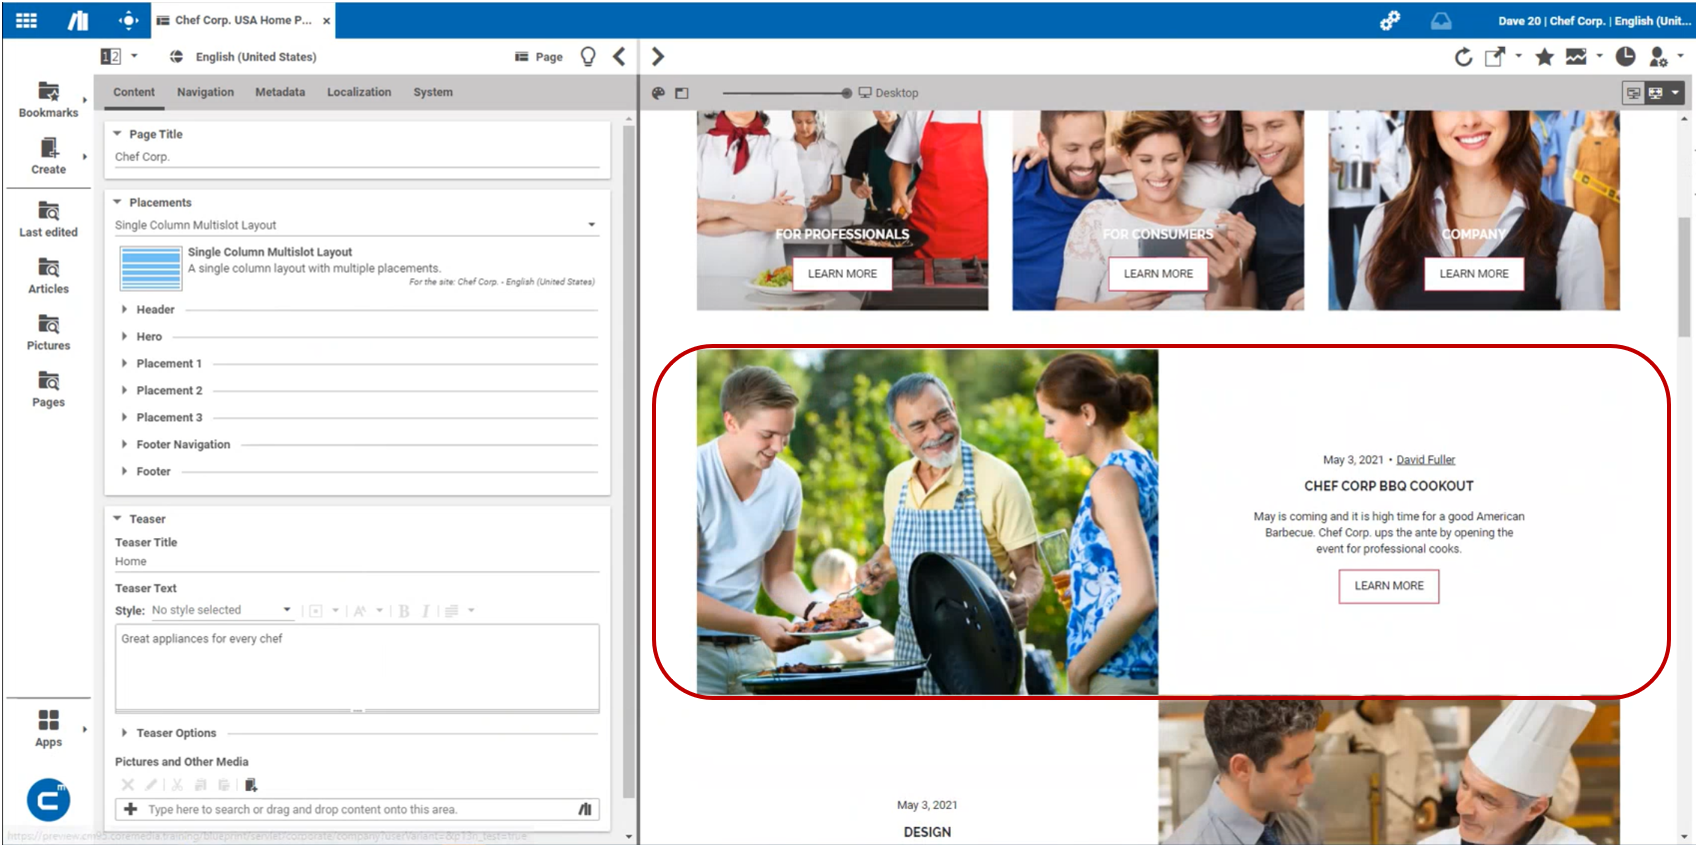
Go to the content that you want to remove. In our example, we want to depublish the article titled Chef Corp BBQ Cookout, indicated by the red frame below:
-
Just for reference, if you want to remove an article, you would usually go to the article, open the Library and use the Withdraw button:
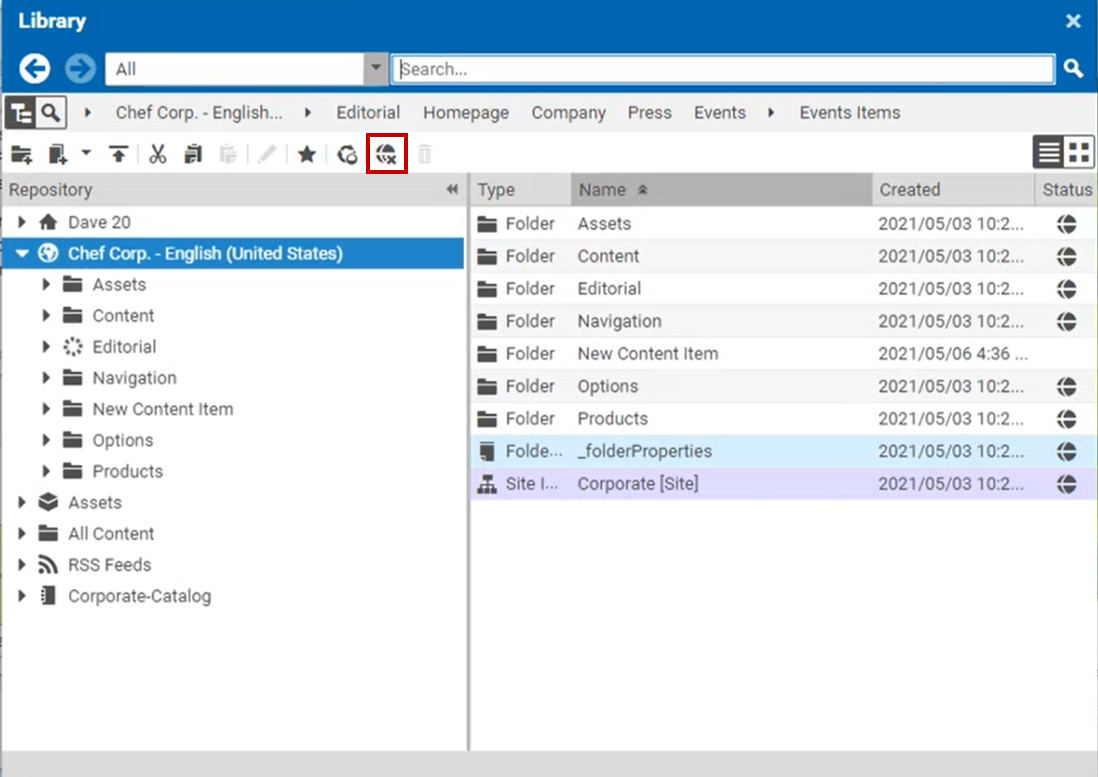
In this example, using the Withdraw function is not a quick or easy option. Perhaps because one of your editor colleagues is out of the office and they cannot assist you.
As you can see in the following screenshot, using the Withdraw function can also fail because an article may be linked or referenced on several pages:
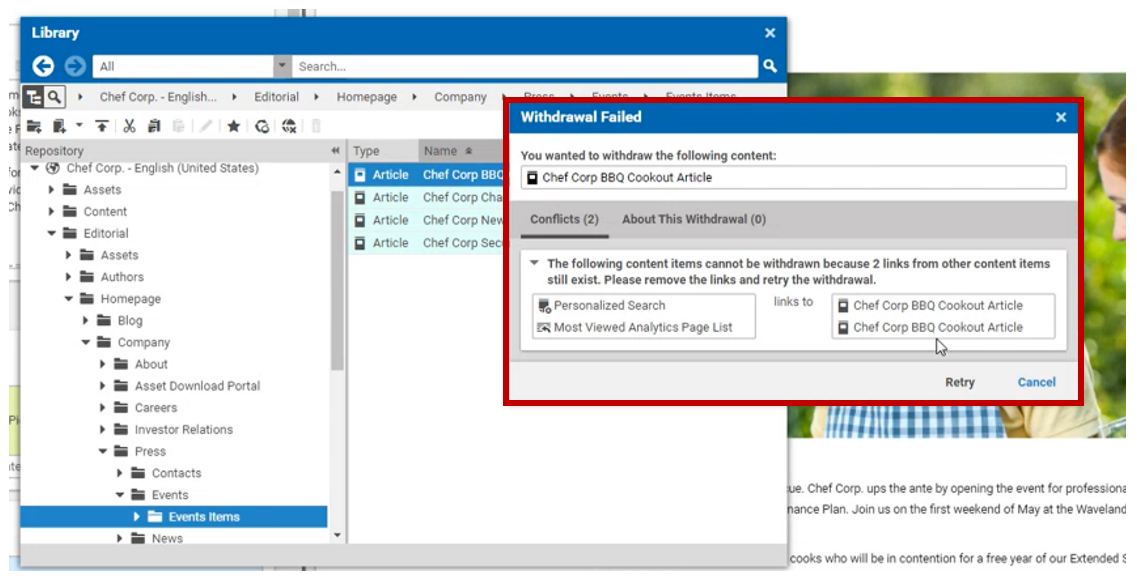 Therefore, by performing the following steps you can simply edit the visibility settings for this article when time is of the essence and the content needs to be invisible on your live site immediately.
 -
Scroll down to the property Validity and click on the calendar symbol in the Valid To field.

-
Assuming today is May 17th, 2021. If you enter any date before today, the article will not be visible anymore.

-
In the preview, you are then notified that this content is invalid, and you need to click on the icon to Finish editing and apply all changes:
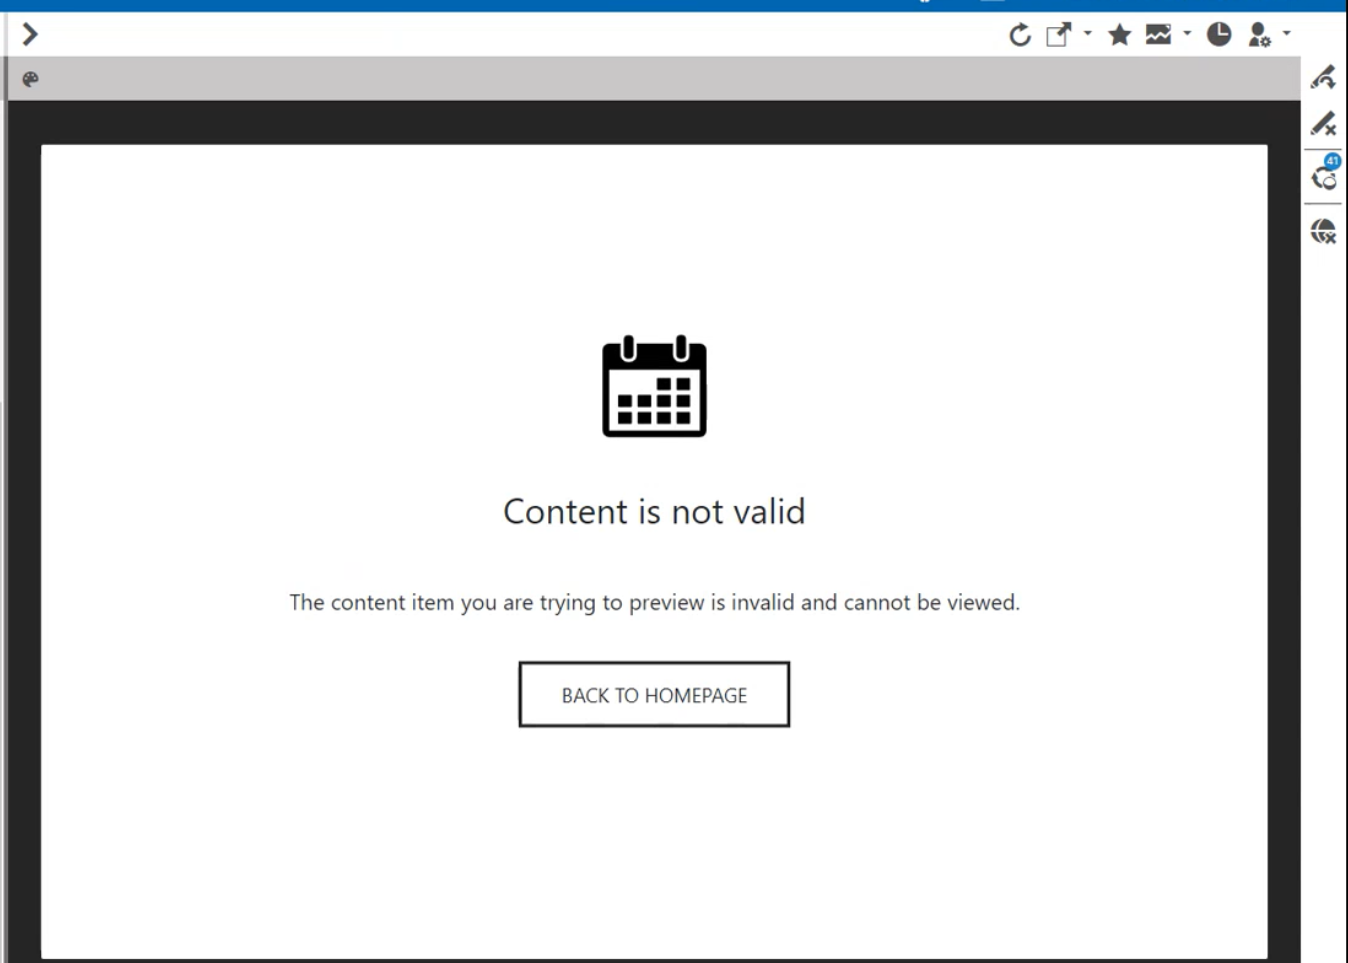
If you want, you can now go ahead and check if the article has really disappeared from the site, but if you picked a date in the past, it should now be “gone”.
Now that you have reached your initial goal, you have all the time in the world to withdraw the article permanently. In the next step, you therefore need to publish the changes in regards to this article.
-
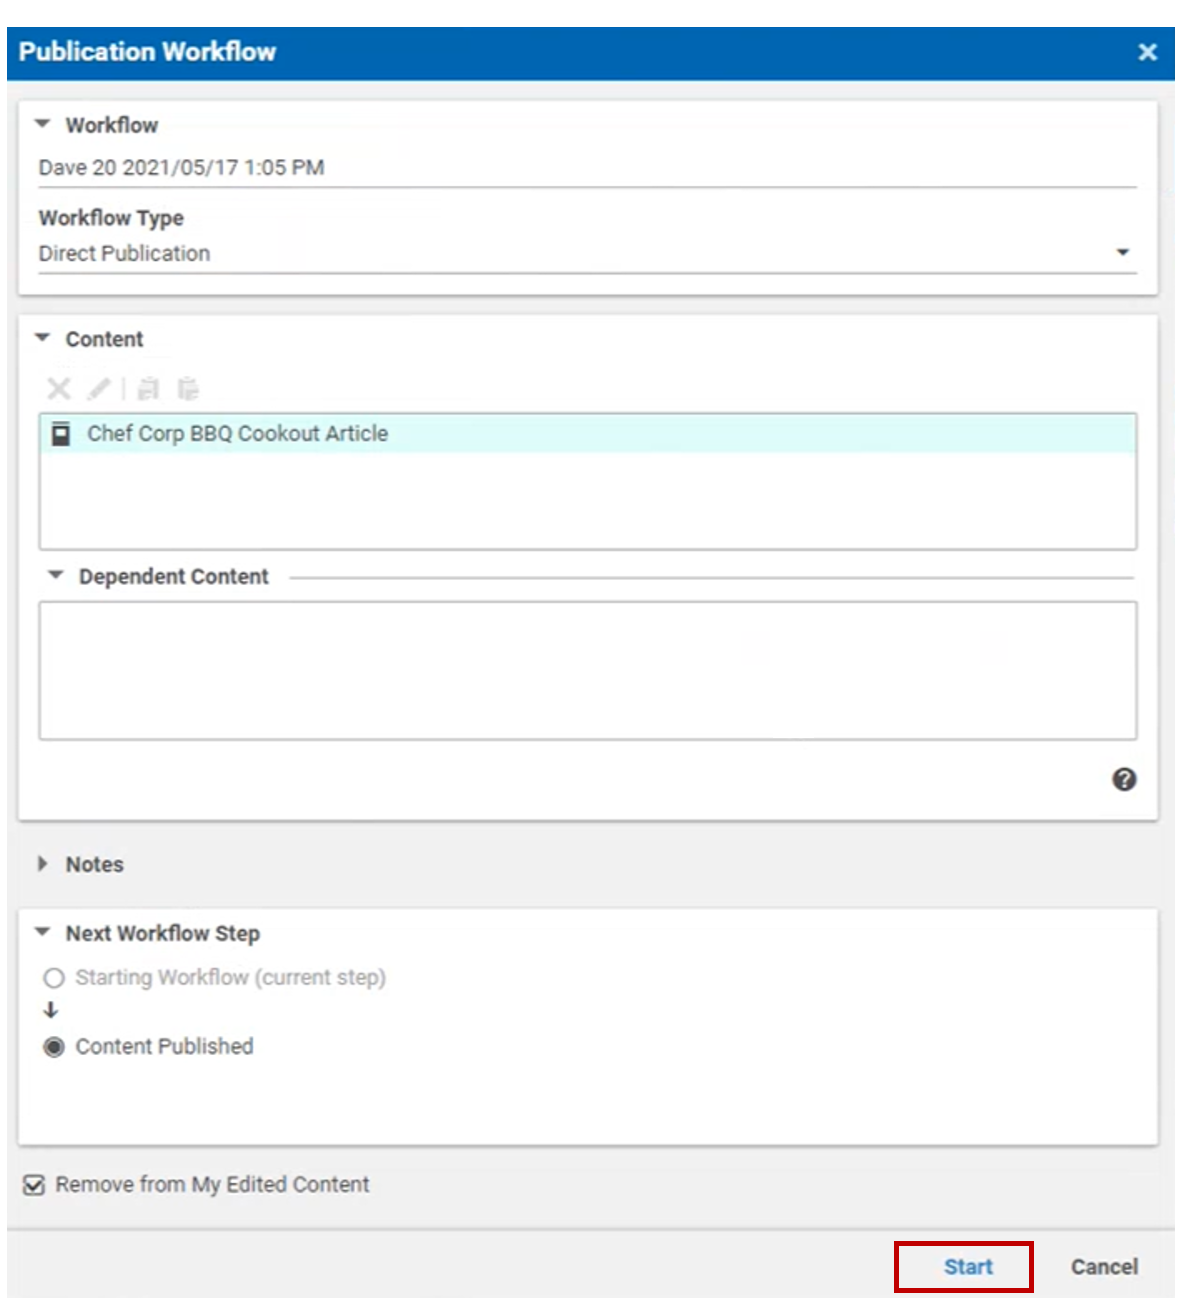
Open the Library and select your article. When the article is highlighted in the list of content items in the Library, click on the Publish button. The Publication Workflow dialog appears. Click on Start.
-
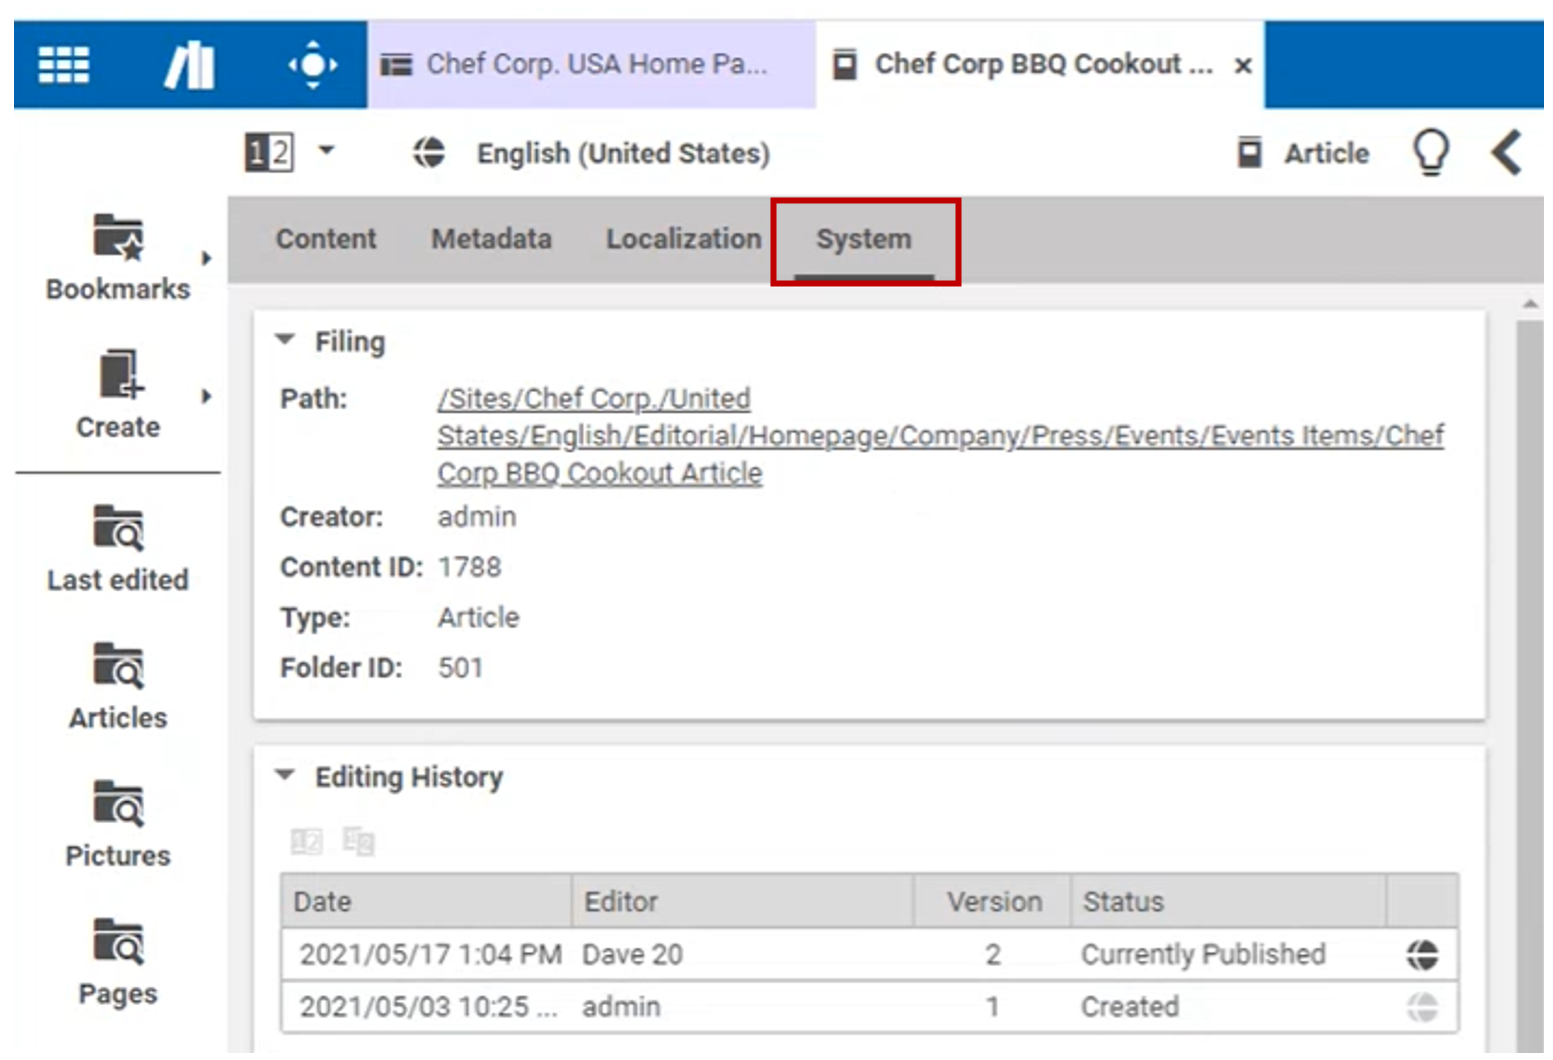
Now, even though the content is no longer visible, the content is still on the server and is still linked on several pages. To find out, where exactly it is still linked and must be removed, open the System tab.
-
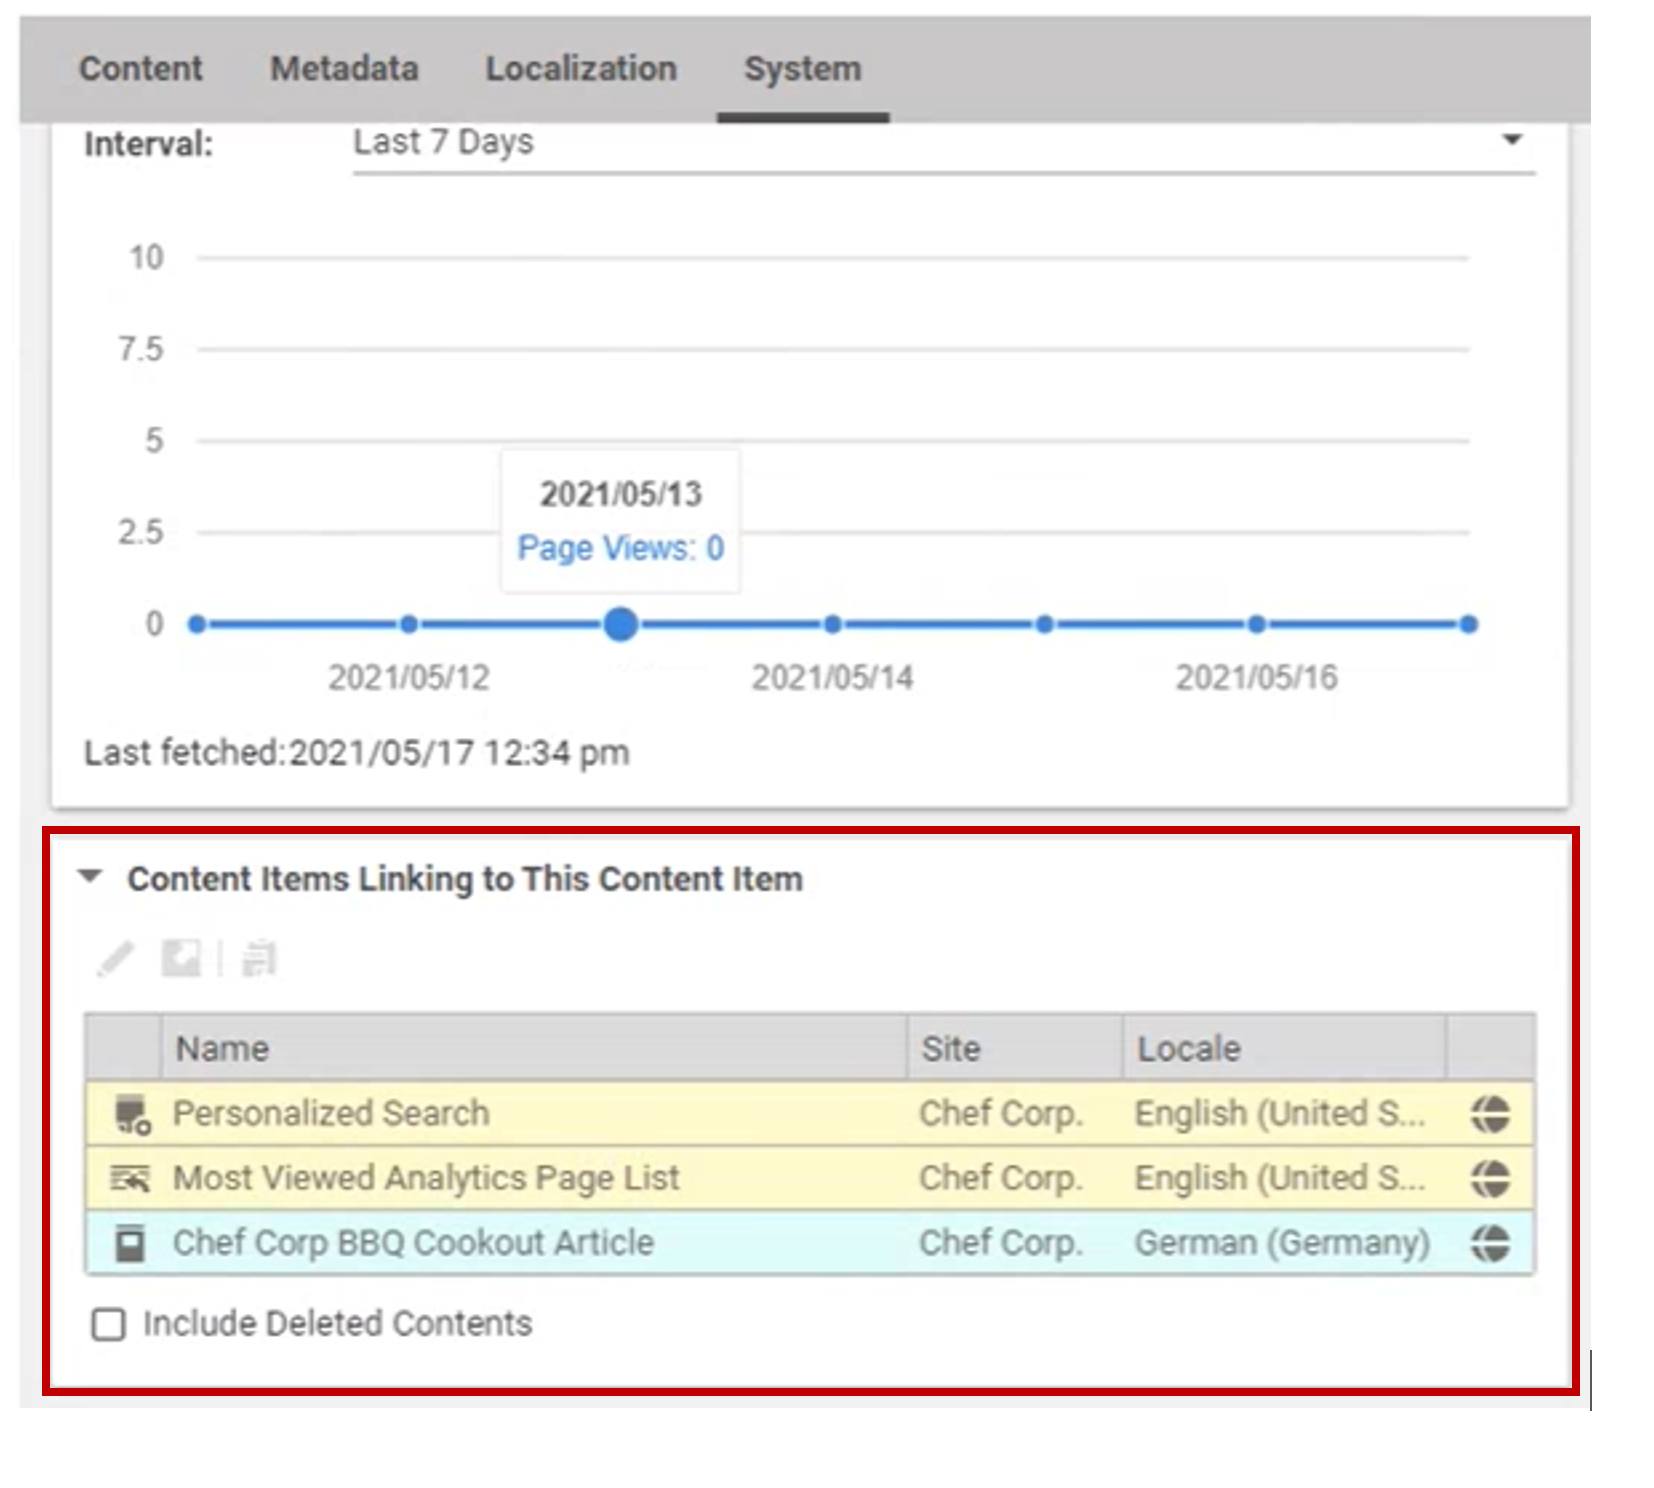
The list in the property Content Items Linking to This Content Item provides an overview and you can now open all Content Items by double-clicking on them. Tip: you can also select all and double-click once, this will also open all content items in a new tab.
-
Now you go on each page and delete the article. Go to the property Content Items linking to this Content item field. Open all Content Items in Studio.
-
For all content items: check on all tabs, if there is a link to the target content item. If you find a link, remove it. Approve your changes.
-
Go to the property Content items linking to this Content item of your target content item once more and check if the list is empty. If there are still content items in this list, check for these items again and make sure to remove them. Finally, publish all your changes. Then: depublish your target content.
-
Once you have removed the article on all pages, make sure you click on Apply All Changes one more time. Now you’re done!
