


Blueprint Developer Manual / Version 2512.0
Table Of ContentsEvergage uses different naming conventions than the CoreMedia personalization extension and the other supported personalization providers. The following table shows the mapping of Evergage terms to CoreMedia terms:
Prerequisites
Installation of the
p13n-coreextension and thep13n-adapter-genericextension as described in Section 6.4.2.1, “Installing Personalization Hub”Configuration of the
p13n-coreExtension as described in Section, “Configuring the p13n-core Extension”.Configuration of the
p13n-adapter-genericas described in Section, “Connecting Evergage and Dynamic Yield with Studio”
Create a new web campaign in the Evergage portal. Add the required number of experiences (one for each variation) and switch to the setup menu.
Set the global campaign settings like user targeting, goal and metric.
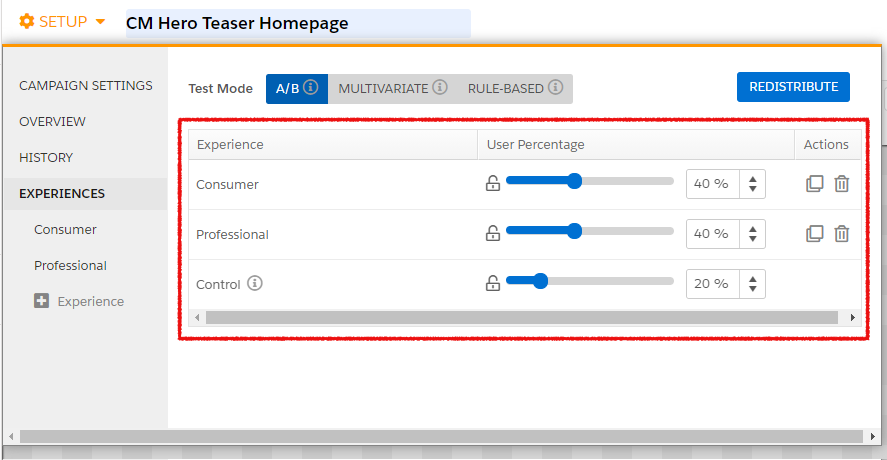
Switch to the experiences panel. Set the test mode and traffic allocation, name the experiences, and set each experience to type Personalize.
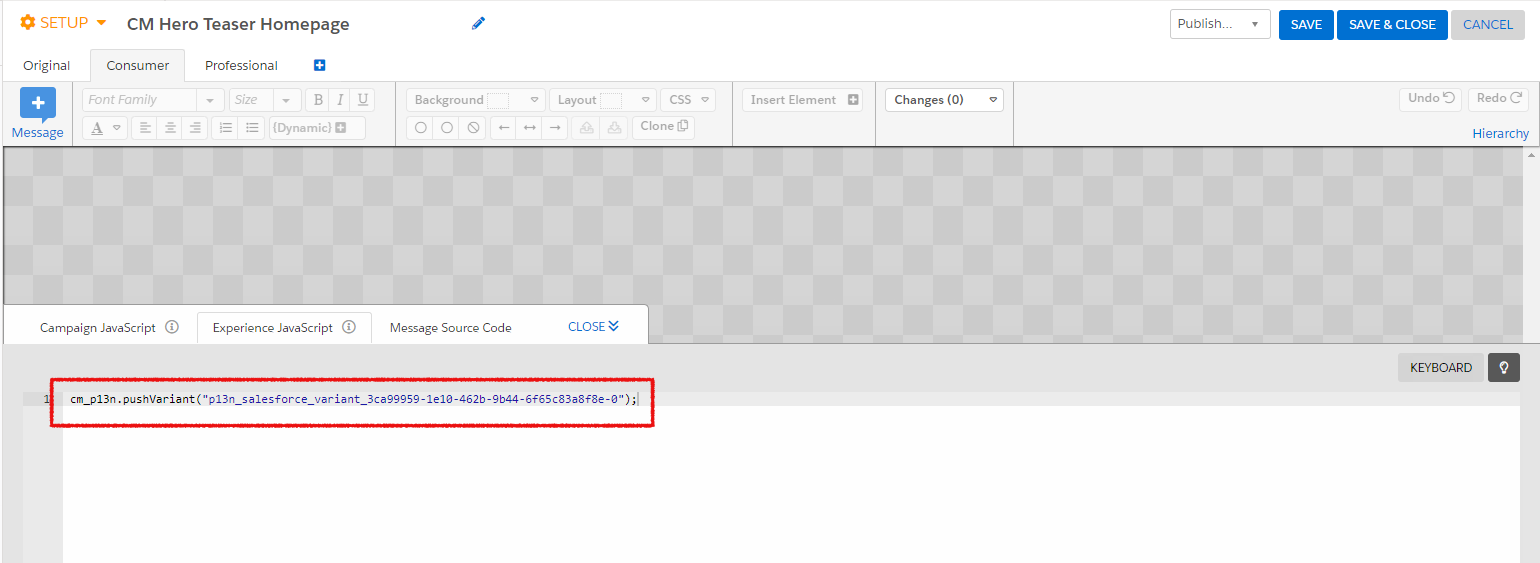
Add the JavaScript snippets to connect the variations to CoreMedia. For this open the mirrored experience definition (see Section, “Creating Experience Definitions in Studio”) in CoreMedia Studio. For each variation copy the Javascript snippet to the clipboard, change back to the Experience JavaScript tab and paste the JavaScript.
The segmentation use case allocates the customer base to a set of segments.
Creating Segments
For the segmentation use case you have to create an External Segment
content item for each segment you want to use in the <Site Root>/Options/Personalization/Segments/evergage
folder of the site. For the content name use lower- and upper-case letters, numbers,
minus and underscore, no special characters are allowed.
Create a new web campaign and add an experience for each segment.
Open the setup menu and switch to the experiences panel.
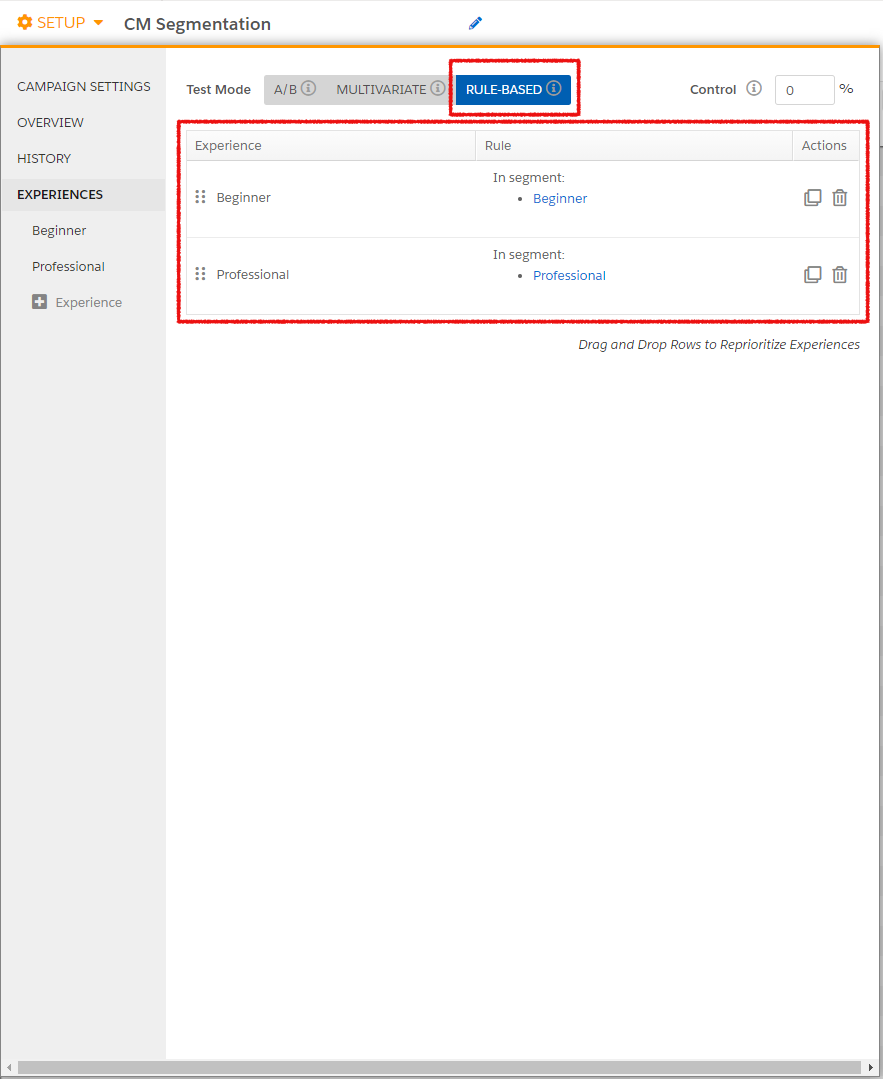
Set the test mode to Rule-Based and set traffic allocation for Control to 0%. Afterwards edit each experience: Set its name and add a targeting rule with the fitting segment.
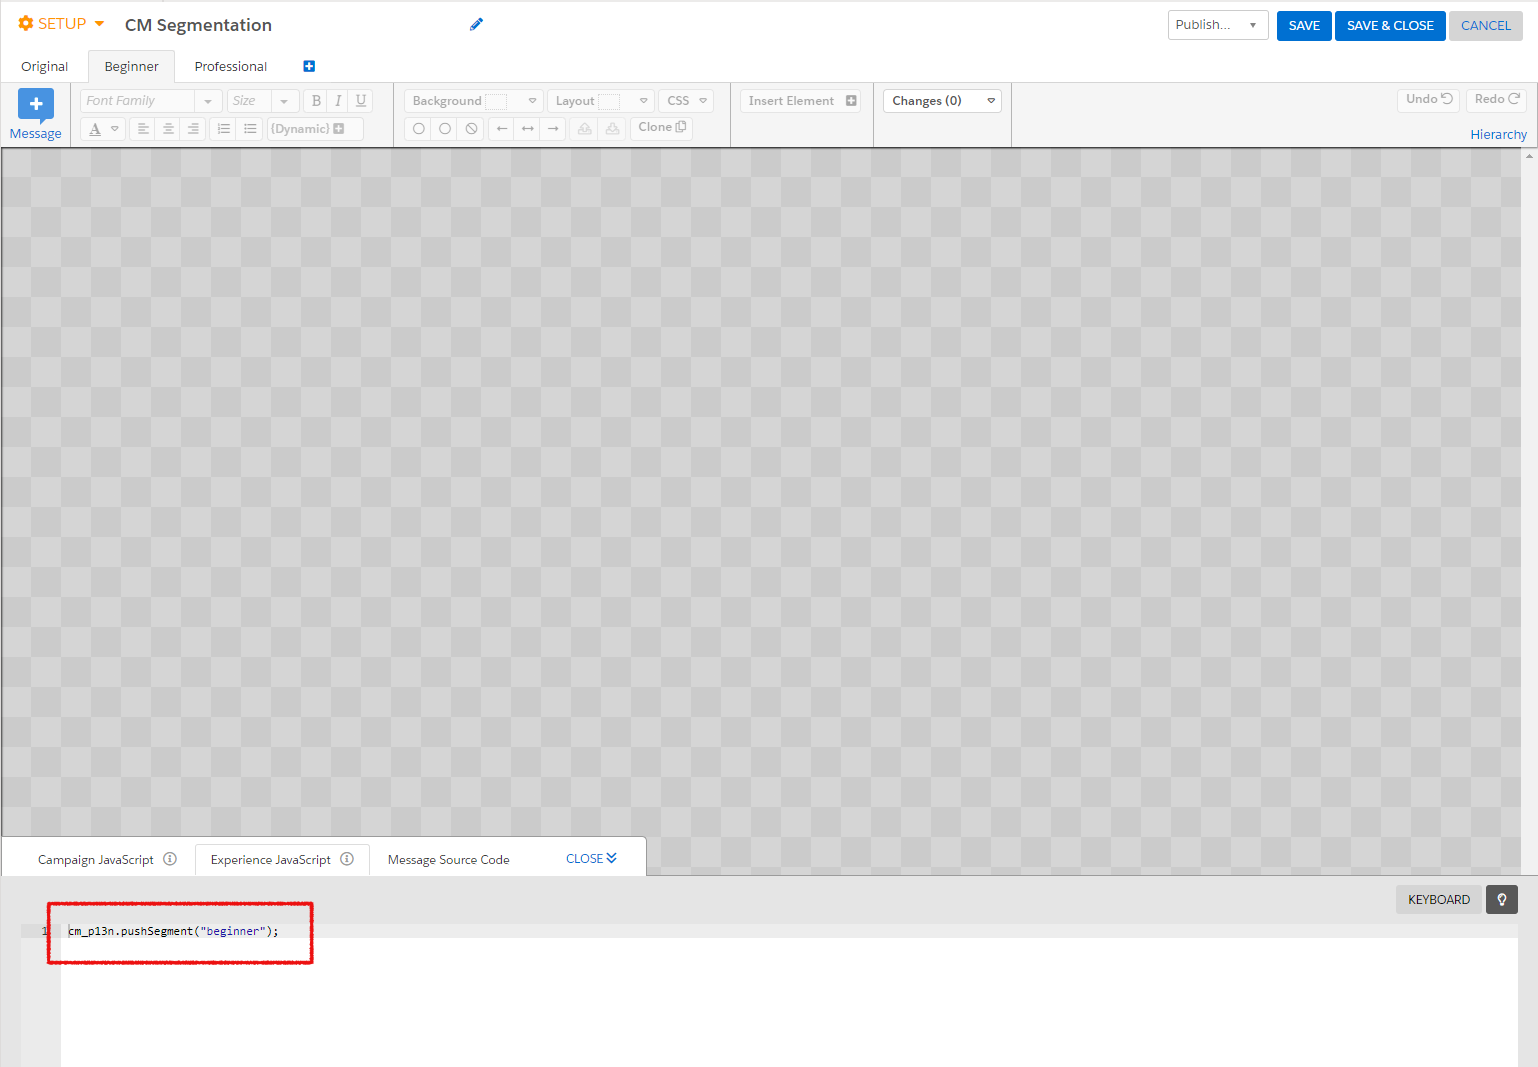
Add the JavaScript code for connecting the segments to CoreMedia. Add the following code for each experience, substituting the parameter
segment_namewith the name defined in CoreMedia (see Section, “Creating Experiences for Segmentation”).cm_p13n.pushSegment("<segment_name>");
The CoreMedia JavaScript frontend integration code - triggered by the Evergage JavaScript - dynamically loads content via AJAX from the CAE backend and injects it into the already displayed page. To minimize visually disturbing effects, such as elements flickering, popping up or moving around, during these page updates it is essential for the CoreMedia code to get notified when Evergage has finished processing all decisions. Therefore, a special campaign must be added, which must always be executed last by giving it the lowest priority:
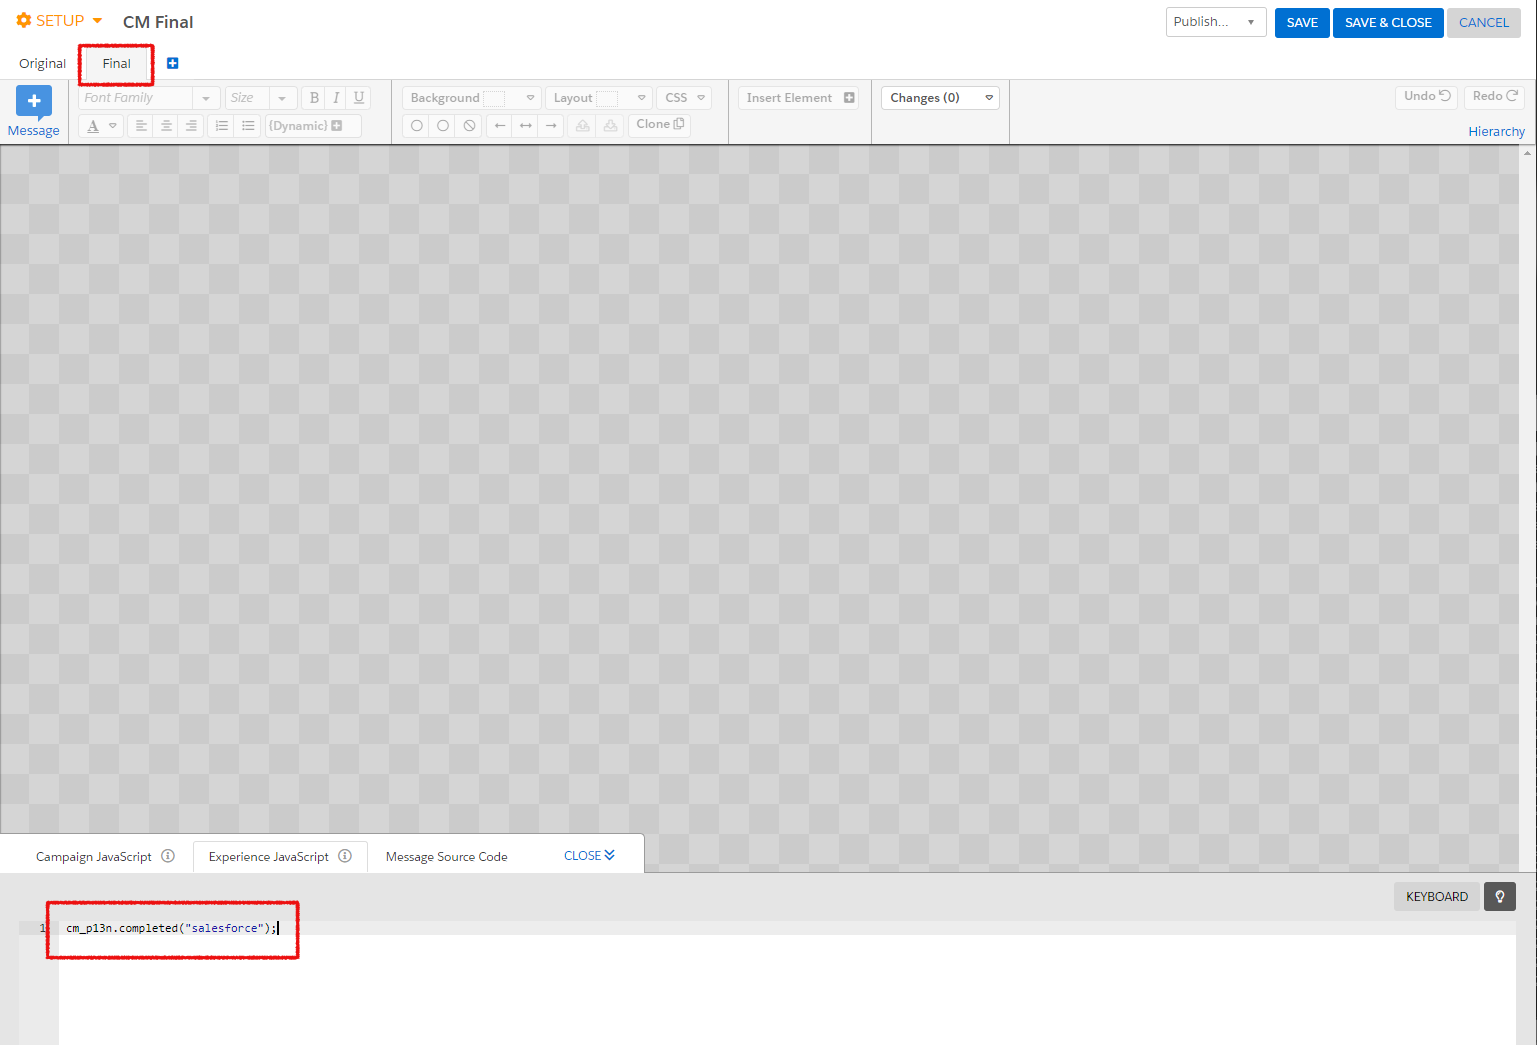
Create a new campaign, named CM Final.
Set its priority to a lower value than all the other CoreMedia campaigns.
Set its Test Mode to
A/B.Add a single experience named Final and allocate 100% traffic to it.
Set the experience's JavaScript code to:
cm_p13n.completed('evergage');.

Note
Do not set any targeting or other rules, the experience must run on every page load.
