Table of Contents
| CoreMedia Commerce feature |
On a website, the 360°-View enables a user to rotate through the pictures by using touch controls.
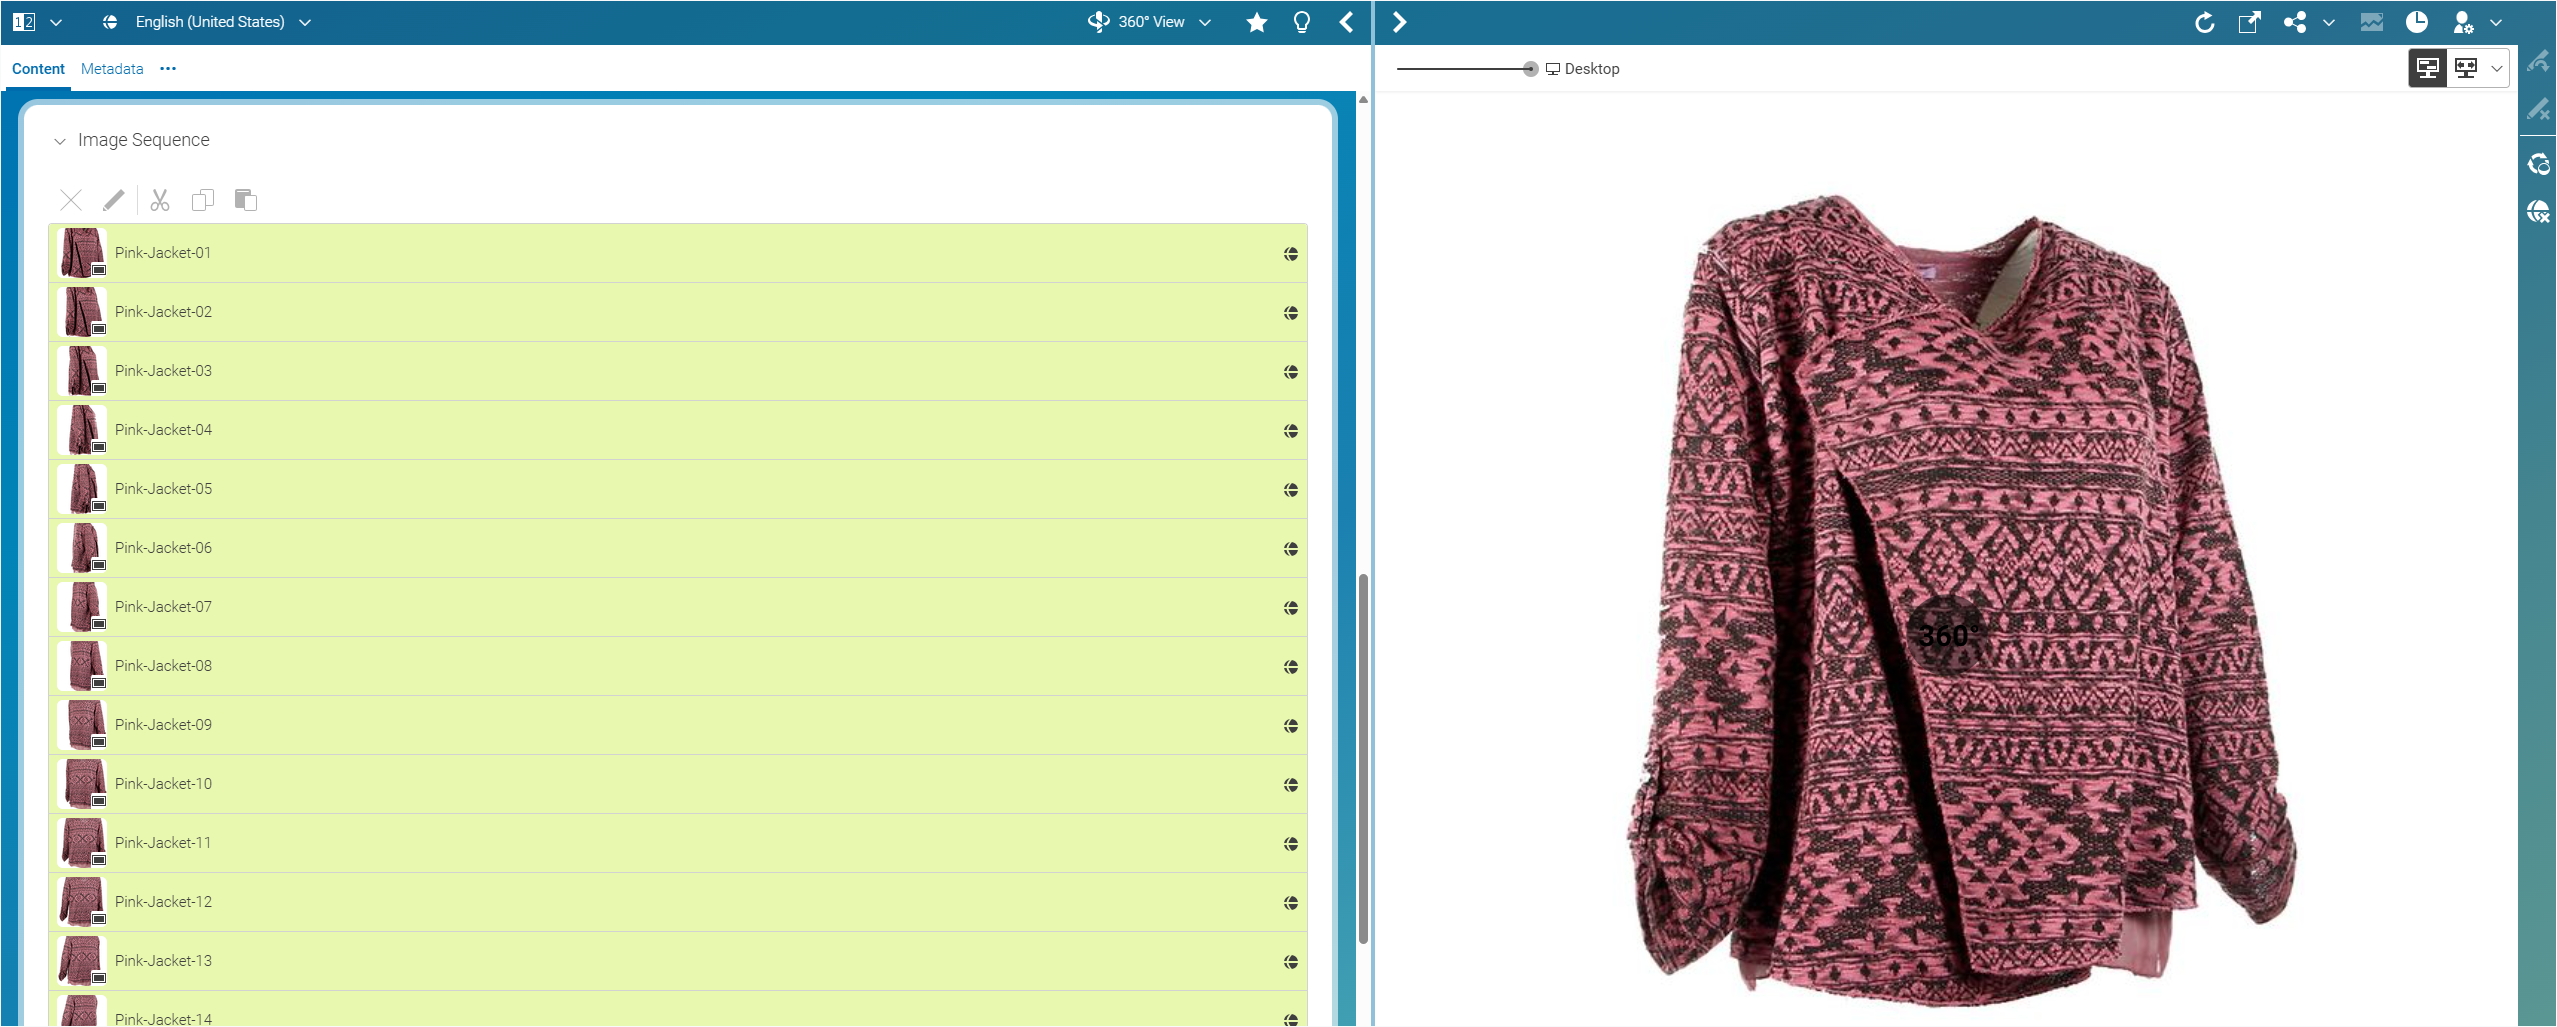
Create a 360°-View content item by clicking the  button in the library. Edit the properties of the item in the form. Note that a valid 360°-View must have more than two pictures. Link the 360°-View to a product, so that it will be shown on a product detail page (see Adding Specific Content for Product Detail Pages (PDP)).
Figure 1. Images of a dress with a slight counterclockwise rotation
Best Practices
Use the Right Number of Images
While CoreMedia Studio requires a minimum of three images, the number of images directly affects how smooth the rotation feels to the user:
-
12 images (every 30°): noticeable jumps — acceptable for simple products.
-
24 images (every 15°): smooth enough for most use cases.
-
36 images (every 10°): recommended for fashion, footwear, and jewelry.
-
72 images (every 5°): ideal for high-end or complex products.
Define a Consistent Starting Position
By convention, the first image in the sequence should show the front view of the product. This ensures a predictable starting point for the user and a consistent experience across your product catalog.
Optimize Images Before Upload
Large image files slow down the 360°-View noticeably, especially on mobile devices. Before uploading:
-
Use JPEG format for photographic images to keep file sizes small.
-
Aim for a resolution of 800 × 800 px to 1200 × 1200 px — large enough for detail, small enough for fast loading.
-
Keep individual file sizes under 200 KB where possible.
Always Preview Before Publishing
Use CoreMedia Studio’s built-in preview to check the rotation flow before making the content live. Pay attention to:
-
Whether the rotation feels smooth and continuous.
-
Whether the product jumps or shifts position between frames (a sign of inconsistent photography).
-
Whether the 360°-View is correctly linked to the intended product detail page.
Is this page useful?