Creating a Campaign
Here you will learn how to create a new campaign.
1. Collecting Content in a Project
Before you can start creating a campaign, you have to collect the content you want to use into a project as described in Using Projects.
Keep in mind that in the campaign case, a project is simply used as a container to collect all content for the campaign. So all other features of a project have no impact on your campaign
2. Switching into the Campaign App
You have two ways to switch into the Campaign App:
-
Click the Create Campaign button in the Project window.
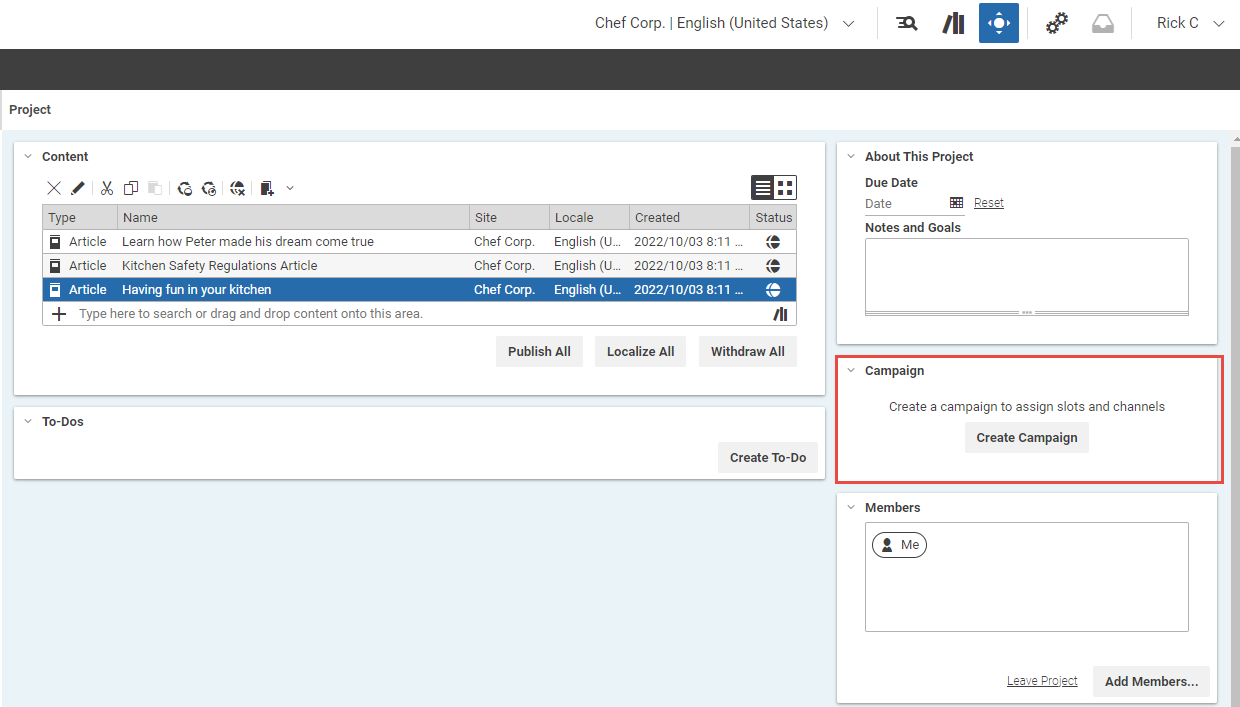
Start Campaign Creation from Project
-
Click the Campaign App menu item in the Main menu of the Content App.
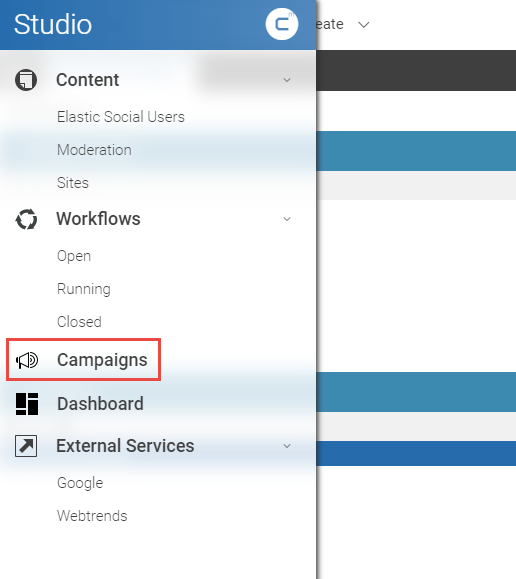
Start Campaign Creation from Main Menu
Once you have opened the Campaign App for the first time, you can later on simply switch between the Content App and Campaign App by selecting the appropriate tab in your browser.
3. Selecting a Template
When you switch to the Campaign App from the project, you will see the main view and the Template Chooser is already opened.
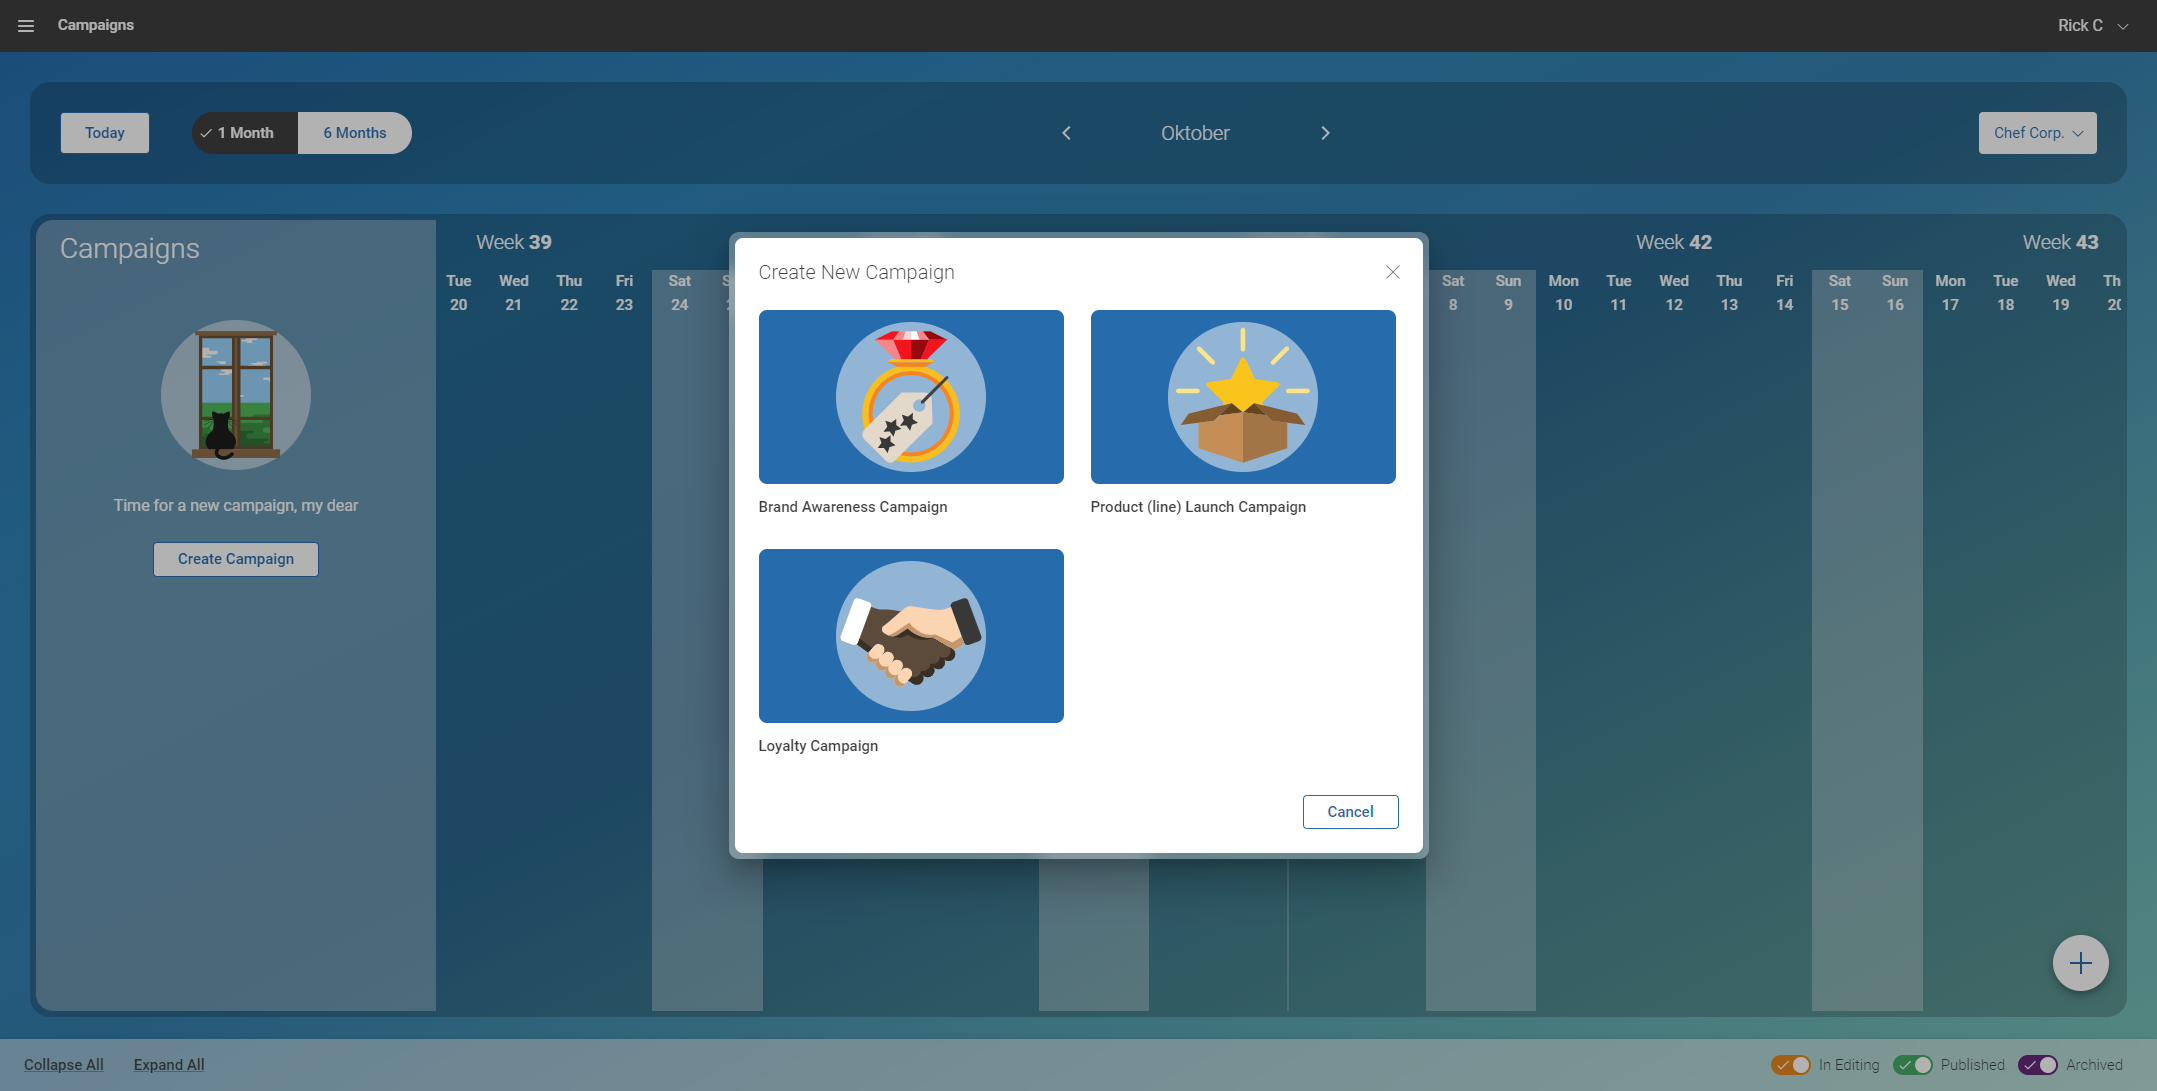
Campaign App with Template Chooser
Otherwise, you have to click the + button to open the Template Chooser.

Campaign App with Create Campaign Button
Now, select the template you want to use for your campaign. A template defines the channels and slots for your campaign. When you hover over a template entry, you will see the supported channels.
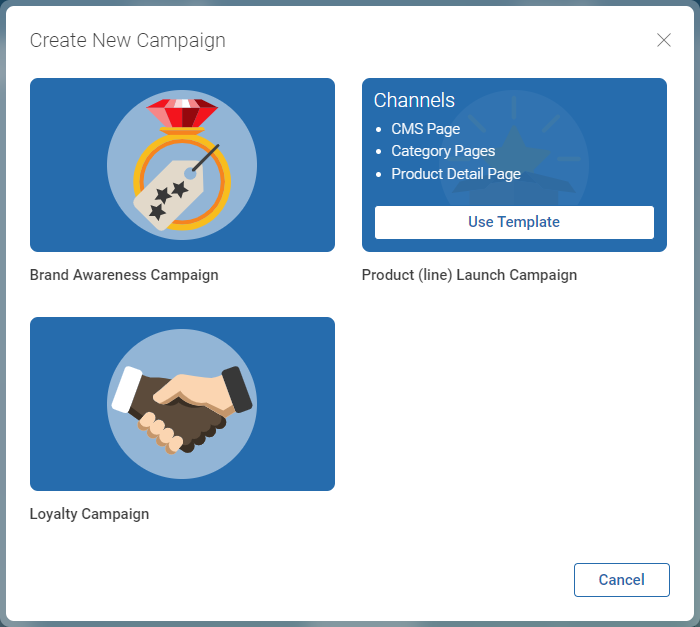
Select Template
Click the Use Template button to select the template.
4. Enter Campaign Data
Now you have to define the main data of your campaign.
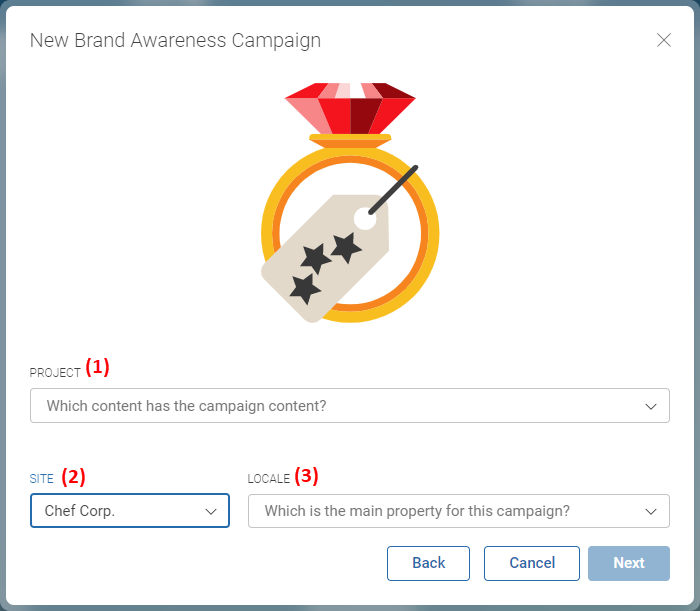
Campaign App with Create Campaign Button
-
Select the project from which you want to take your content. The field is prefilled with your current projects
-
Select the site in which you want to run the campaign. The field is prefilled with your preferred site.
-
Select the locale for which you want to create the campaign. You can select one of the locales for which your site exists. Later, you can create campaigns for other locales.
Campaign App with Create Campaign Button
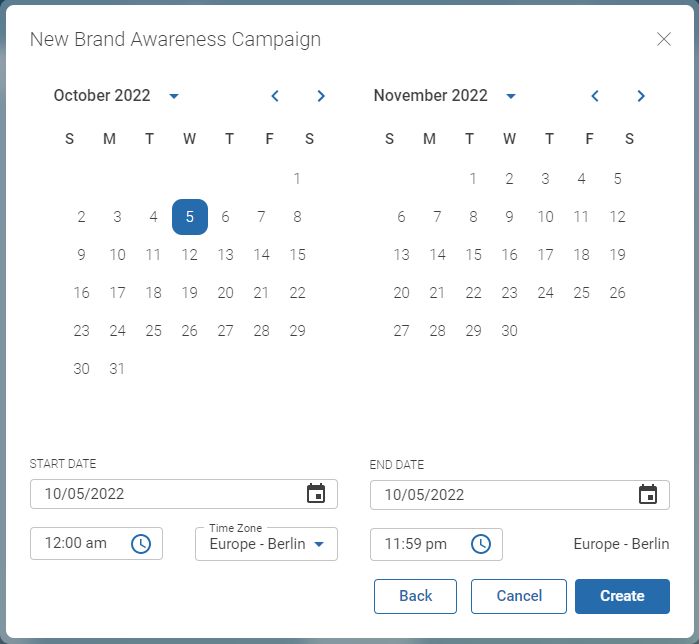
Enter the start date and end date of your campaign. Click Create to create the Campaign.
5. Assign Content to the Campaign Slots
Now, you can define the content which should be shown in the slots of the different channels.
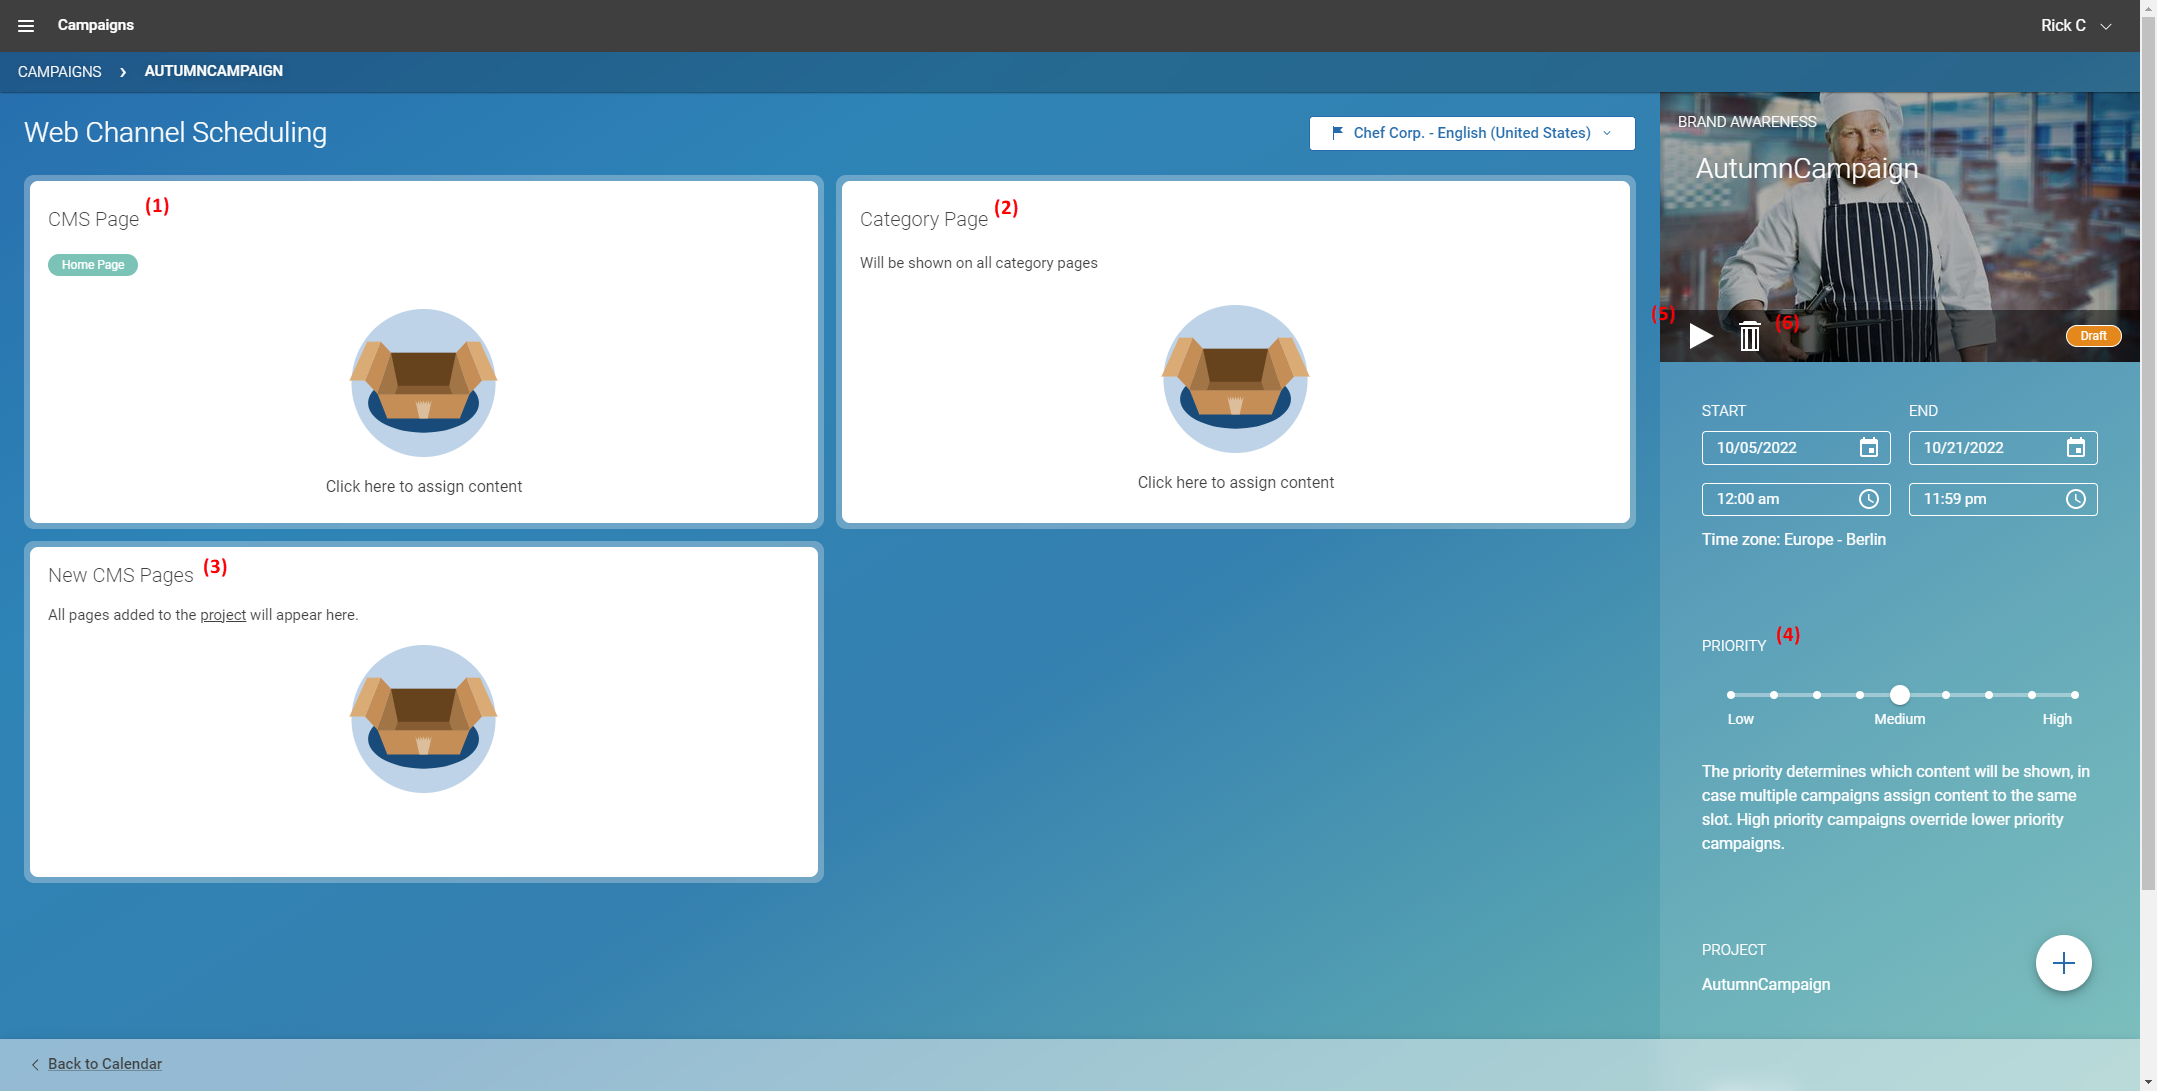
Campaign Details
Select the channel for which you want to define the content. In this example, the template contains CMS pages (1) and Category pages (2). New CMS pages (3) shows all pages that you have added to the project. Click on one of the pages tiles.

Campaign App with Create Campaign Button
Define more exactly in which pages and slots which content should be shown:
-
Your CoreMedia installation might contain more than one CMS page. Click into the field (1) and you will get a list of all CMS pages. Mark the checkbox of the pages which should show your campaign content.
-
Each page has several slots in which your campaign content can be shown. Click in field (2) of the slot. You will see a list of all content that you have added to the project. Select one content for each slot and click Save.
Continue with the other channels of your campaign.
6. Prioritize and Start your Campaign
When you are done with all settings and assignments, you can prioritize and start the campaign:
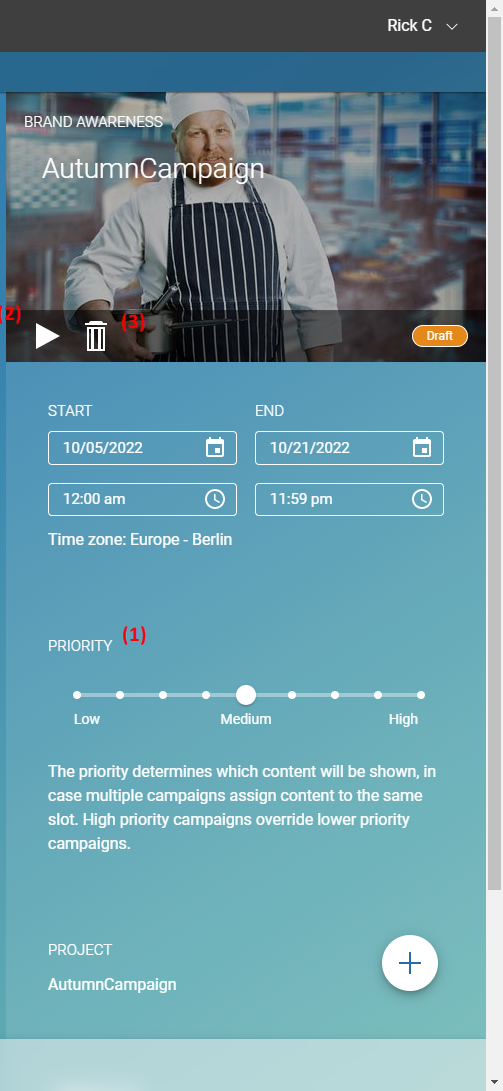
Prioritize and Start your Campaign
-
When you have more than one campaign running at the same time, they might share the same channels or slots. In this case, you can prioritize campaigns. The content of the campaign with the highest priority will be shown in a slot used by several campaigns. Click on the priority choser (1). A window opens up where you can set the priority.
-
When everything is done, click the Start button to activate your campaign.
7. Your Campaign is Running
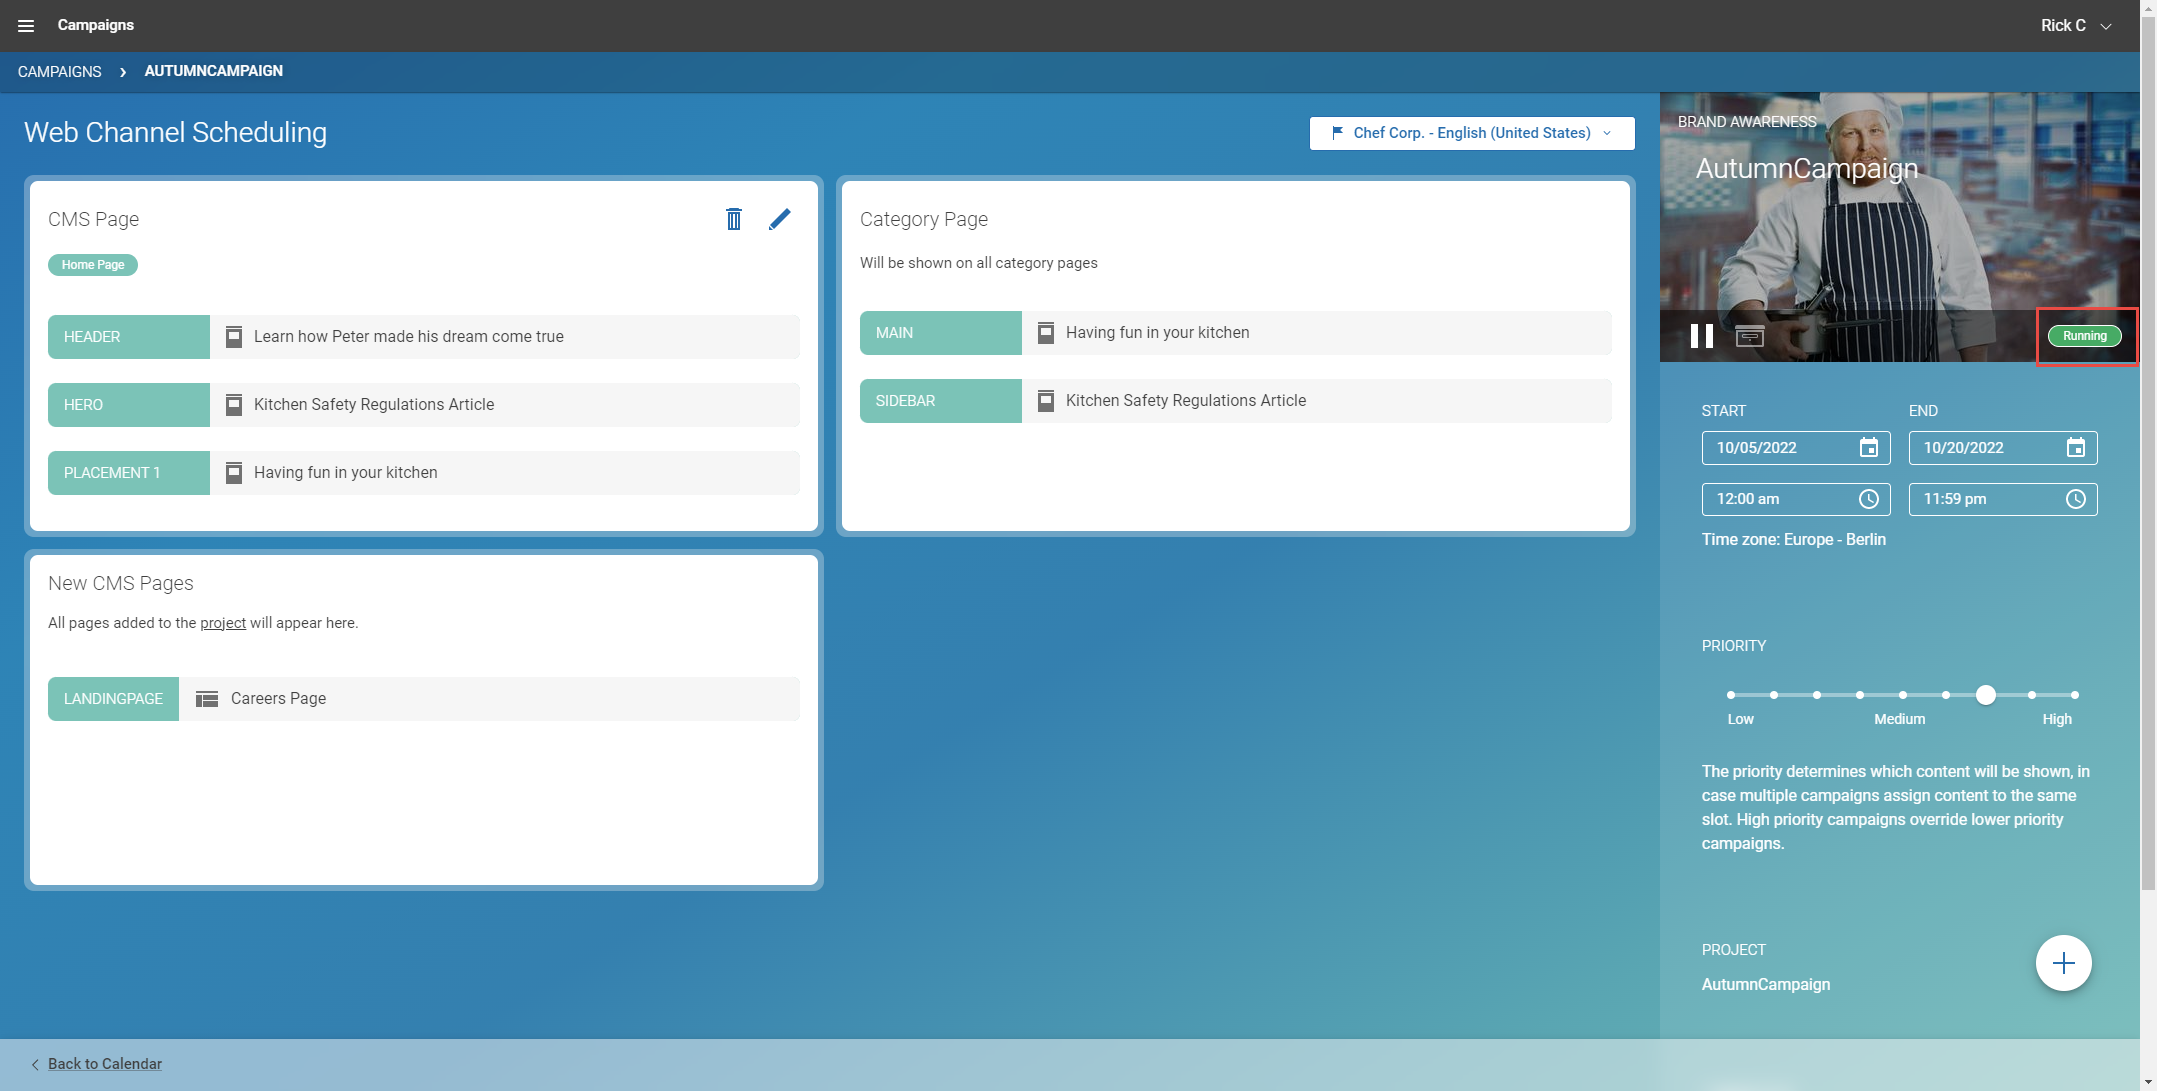
Running Campaign
Now, you are done. Your campaign is running and the content will be available as soon as the start date is reached.