
 What you will learn
- How to create a project
- Create and edit To-Dos
- Manage deadlines
 Prerequisites
- A working login to CoreMedia Studio
 Target Audience
This guide is for Editors.
Table of Contents
Introduction
Projects in CoreMedia Studio help editorial teams coordinate their work. They provide features for managing To-Dos, assigning responsibilities, and tracking due dates — keeping everyone aligned and on schedule.
Getting Started
Creating a new project is straightforward. First, open the Control Room by clicking the button in the top right corner of Studio, or by pressing the F4 keyboard shortcut:
Figure 1. Show Control Room
In the Control Room, you will see the My Projects panel, which lists all projects you are a member of:

Steps
1. Create a New Empty Project
To create a new project, click the Create a new empty project button.
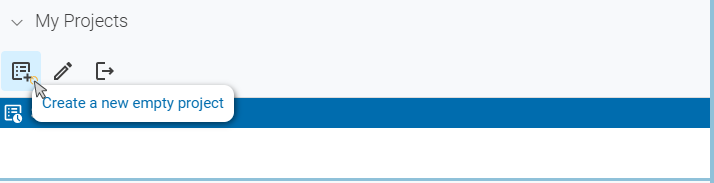
Figure 2. Create new project
Your new project now appears in the project view:
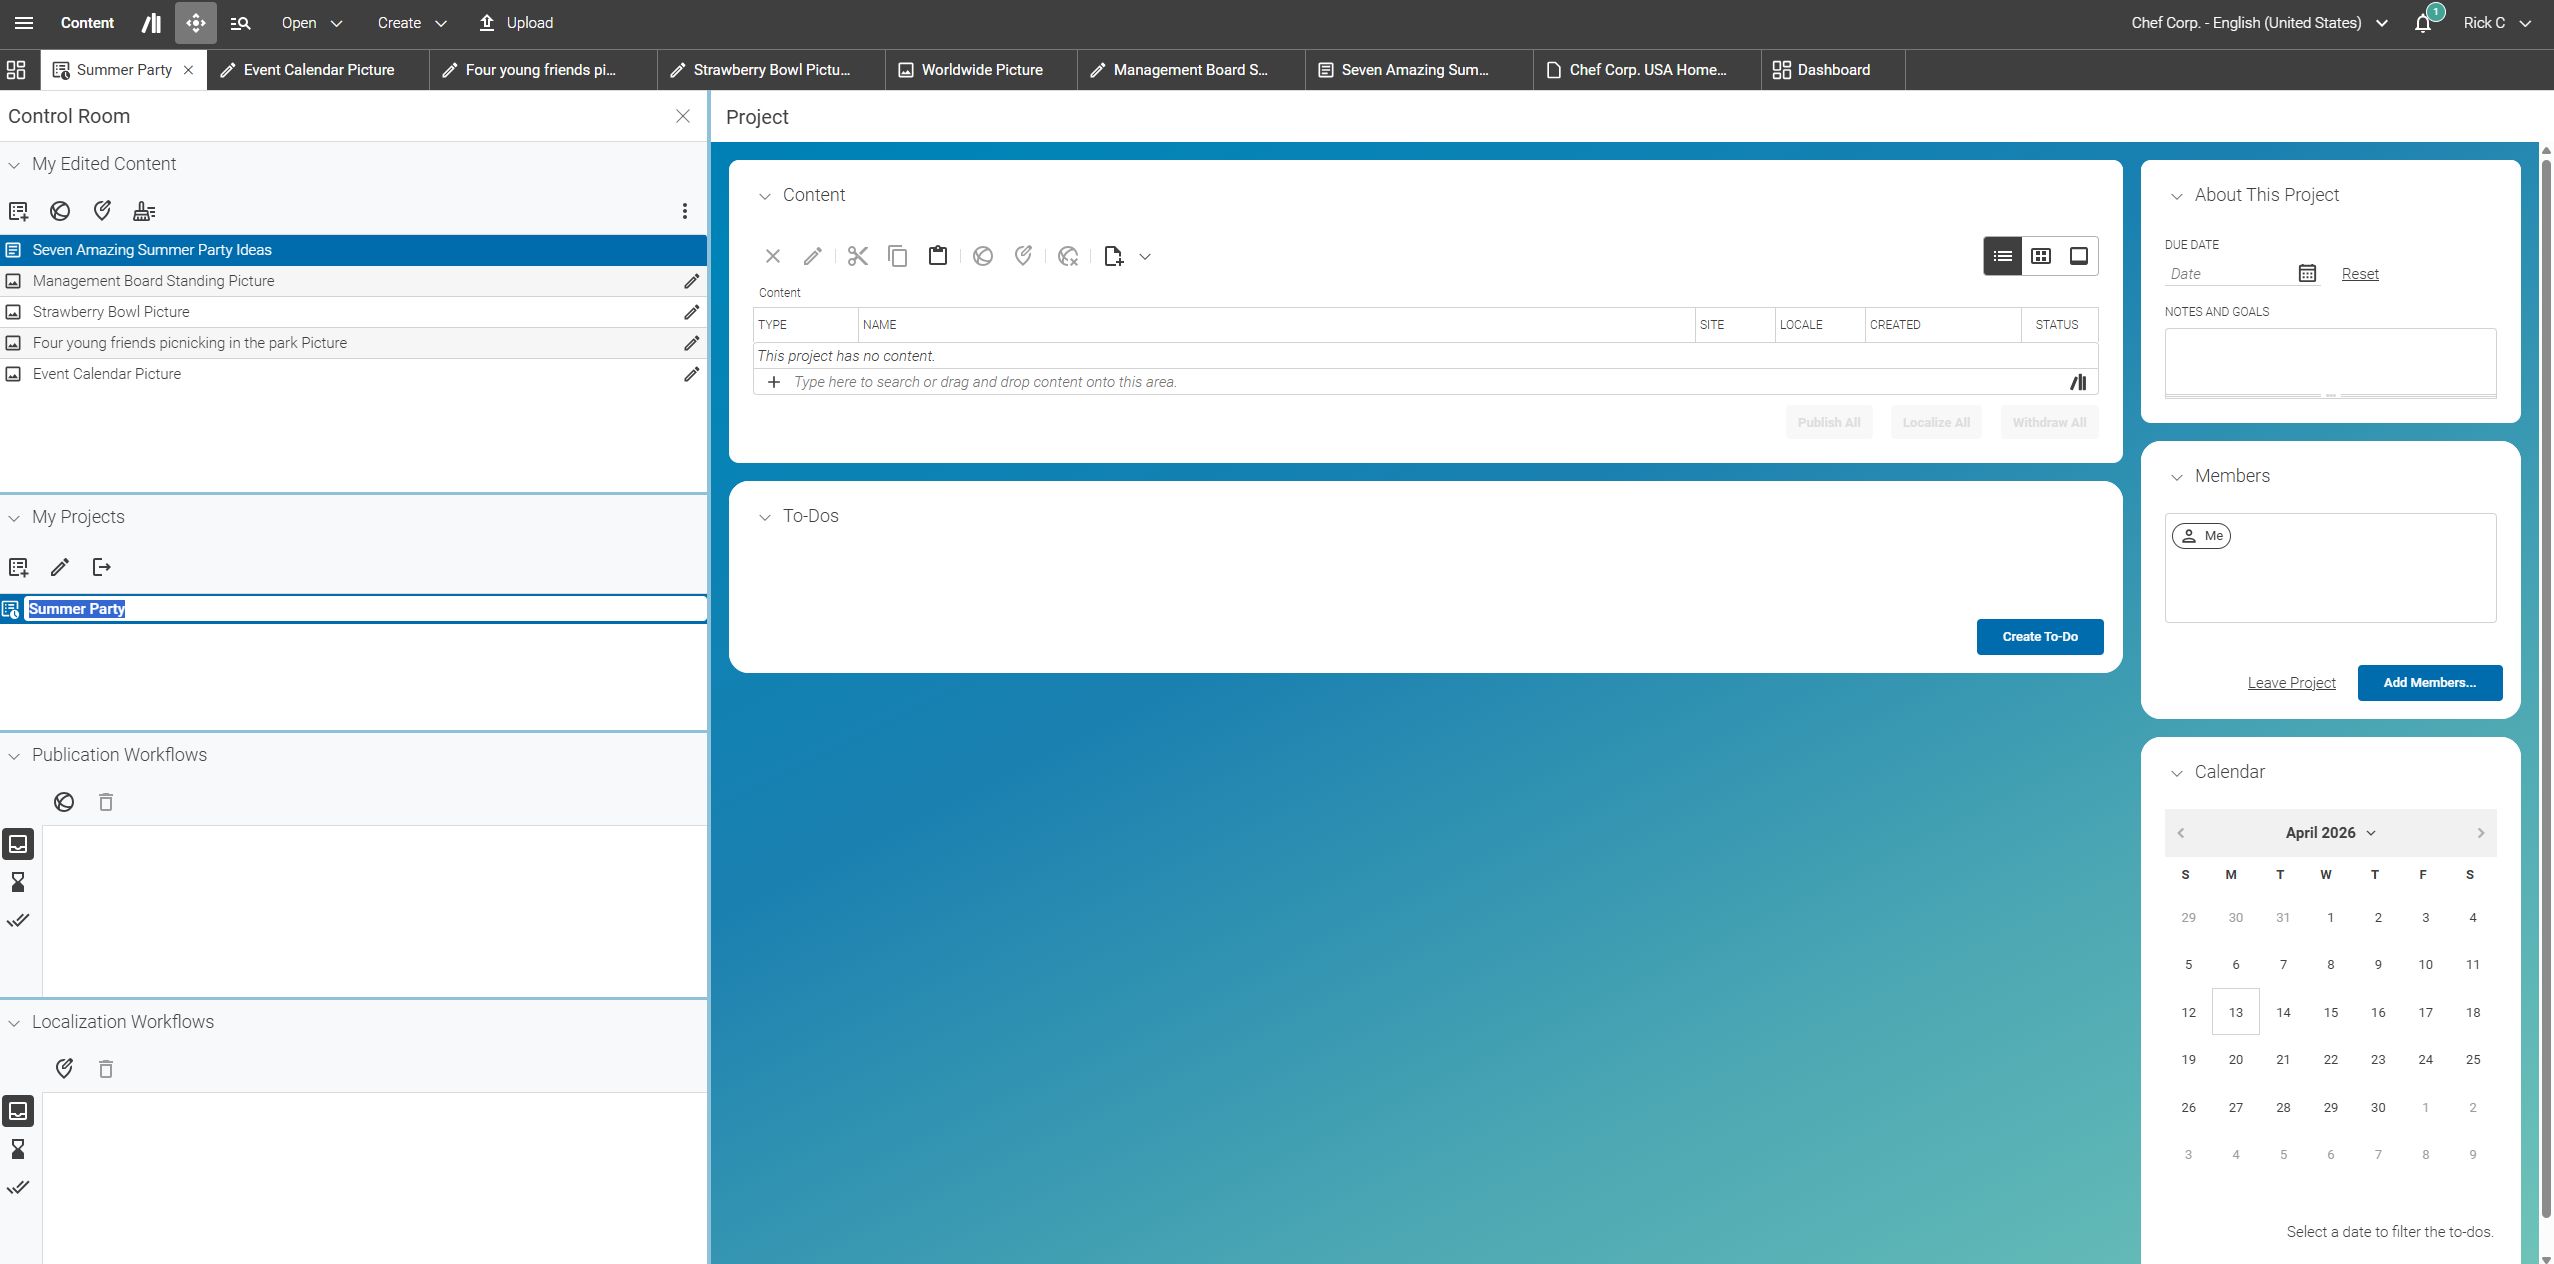
Give your project a title — for example, "Summer Party".
2. Specify the Details of Your New Project
Next, specify the project details, such as the due date and goals, in the About This Project panel on the top right:
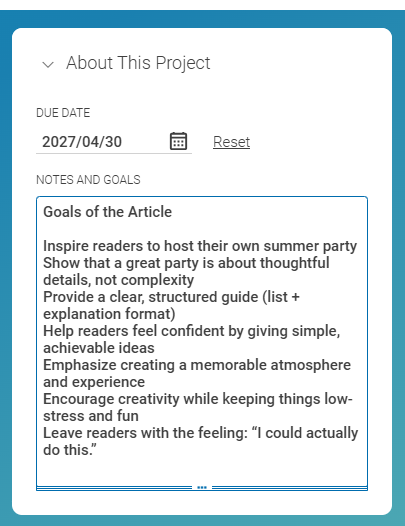
Figure 3. About This Project panel
3. Add Colleagues
To collaborate with others, click the Add Members… button. You can select from all available editorial users or groups. Use the type-ahead search to quickly find your colleagues.

Once you have made your selection, it will look like this:
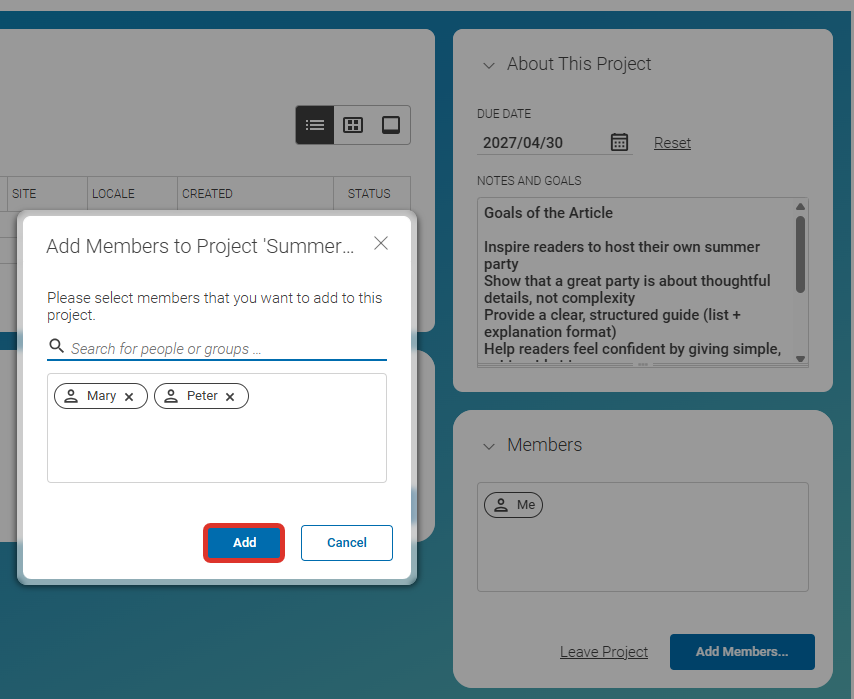
Click Add to confirm. Your team is now set up for this project, as you can see in the Members section:
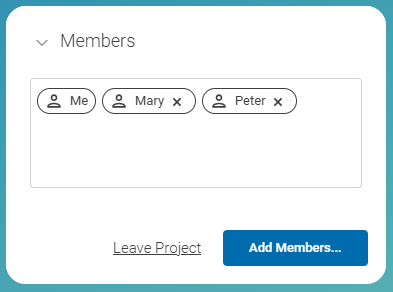
Figure 4. Members overview
|
You, as the creator of the project, are listed as "Me" and are included among the project members by default. |
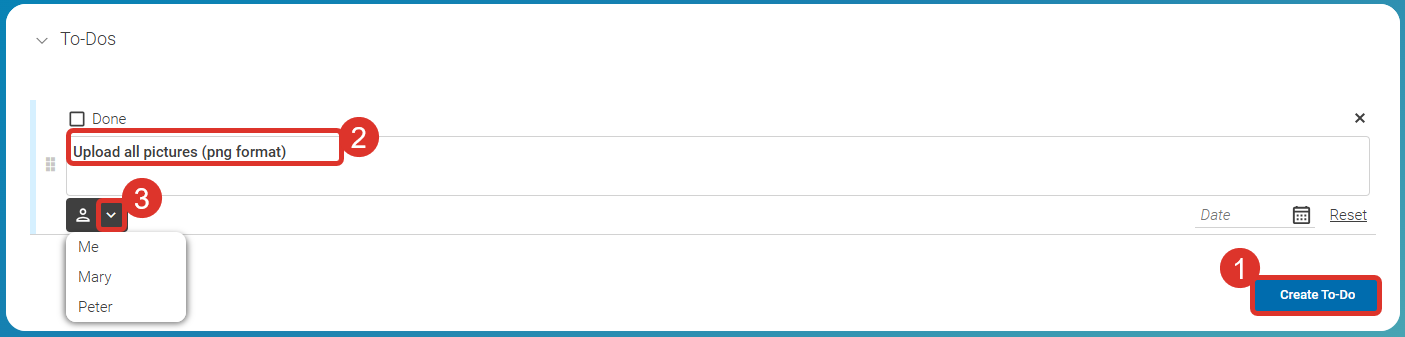
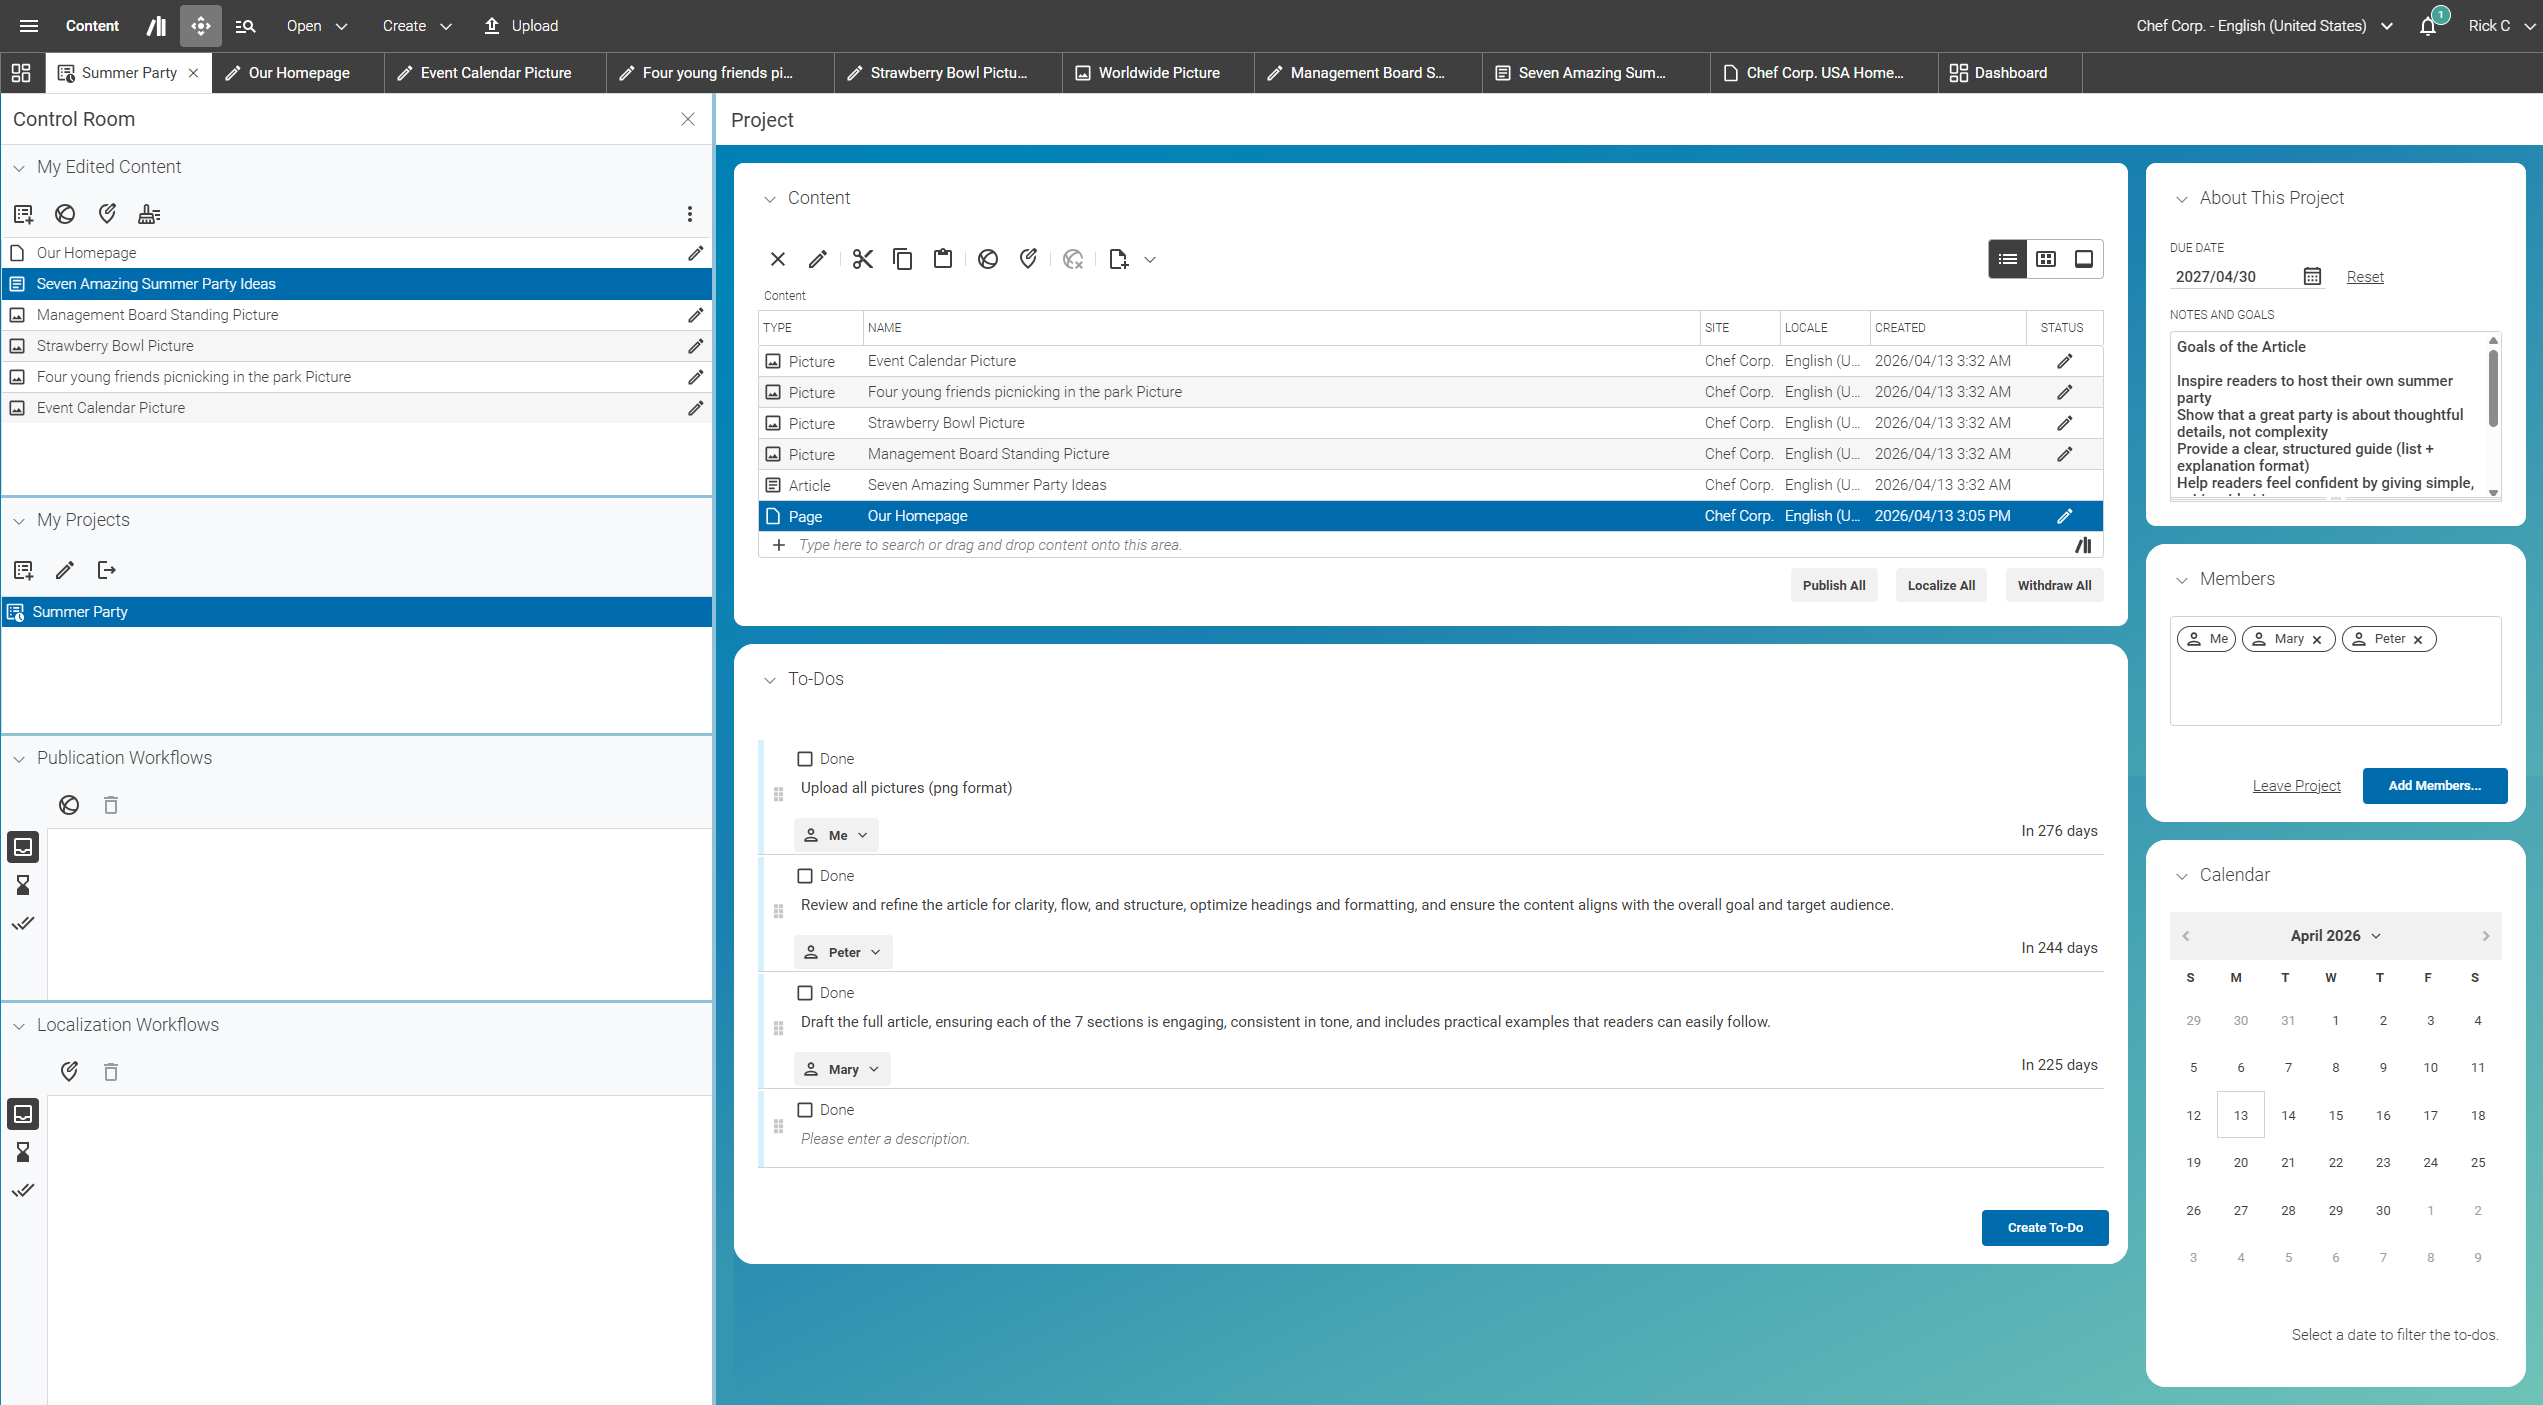
4. Maintain and Coordinate To-Dos
You can now create and assign To-Dos. Click Create To-Do (1) to add your first To-Do. Describe the task (2) and assign a team member (3) by selecting from the drop-down list:
Then assign a due date by clicking on the calendar icon (4):
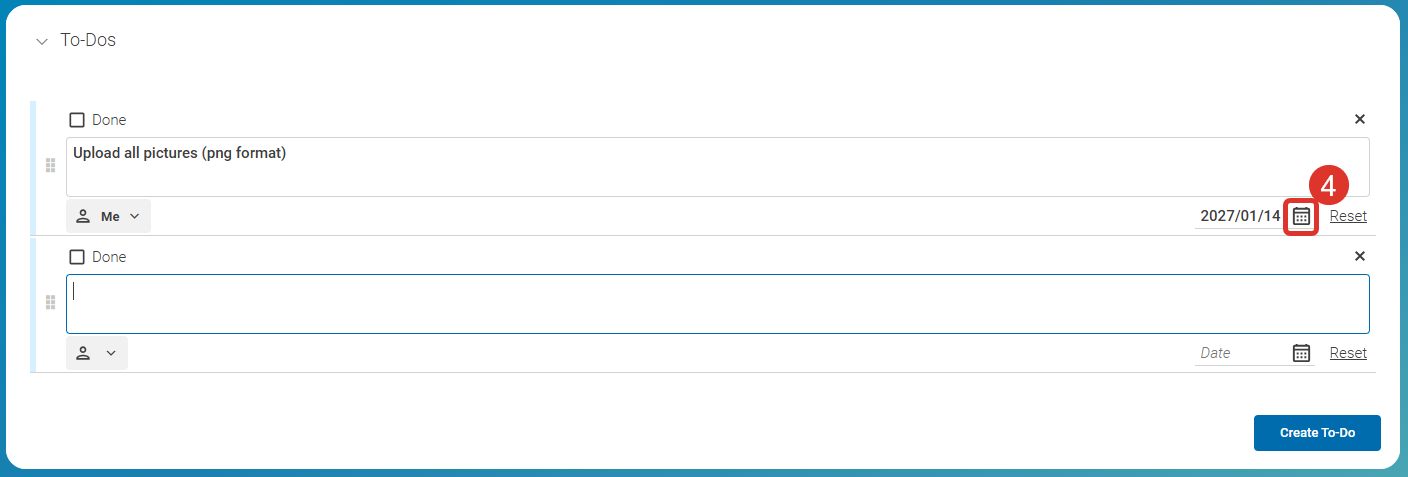
Your first To-Do is now created. Continue adding any remaining To-Dos.
The To-Do list in the center of the project view displays all tasks. In addition, the project calendar in the bottom right corner shows due dates as remaining days. Overdue tasks are highlighted in red, so nothing gets overlooked.
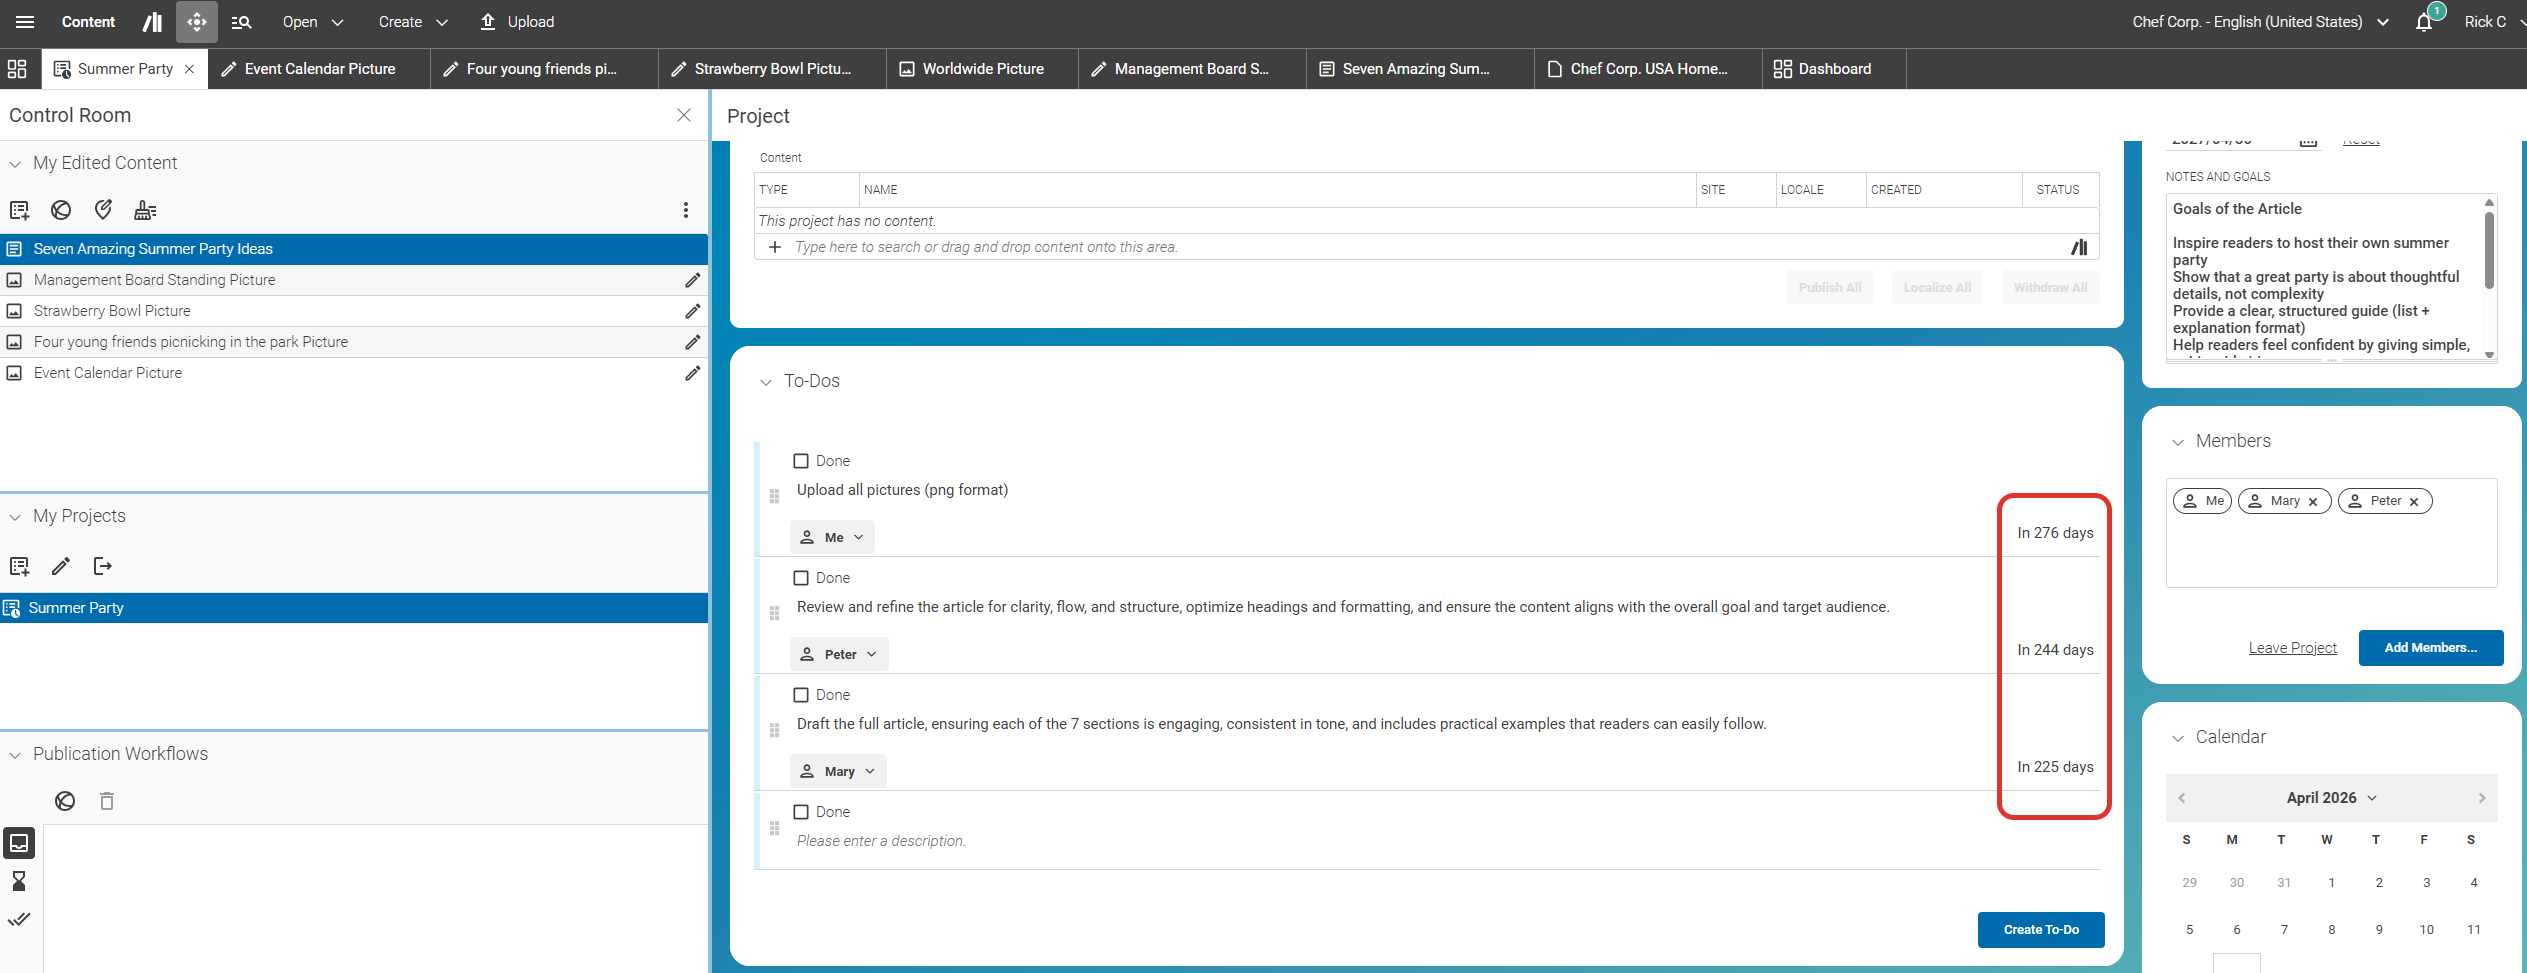
You can filter the To-Do list by clicking a date in the calendar — this narrows the list to tasks due up to that date.
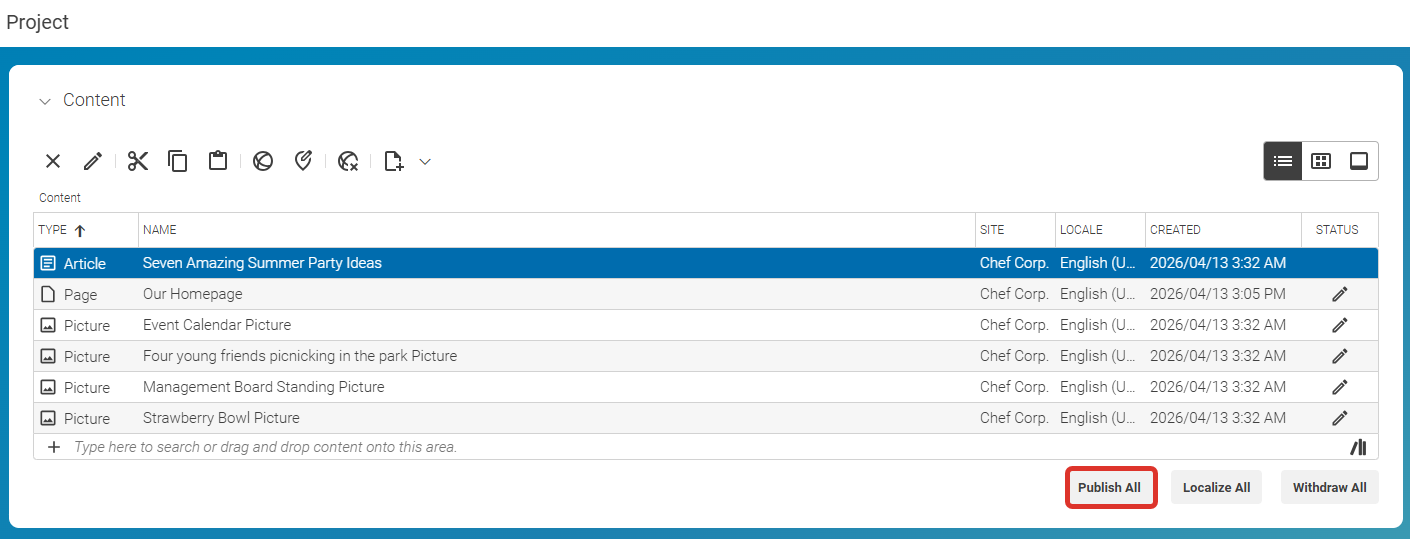
5. Add Content and Complete Your Project
Now you can assemble the content that belongs to this project.
Adding content is not restricted to the project creator — every project member can contribute. You can add existing content or create new content directly within the project.
To add existing content, open the Library or use your Search Folders and drag-and-drop items into the content list in the center of the project view.
Hint: You can also create new content directly from within this panel:

As you continue adding content and team members, the project will take shape around your specific topic — in this example, the Summer Party:
Each Studio editor can also view their open To-Dos in the To-Dos section of the Studio Dashboard. This ensures that no deadline is missed and all team members stay organized.
Once all tasks are complete and the project is ready to go live, click Publish All. Additional options include Localize All and Withdraw All.
Is this page useful?