Editing an Audio File
Learn how to edit an audio file in the Contact Center and Analytics Studio.
Prerequisites
-
Have a user in CoreMedia Contact Center and Analytics Studio with permission to use the app Audios.
Overview
Edit an audio file to change the audio name, audio type, language, and the audio file. You can also activate and inactivate the audio and manage associations. However, to create an association you have to use app Teams.
Steps
1. Open app Audios
-
On the bottom left corner of Contact Center and Analytics Studio desktop, click icon App (
 )
) -
Scroll down until you find section Management.
-
Select Audios to open app Audios.
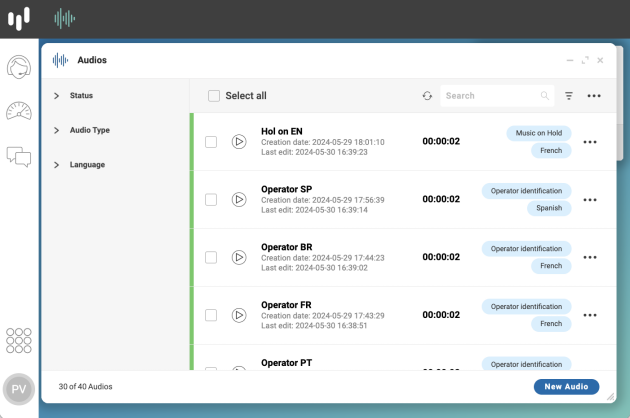
2. Edit the audio
-
On the right side of the audio that you want to edit, click in the ellipsis menu.

-
Select EDIT.

-
In tab Properties, change one or more of the following fields:
-
Activate/Inactivate:
-
To inactivate the audio, slide button Activate.
-
To activate the audio, slide button Inactivate.
-
-
AUDIO NAME: Use something meaningful. Avoid names like
music 1. For example,Hold On EN. -
AUDIO TYPE: Select the type of audio. For example,
Music on Holdto use the audio as on hold music in voice calls. -
LANGUAGE: Select the language. For example,
English. -
TYPE OF AUDIO:
-
Delete the audio file and upload a new file.
-
Regulate the audio volume.
-
Download a copy of the audio file.
-
-
-
In tab Associations, manage existing associations.
-
Click button Save.
To inactivate an audio file, the audio file cannot have associations.