Inactivating an Audio File
Learn how to inactivate an audio file in the Contact Center and Analytics Studio.
Prerequisites
-
Have a user in CoreMedia Contact Center and Analytics Studio with permission to use the app Audios.
-
The audio is activated.
-
The audio doesn’t have associations.
Steps
1. Open app Audios

-
On the bottom left corner of Contact Center and Analytics Studio desktop, click icon App (
 )
) -
Scroll down until you find section Management.
-
Select Audios to open app Audios.
2. Inactivate the audio file

-
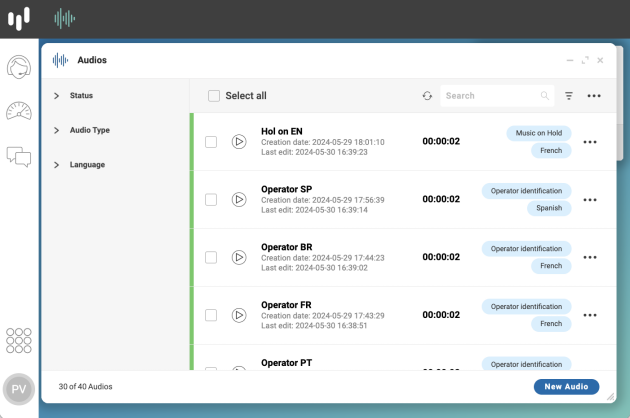
In app Audios, search for the audio that you want to inactivate.
-
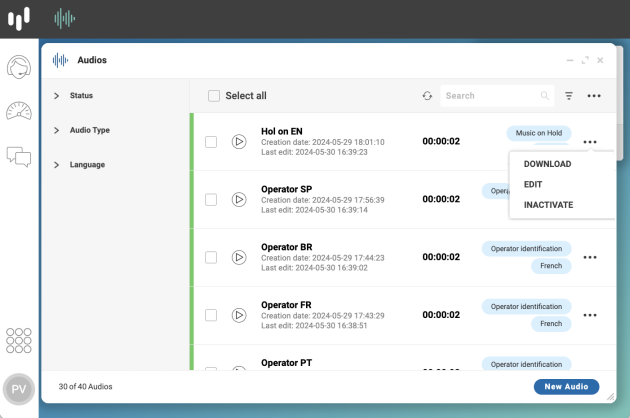
On the right side of the selected audio, click in the ellipsis menu.
-
Select INACTIVATE
To inactivate an audio file, the audio file cannot have associations. If app Audios does not inactivate the selected audio, edit the audio and verify if tab Associations is empty.
Result
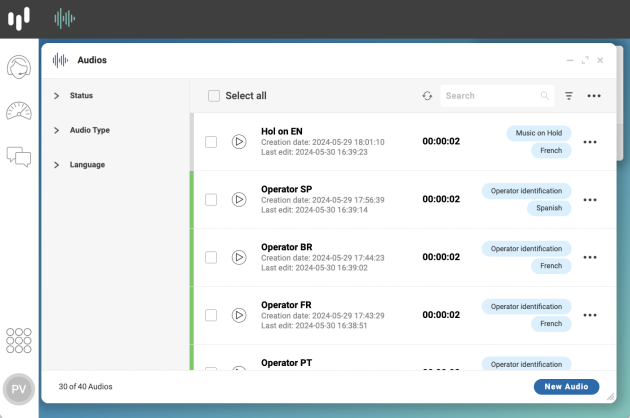
After you inactivate the selected audio, the audio appears with a gray border and is no longer available for associations.
You can activate the audio again in the ellipsis menu.

TIP: To activate or inactivate more than one audio at the same time, select the audios that you want to change and use the ellipsis menu on the top right corner of app Audios.
When inactivating several audios, if one or more of the selected audios have associations, app Audios inactivates the audios that don’t have associations and it gives an error message for the audios with associations.