Adding an Active Element
Learn how to add an active element to an onsite campaign. Configure and active the active element.
Prerequisites
Before you start:
-
Log in to Engagement Studio with a user that has role
Manager. -
Create an Onsite Campaign.
-
In the Engagement page, open the Onsite Campaign.
Steps
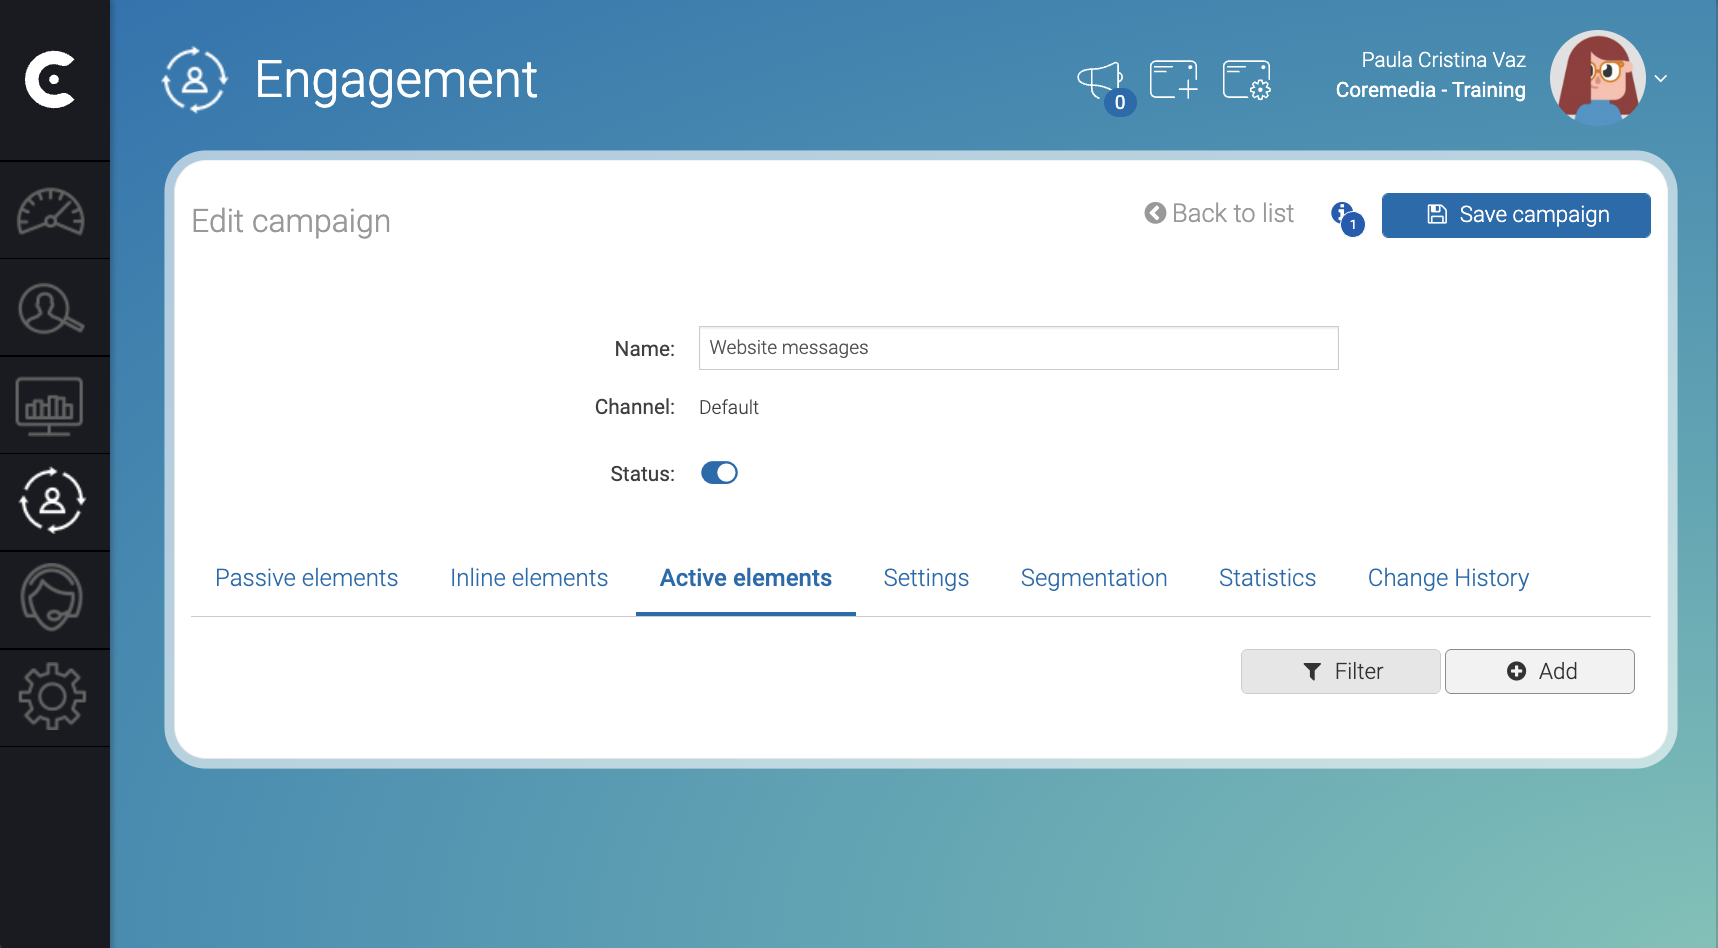
1. Create the placeholder for the active element
In the Active elements tab, proceed as follows:
-
Click + Add.
Window Add element opens. -
In the Add element window, fill the active element information:
-
Element type: Select
Active element. -
Name: Write the name of the element. Give meaningful names. For example,
welcome-box. -
Status: Slide the switch to activate the active element.
-
Active Placeholder: Select
-new placeholder-to create a new placeholder for the active element.
-
-
In the bottom right corner of the Add element window, click Accept.
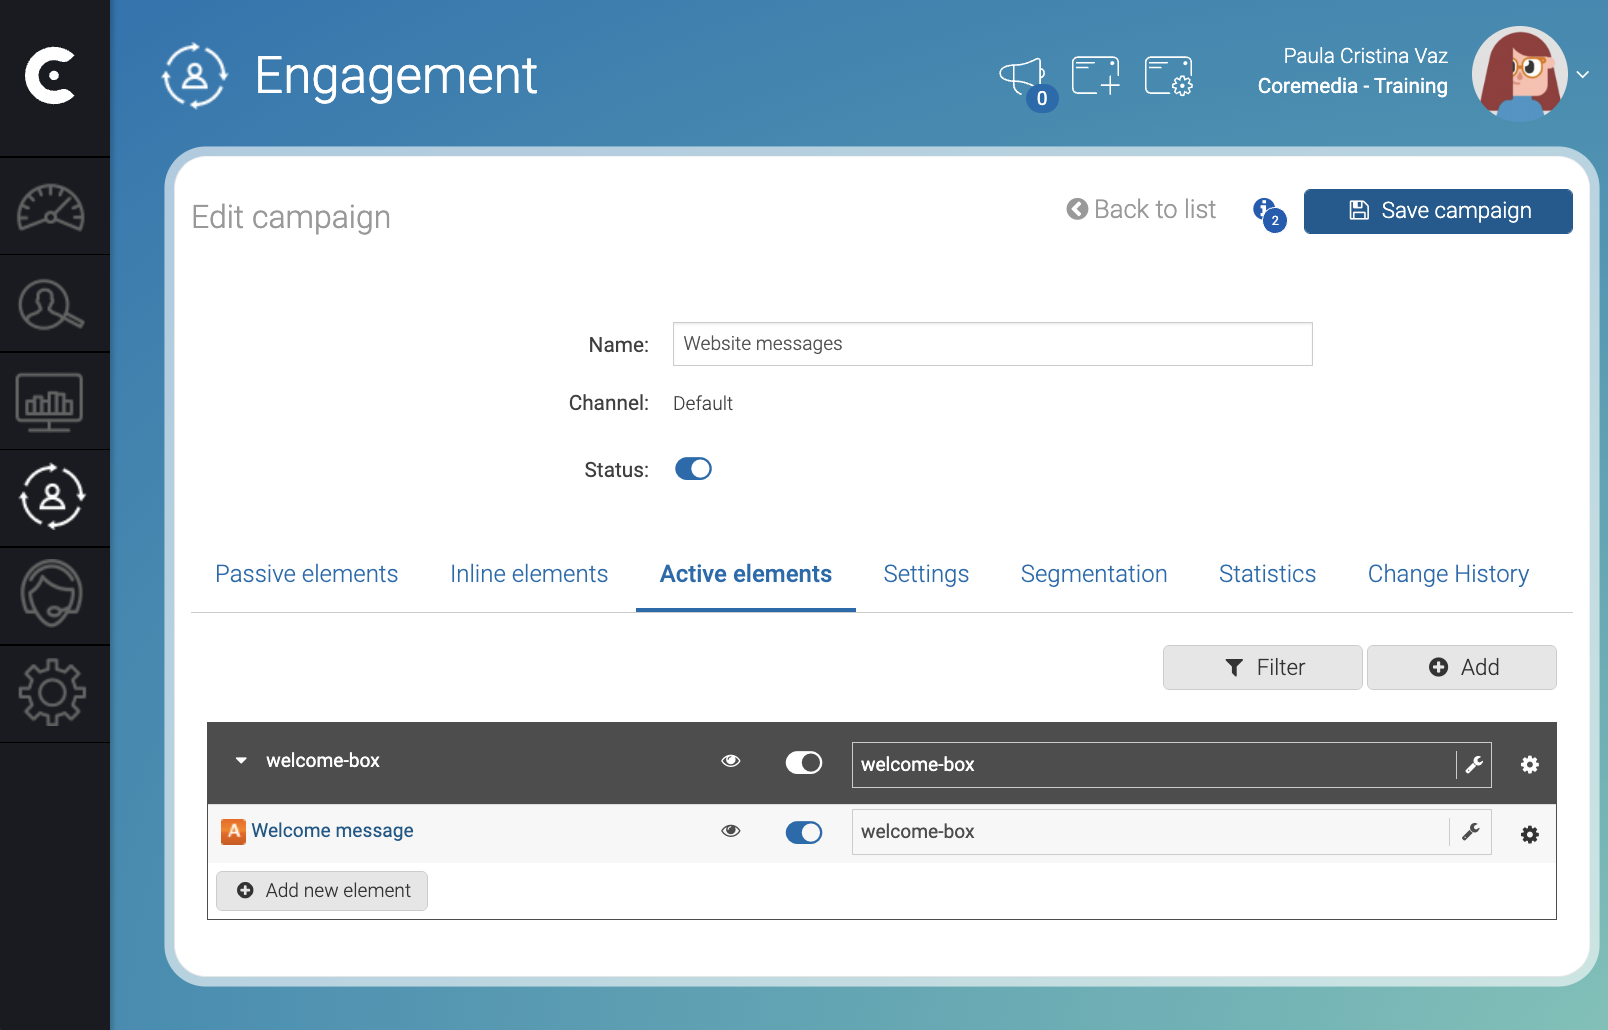
2. Create the active element
-
Inside the placeholder, click + Add new element.
-
From the Add Element window, select the type of active element that you want to create. For example,
Custom content. -
Configure the element.
-
Click Accept.
-
Click Save campaign.
Result
After you click Save campaign, you can reload your HTML page and visualize the active element in your page.
Troubleshooting
-
If the passive element does not appear in the site, ensure that the campaign, the placeholder, and the active element are active.