Importing a Contact List
Import a contact list in Engagement Cloud.
Prerequisites
-
Before you start, make sure that you have a user with:
-
Permissions to use the Engagement Studio.
-
Role of Manager or Supervisor.
-
-
Ensure that your CSV file uses the correct format. For the example in this guide, include these columns:
-
name -
phone -
email -
owned_car(custom parameter) -
number_of_children(custom parameter)
-
-
Sign in to the Engagement Studio.
TIP: Open the Engagement Studio while following this how-to guide.
Steps
1. Open the contact list
-
Select Engagement in the left sidebar of Engagement Studio.
-
Select Contact Lists.
Engagement Studio shows a table with the available contact lists. -
Select the contact list that you want to import. For example,
Parents.
2. Upload the CSV file
-
Click Import contacts.
Engagement Studio opens the _Import contacts dialog._ -
Click Choose File.
A file explorer window opens. -
Select your
.csvfile. For example,contacts.csv -
Click Open.
-
Verify the settings:
-
Encoding: Select the encoding that matches the encoding of your
.csvfile. For example, typicallyUTF-8. -
When existing phone/email/external id is found: Choose whether to
Update existing information,Ignore, orCreate new contactif the Engagement Cloud finds a duplicate phone or email. For example, selectUpdate existing information. -
CSV Separator: Select the separator in your
.csvfile. For example, chooseAutomaticto let Engagement Cloud detect the separator automatically. -
Show preview: Set to Yes to review data before the final import.
-
-
Click Ok.
The preview table shows the data from your file.
3. Preview and Confirm
-
Scroll down to review the preview table and ensure that the Engagement Cloud parses the data correctly. Check that all columns map correctly. For example,
name,phone,email,owned_car,number_of_children. -
Click Import contacts in the bottom of the preview table.
-
Click OK.
Engagement Cloud imports thecontacts.csvfile. After the import completes, Engagement Cloud shows a confirmation message with the number of contacts inserted, updated, or ignored. -
Click Close to exit the import dialog.
Result
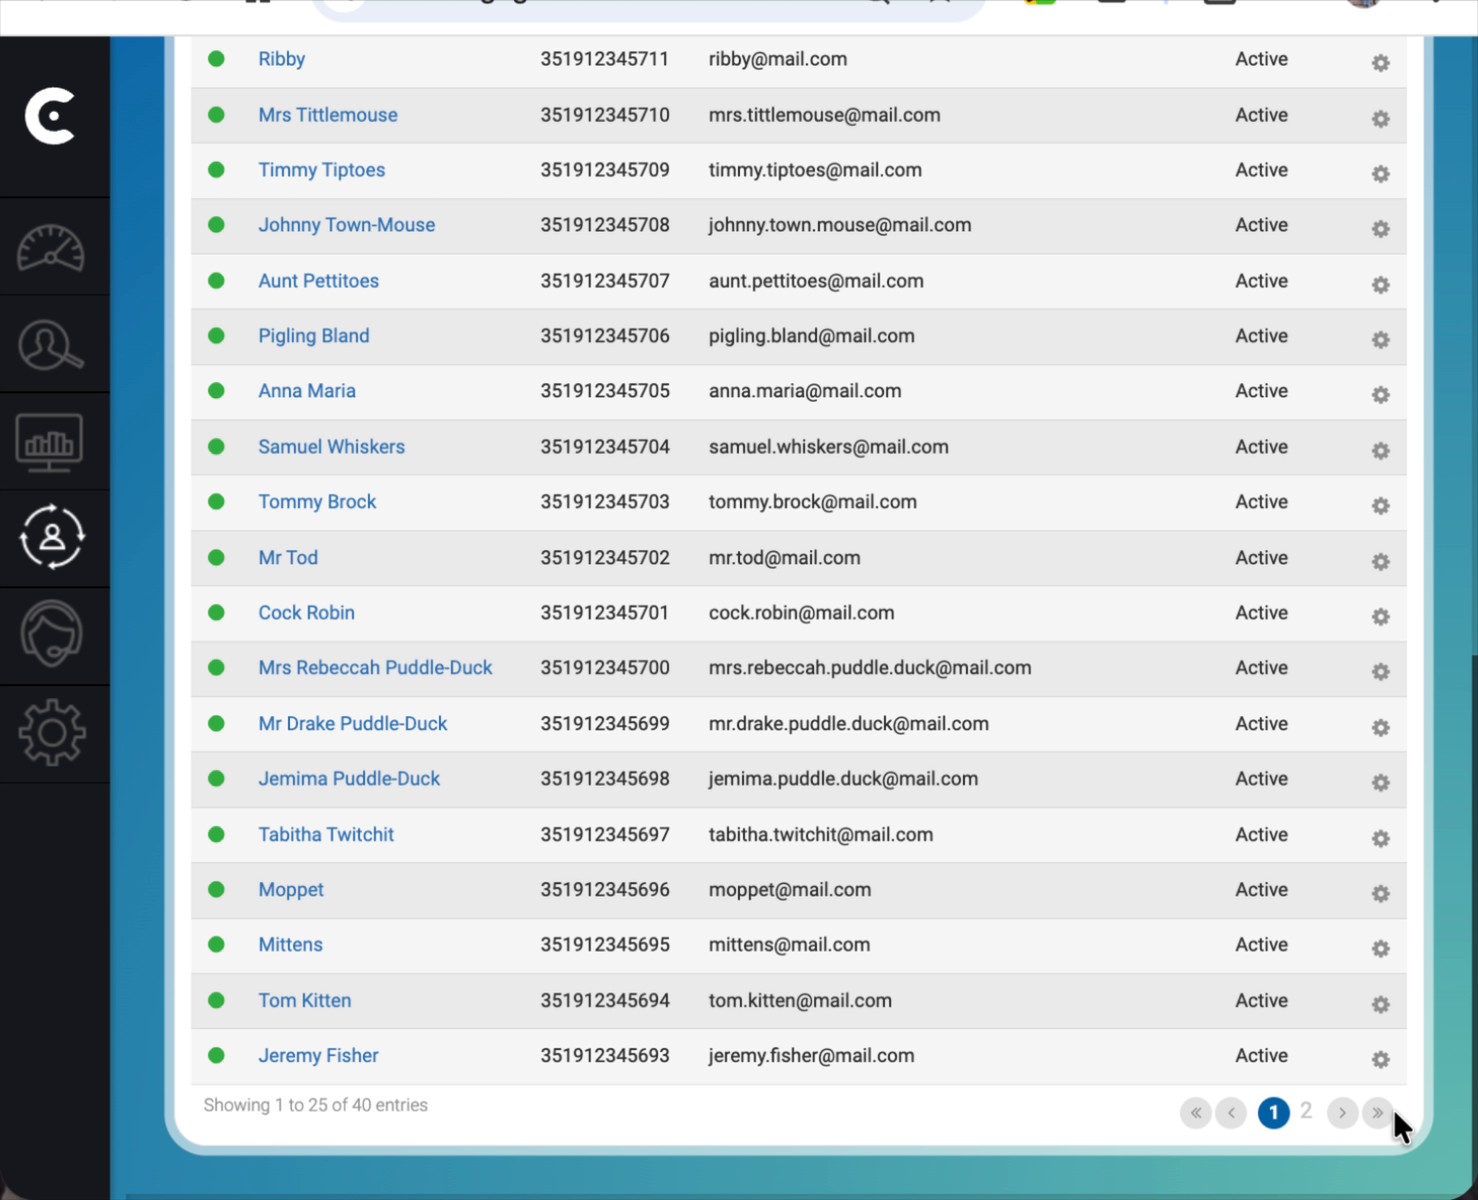
The main contact table refreshes and displays your new contacts.
Verify that the contact information, including the custom parameters, is
correct. For example, verify that the phone number for Peter Rabbit
now shows +351912345200.