Adding a Dimension to a Metric Panel
Last updated 16 minutes ago
Learn how to add a new dimension to a metric panel and how to combine metrics from two different dimensions. A dimension is a data source.
Table of Contents
Learn how to add a new dimension to a metric panel. A dimension is a data source. For each dimension, select metrics and configure the period for the data. You can also choose to view the change rate between consecutive periods.
Prerequisites
-
Have a user with permissions to use CCAS.
-
Have, at least, created one Dashboard.
-
Have created a metric panel.
Steps
1. Edit the metric panel
Select an already created metric panel.
-
In top right corner of a dashboard, click ….
-
In the dropdown menu, select EDIT.
2. Add the new dimension the metric panel
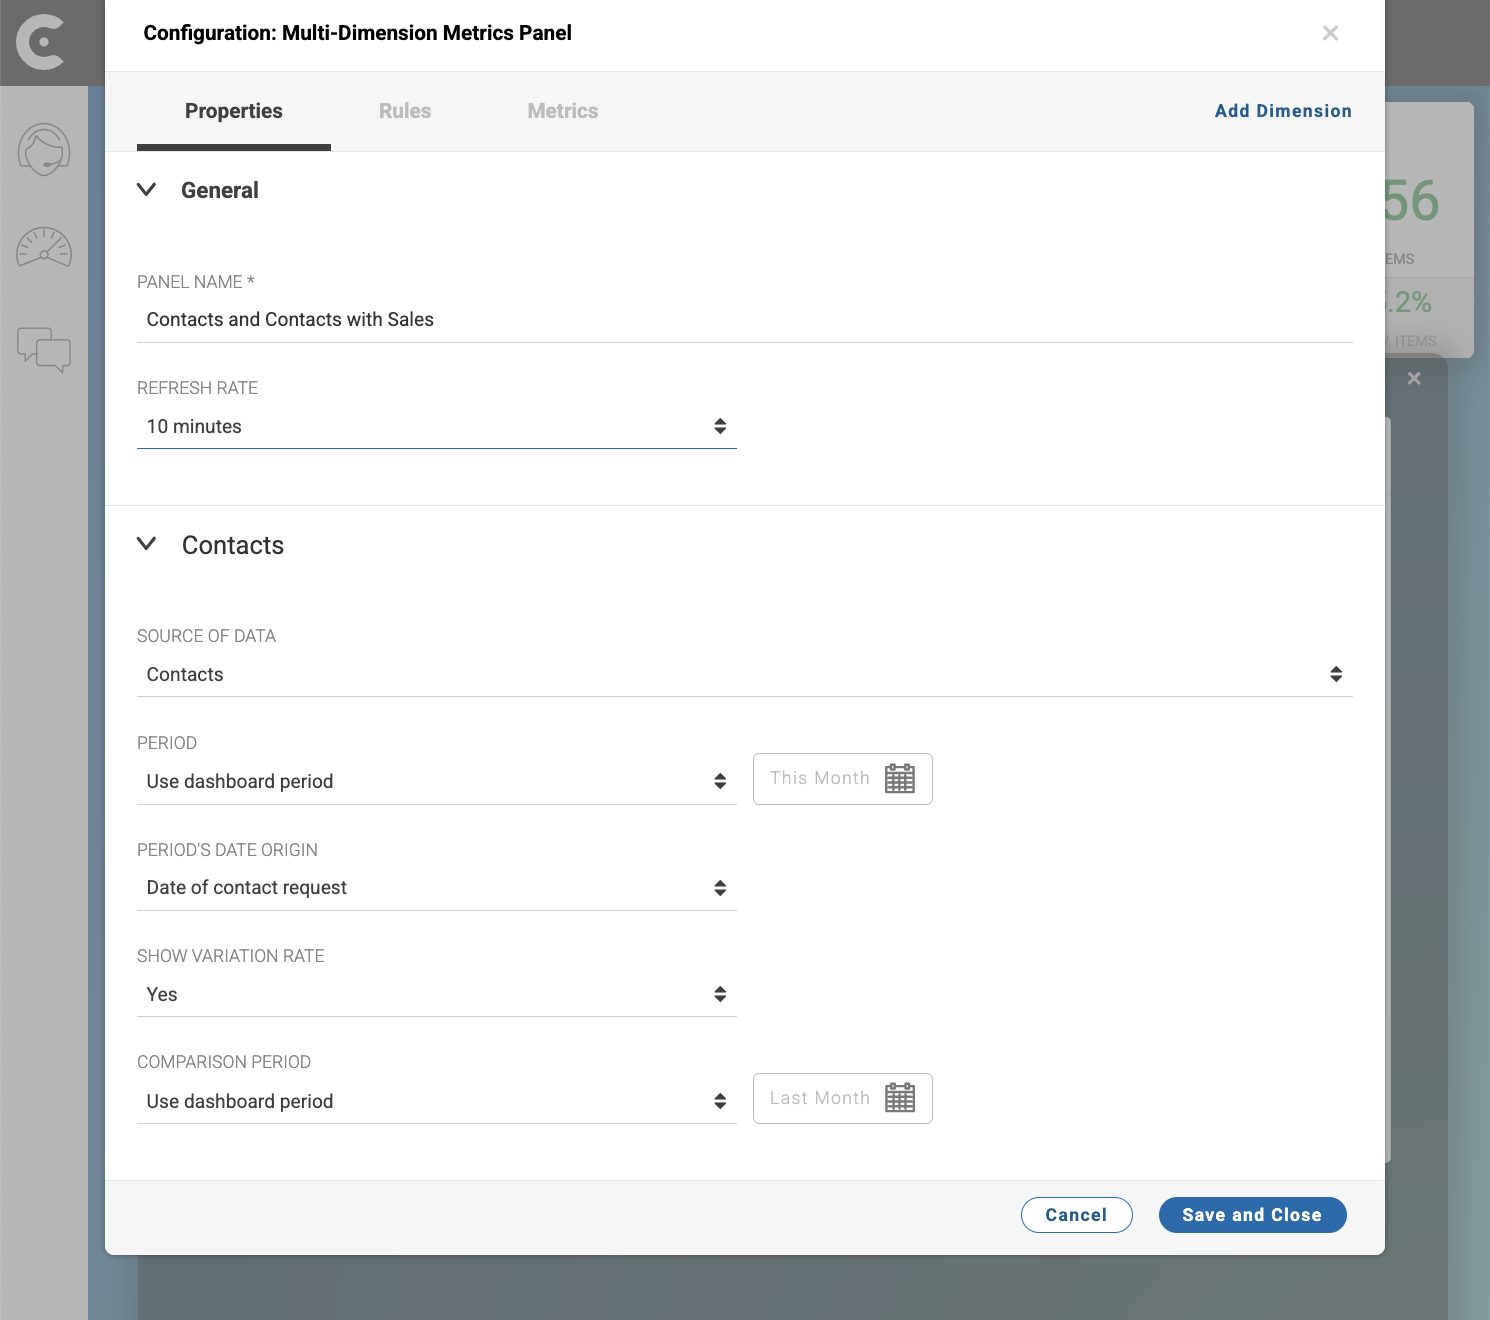
In Properties tab of window Configuration: Metric Panel, proceed as follows:
-
On the top right corner of the window, click Add Dimension.
-
In the Dimension 2 accordion, configure the second dimension:
-
Click Dimension 2 to change the name of the dimension. For example,
Contacts with Sales. -
SOURCE OF DATA: Select the data source that you want to view in the panel. For example,
Contacts - Sales. -
PERIOD: Define the period for the data.
-
PERIOD DATE ORIGIN: Define the type of date origin that CCAS should use to filter the data. For example, if you select
Creation Date, CCAS will filter the data based on the creation date, but if you selectEnd DateCCAS will filter the data based on the end date. In the case ofContacts - Sales, you cannot change the PERIOD DATE ORIGIN. -
SHOW VARIATION RATES: Select
Yes.
-
Note that, by default, the dimensions inherits the period defined in the dashboard.
Reference: Configuration: Metric Panel
3. Add metrics from the new dimension
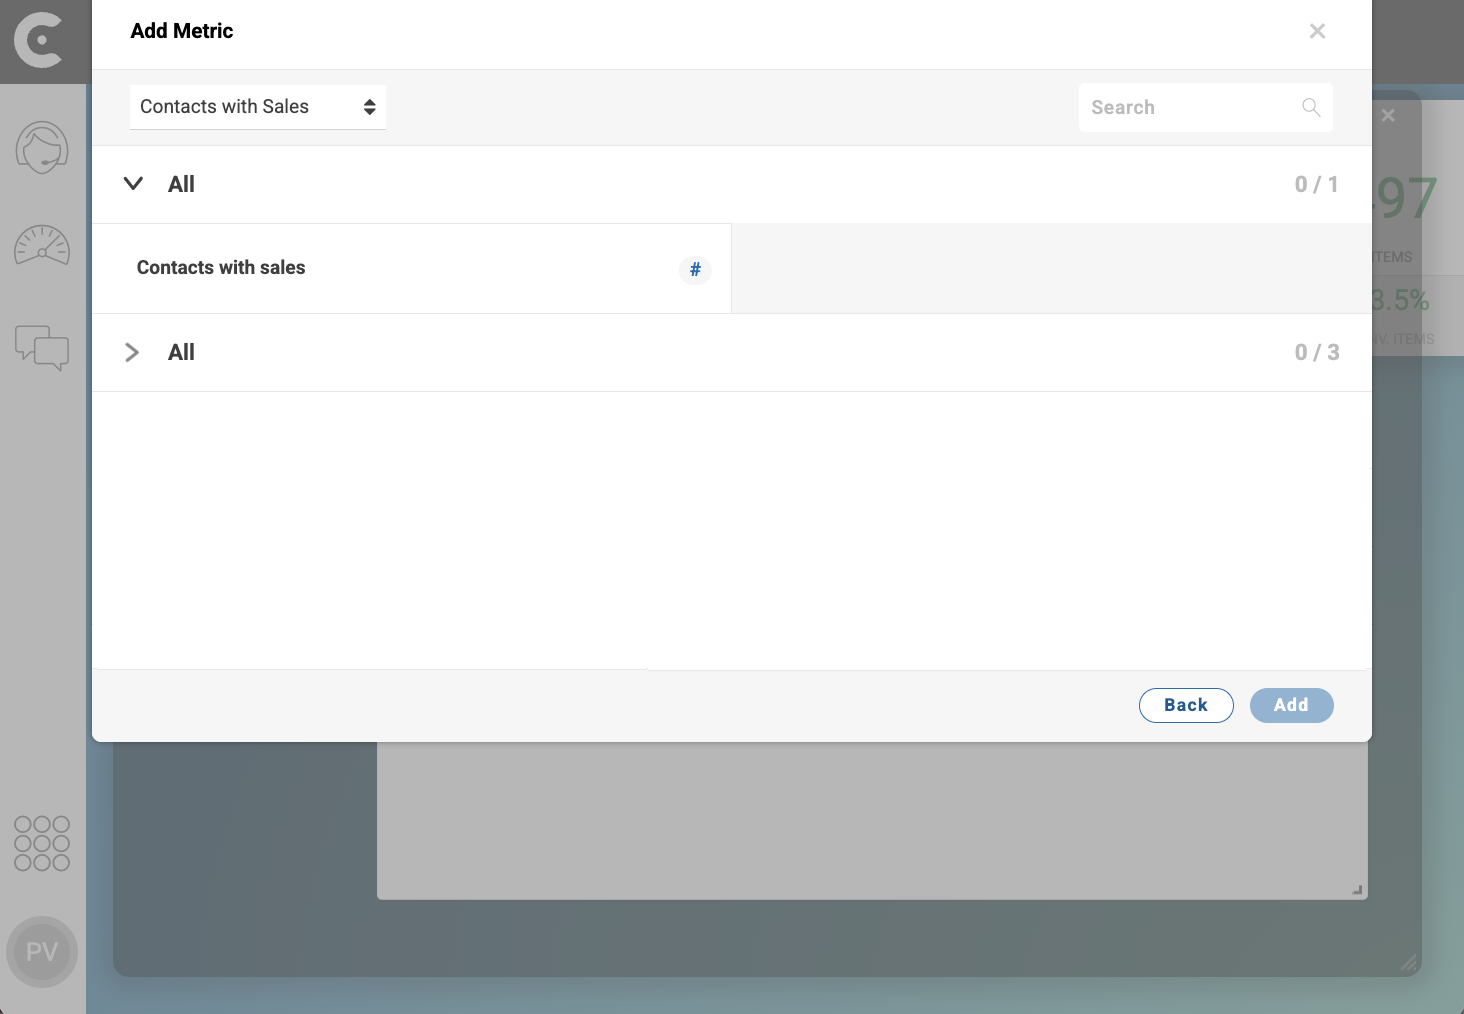
In Metrics tab of window Configuration: Metric Panel, proceed as follows:
-
On the top right corner of the Add Metric window, click Add.
-
Select the metrics that you want to add to the panel. For example,
# Contacts with sales. -
On the bottom right corner of the Add Metric window, click the Add button.
-
Click the Add button.
-
Click the Save and Close button.
Result
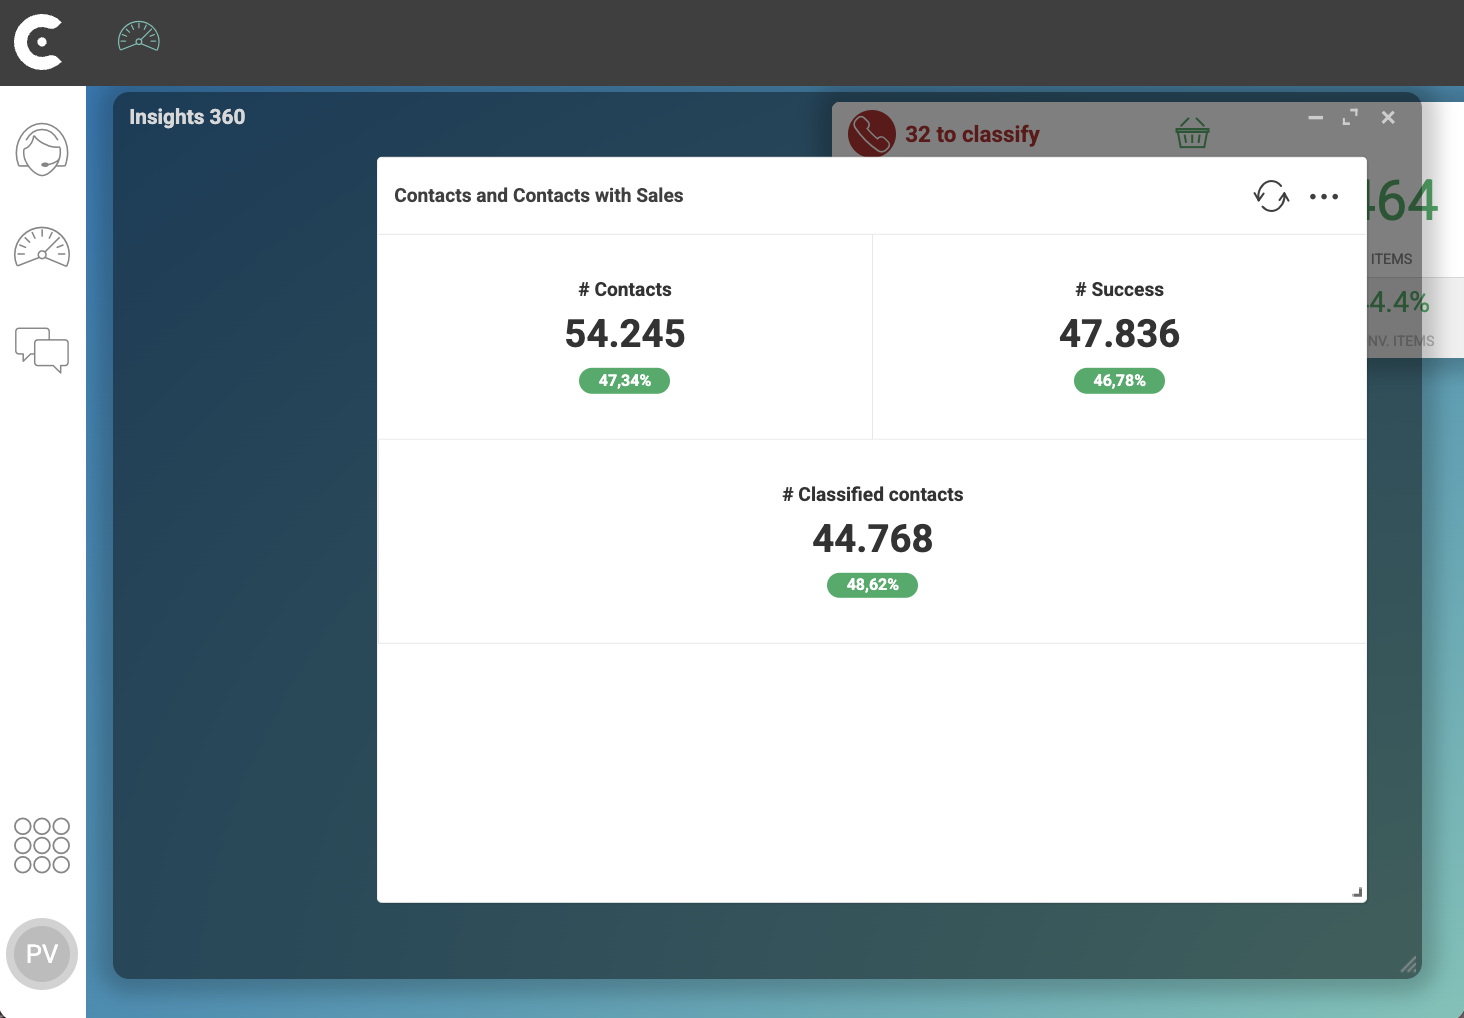
After you finish the previous steps, metrics from the new dimension appear in the panel. In the following image, the metric panel shows:
-
The number of contacts
-
The number of success contacts
-
The number of classified contacts
from the Contacts dimension and the number of contacts with sales from the Contacts with Sales dimension .

Is this page useful?