Creating Users
Learn how to create users.
Prerequisites
-
Have a user with:
-
Permissions to use the Contact Center and Analytics Studio (CCAS).
-
Group Supervisor or Manager.
-
-
Have a user logged in to the CCAS
Steps
1. Open app Teams
-
In the bottom left corner of CCAS desktop, click icon App (
 )
) -
Scroll down until you find section Management.
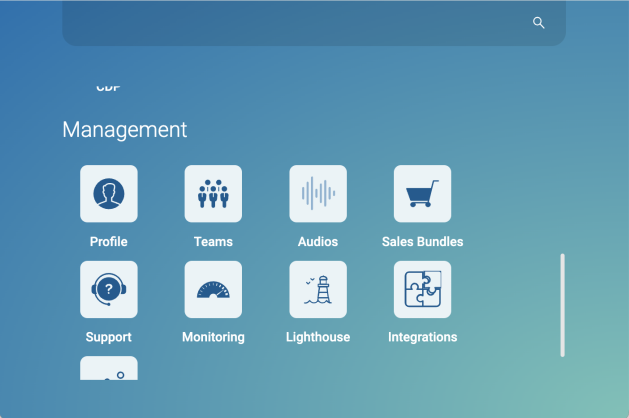
-
Select Teams to open app Teams.
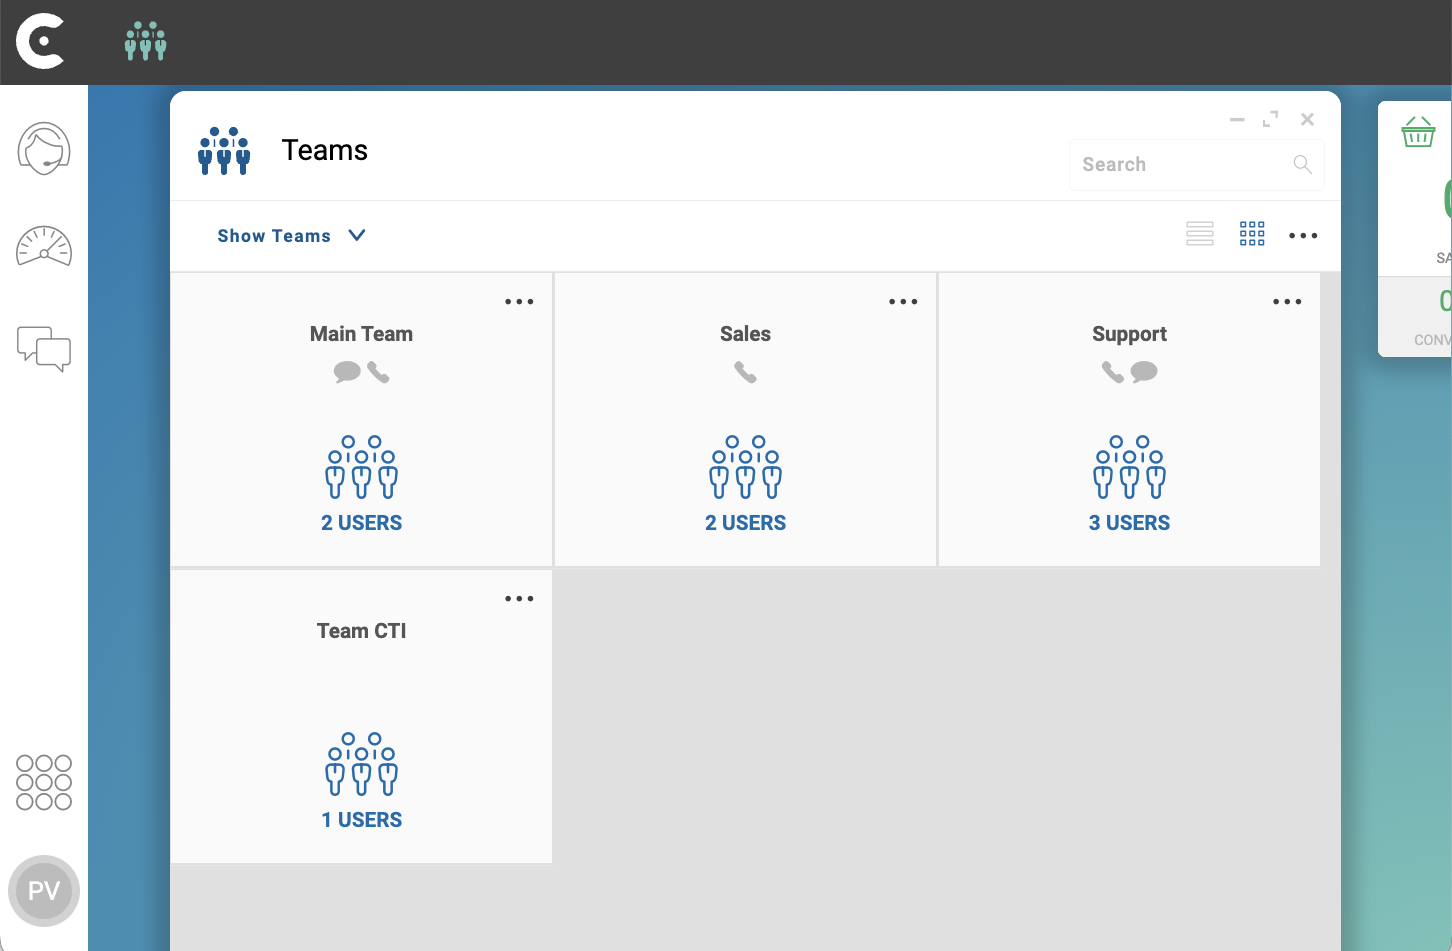
2. Open the new user screen
-
In the top right corner of app Teams, click menu …
-
From the dropdown menu, select NEW USERS.
3. Enter the new user information
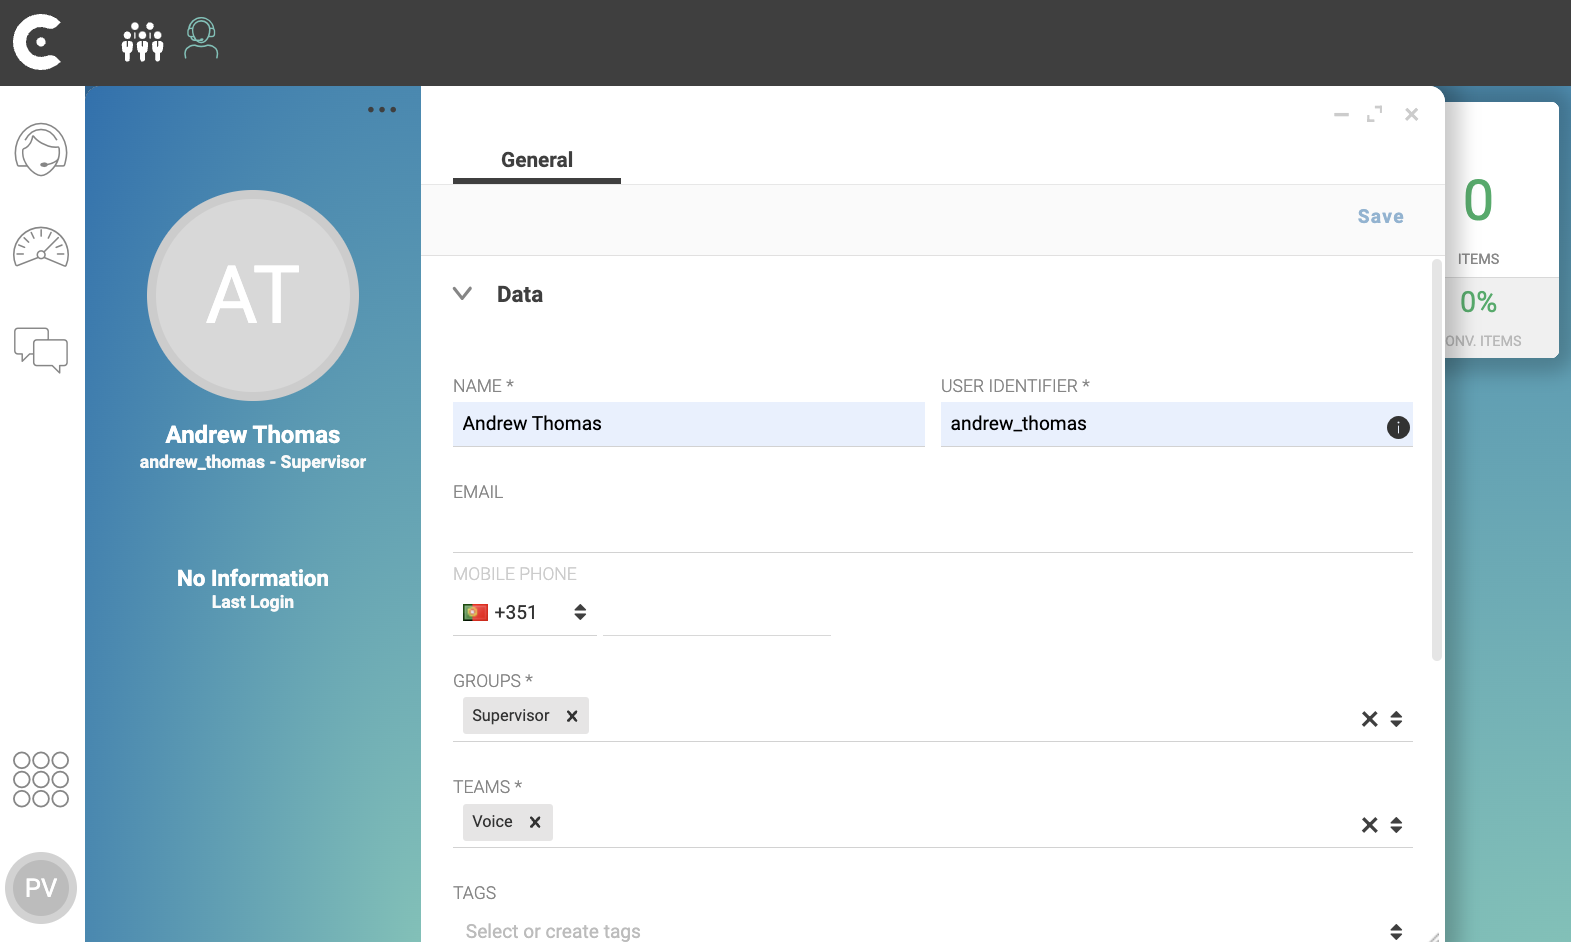
On Data accordion, fill the following fields:
-
NAME: Write the name of the user. For example,
Andrew Thomas. -
USER IDENTIFIER: Write a username for the user. For example,
andrew_thomas. -
GROUPS: Select, at least, one role for the user. For example,
Supervisor. -
TEAMS: Select, at least, one team for the user. For example,
Voice. -
NEW PASSWORD: Generate a password for the user.
-
REPEAT PASSWORD: Re-enter the previous password.
If you are creating users with GROUPS =
Operator, select the Skills tab and ensure that you associate the new user to the required skills.
TIP: Save the password. You will need to send the user the generated password.
On the Backoffice accordion, fill the following fields:
-
LANGUAGE: Select user language. For example,
English. Note that the language affects the localization of the user account. -
FORCE CHANGE PASSWORD ON NEXT LOGIN: Select YES to force the user to select the user own password on the first login.
In the top right corner of the new user screen, click button Save.
Reference: Users.
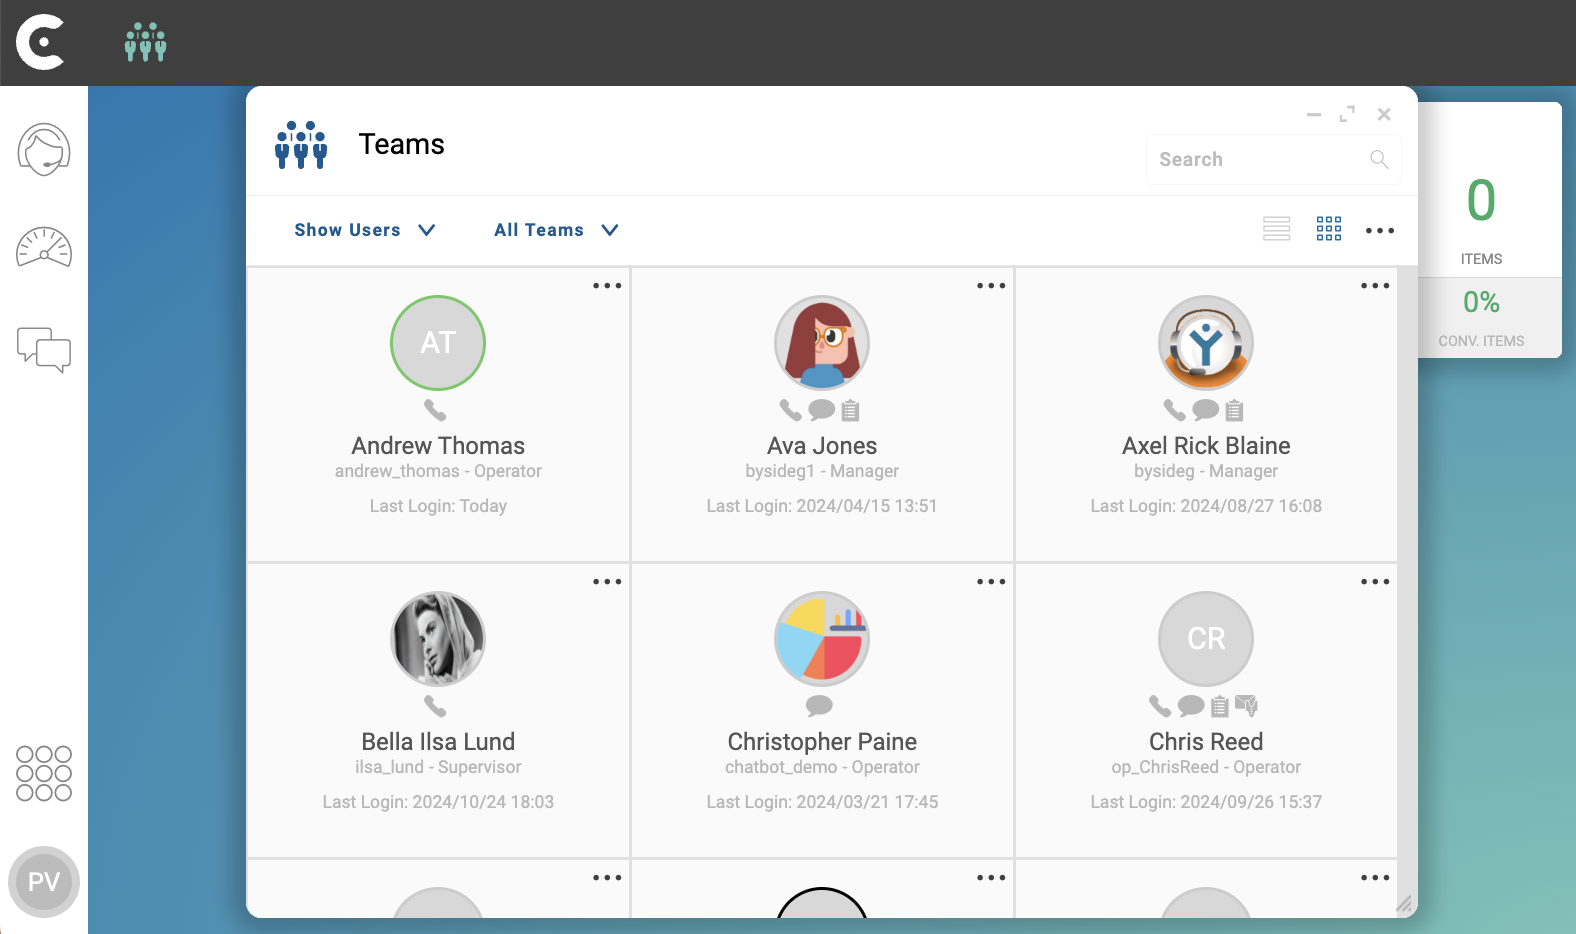
Result
After clicking button Save, CCAS creates the user. You can view the user in the SHOW USERS grid.
TIP: Next step Updating the User Photo
Don’t forget to send the USER IDENTIFIER and the PASSWORD so that the user can login to the Contact Center and Analytics Studio.