Adding Rules to a Listing Panel
Last updated 16 minutes ago
Add rules to listing panels to filter information that appears in the panel.
Table of Contents
Use rules to filter the type of information that appears in a listing panel. For example, you can create a rule to show only successful chats in a listing panel.
Prerequisites
-
Have a user with permissions to use Contact Center and Analytic Studio (CCAS).
-
Have created, at least, a dashboard and a listing panel.
Steps
1. Edit the listing panel
-
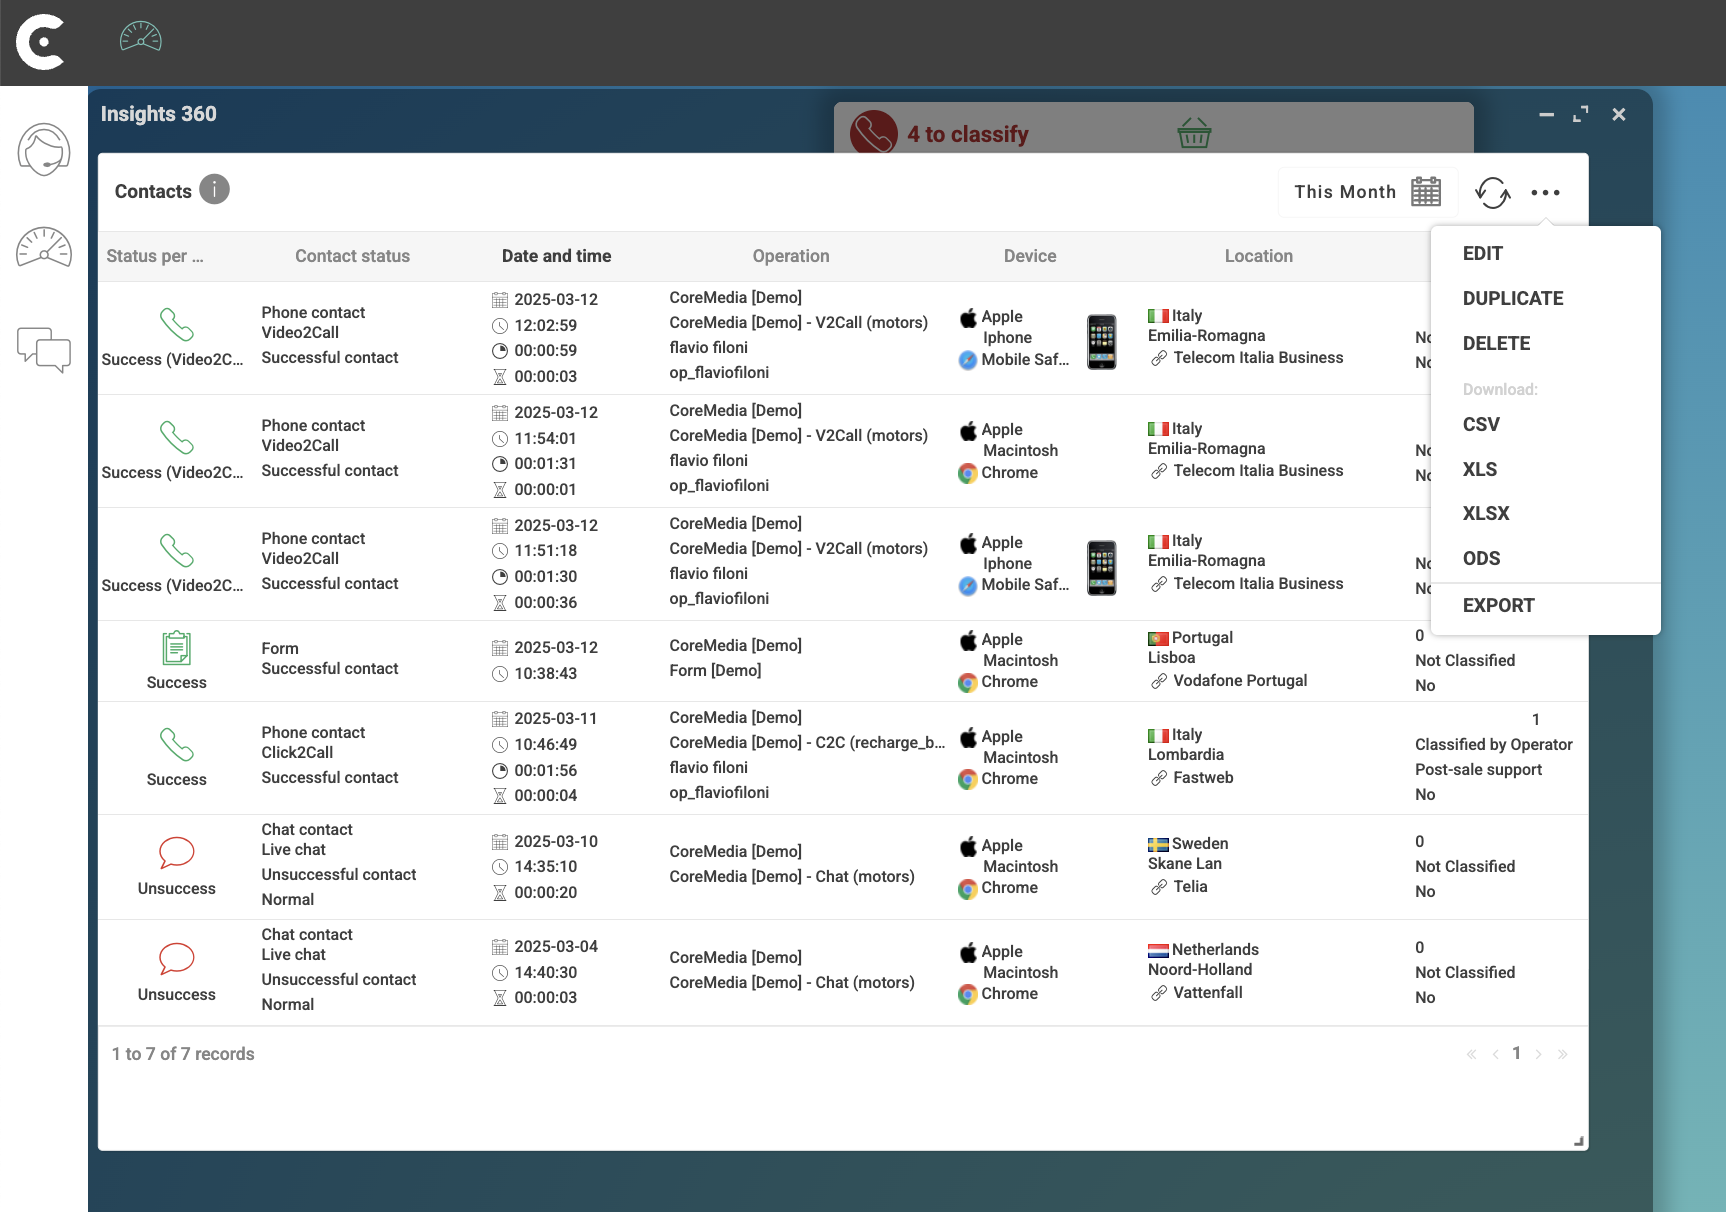
In the top right corner of the listing panel, click menu …
-
In the dropdown menu, select EDIT.
-
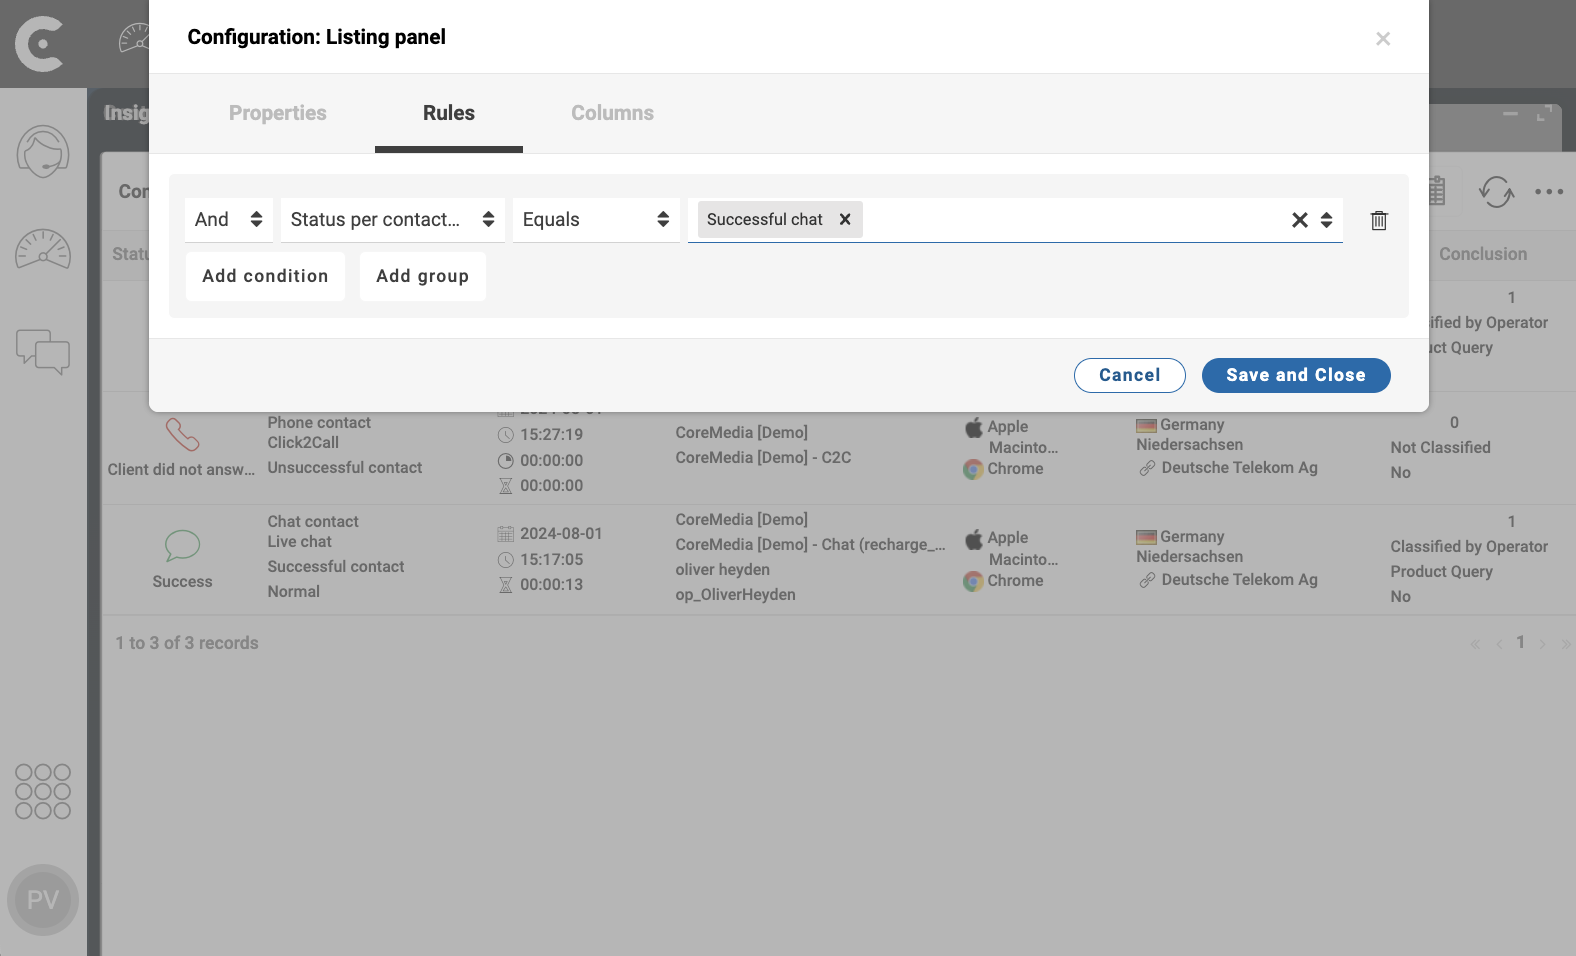
In window Configuration: Listing panel, select tab Rules.
2. Define the rule
-
In tab Rules, click button Add condition.
CCAS adds a form with dropdonws that allows you to define the conditions of the rule.-
In the 1st dropdown, select the operation to combine more than one conditions. For example,
And. -
In the 2nd dropdown, select a field in listing panel to apply the condition. For example,
Status per contact type. To find fields, start writing the field name. CCAS filters the list of fields in accordance with your input. -
In the 3rd dropdown, select a comparison operator. For example,
Equals. -
In the 4th dropdown, select a value to filter the column. For example,
Success chat.
-
-
Click button Save and Close.
TIP: Click on the rule name and write a new name for the rule. Use a meaningful names.
Result
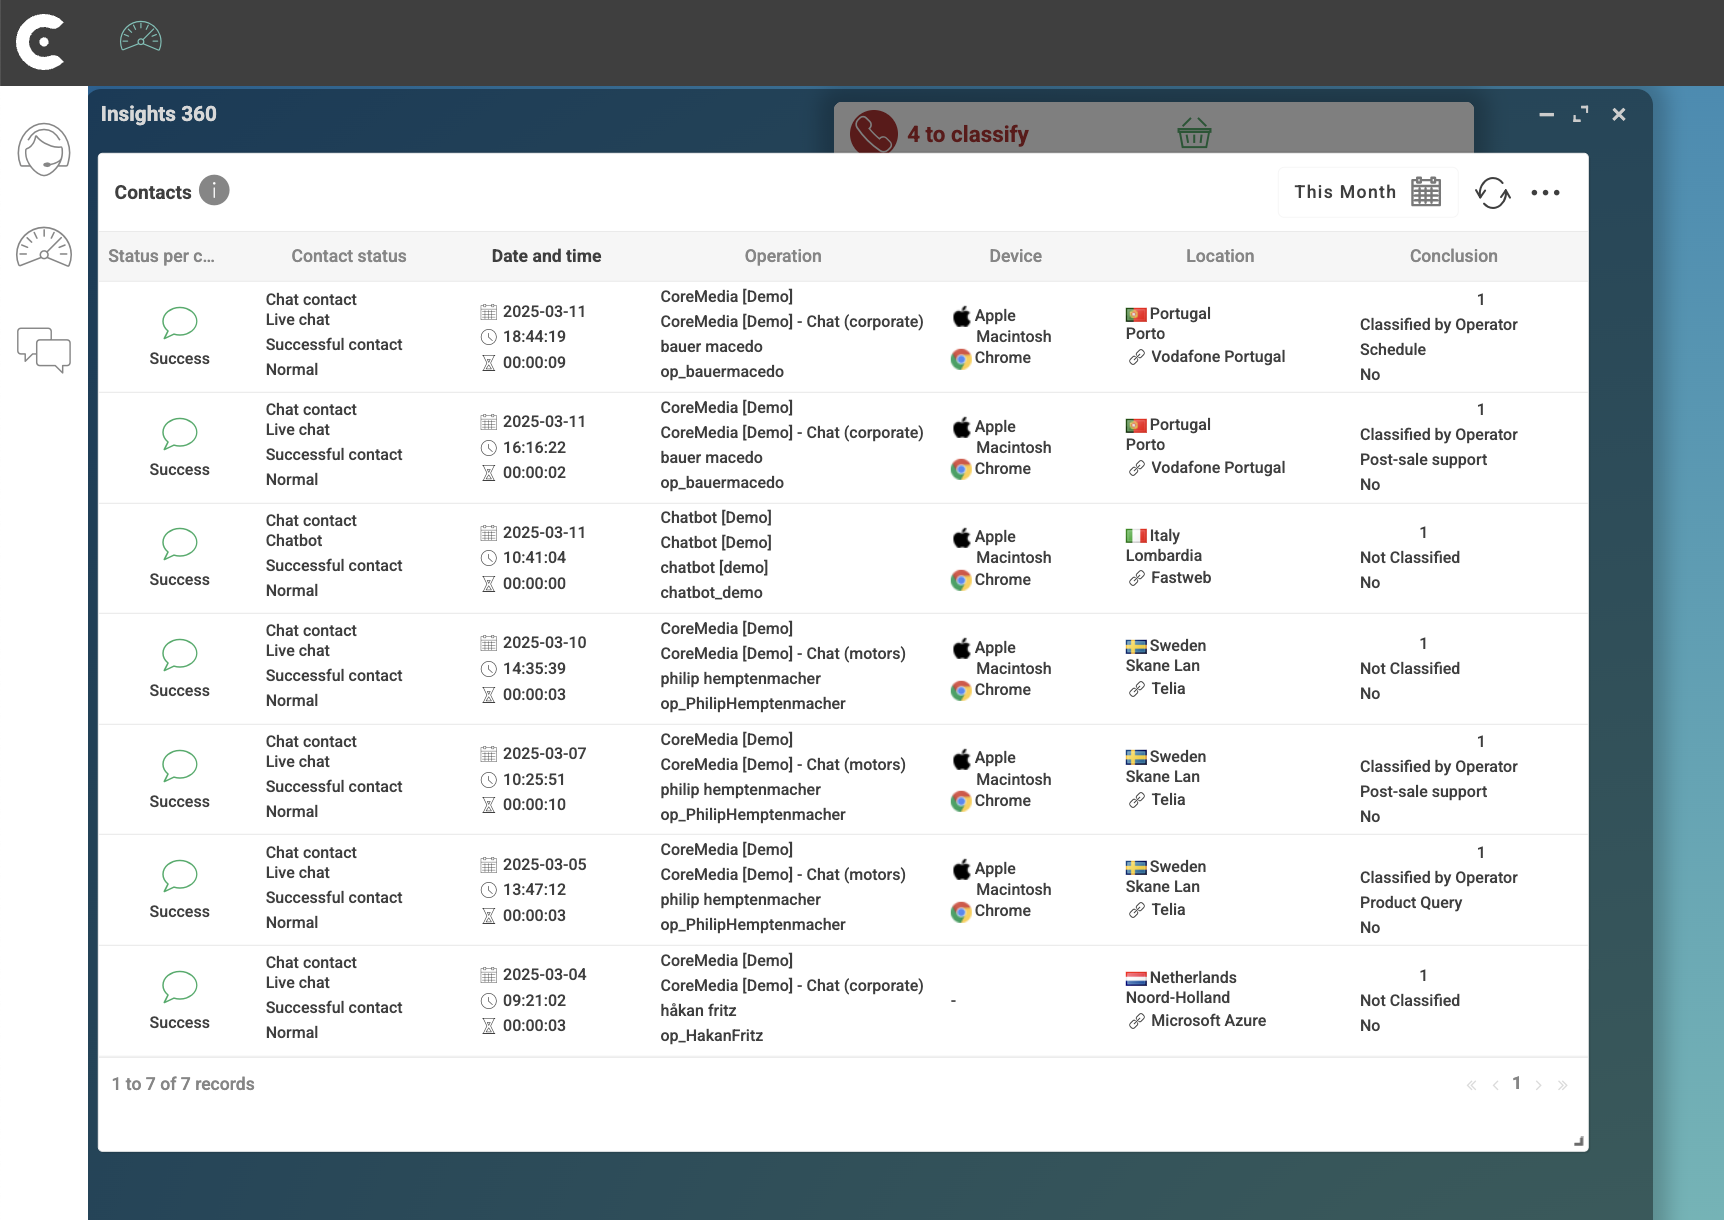
After saving the rule, CCAS starts showing only rows to which the condition of the rules is true. For example, after applying the rule, panel Contacts only shows rows that have value Success chat in column Status per contact type.
Note that:
You can add more than one condition to a rule.
You can group conditions to define precedence.
Is this page useful?