


Studio User Manual / Version 2201
Table Of Contents
CoreMedia Content Cloud allows you to manage images in the CoreMedia system that will be included in products
and SKUs of the commerce system. You have to add a product or SKU to a Picture item.
For the Connector for HCL Commerce adding images is a two-step process. First you have to add a product or SKU to a
Picture item and afterwards you have to add a specific URL to the product
definition in the HCL system.
You don't have to assign every SKU to a picture document. If an SKU is not assigned to a picture document the asset management searches for the picture document assigned to the master product of the SKU or uses the default image for the site.
Assign a Product to an Image
In order to map an image from the CoreMedia system to a commerce product, you
have to link from a Picture item to a product. Proceed as follows:
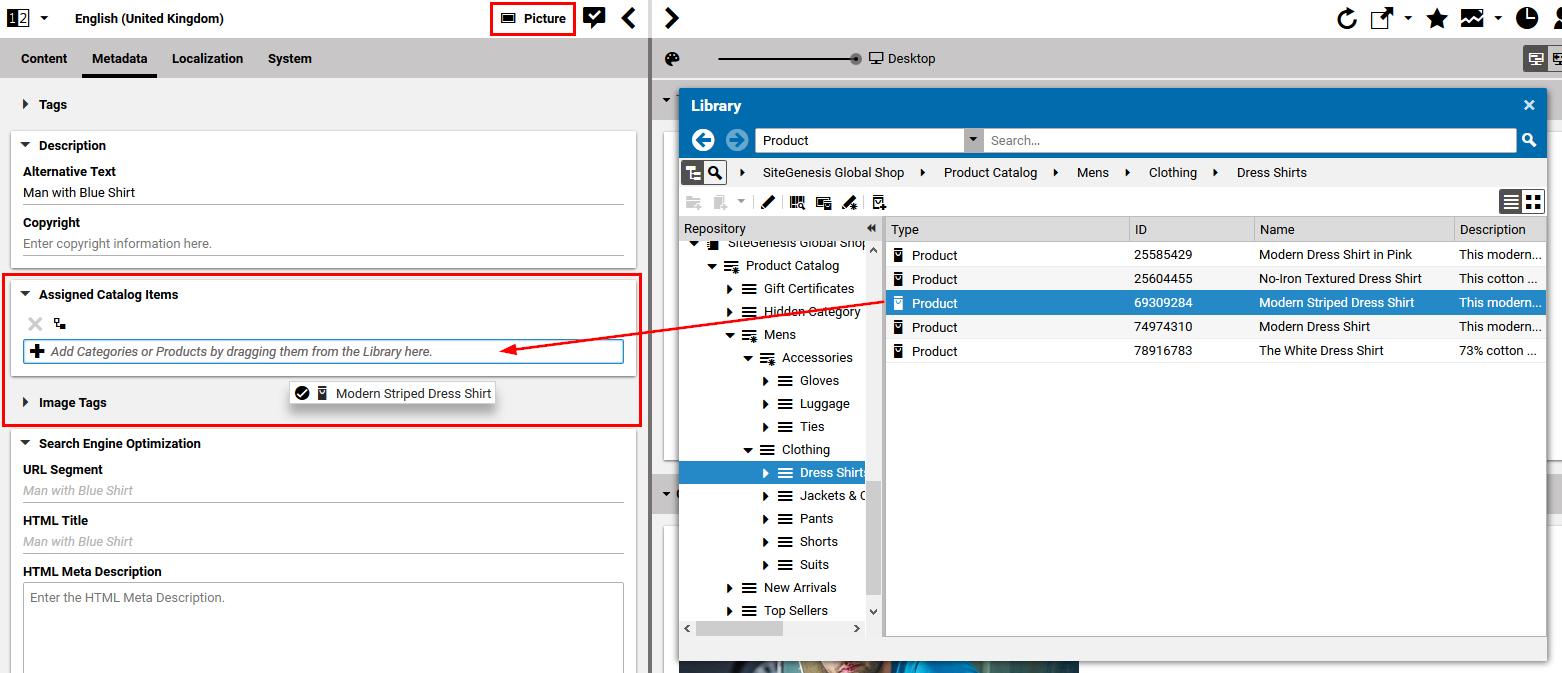
Open the
Picturecontent item that contains the image that you want to assign to the product.Open the Metadata tab of the document.
Find the product for which you want to define an image in the Library and drag it onto the Assigned Products link list.

Connector for HCL Commerce specific
The Assigned Products property is the same that is used to fill the Asset Widget as described in Section 6.2.3.8, “Adding Content with the Asset Widget”. So, when you use both approaches in parallel, the product image in the PDP will be replaced with the content of the Asset Widget. All other occurrences of the product image (teaser, thumbnails...) will be replaced with the first image defined in the property.
Add the Image URL to the Product
Connector for HCL Commerce specific feature
In order to let the HCL Commerce system request the image from the CoreMedia system you have to add a CoreMedia URL to the product definition. The URL has the following format:
http://<cmshost>:<cmsport>/blueprint/servlet/catalogimage/product/<storeId>/en_US/thumbnail/<SKUNumber>.png
http://<cmshost>:<cmsport>/blueprint/servlet/catalogimage/product/<storeId>/en_US/full/<SKUNumber>.png
You will get the URL from your system administrator.
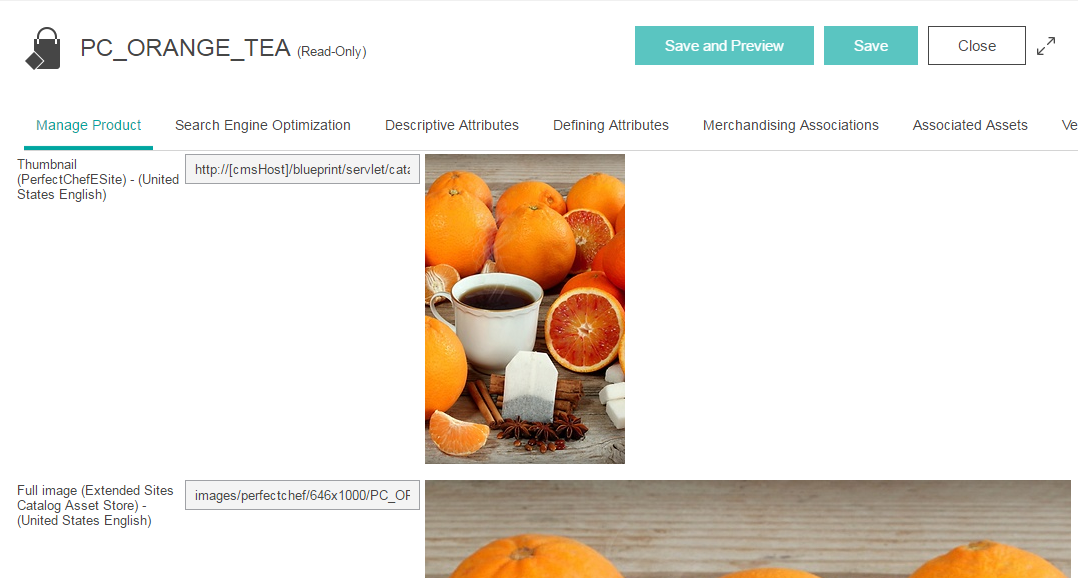
Open the product definition in the HCL Commerce Management Center.
Open the Manage Product tab.
Enter the appropriate URL into the Thumbnail and Full image properties.
Now, you will see the new image from the CoreMedia system displayed in the HCL Commerce.
End of Connector for HCL Commerce feature section
Adding Default Image
When there is no image defined for a category, an SKU or a master product, the system will look for a default image. Proceed as follows, to define the default image:
Open the root
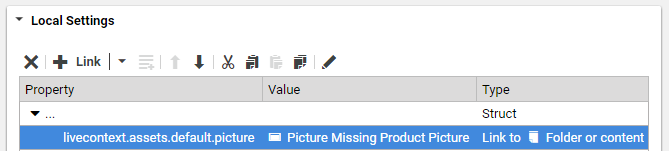
Pagecontent item of your site.Add a link property with name
livecontext.assets.default.pictureto the Local Settings field of the Settings tab.Drag the
Pictureitem with the default image to the new link property.
Now you have defined a default image for your site.
