


Studio User Manual / Version 2204
Table Of ContentsCoreMedia Blueprint lets you upload files from your file system into the CoreMedia repository.
You have three ways to upload files:
Create a new content item of the required type and drag the file onto the content. This way is described in Section 4.4.1.1, “Creating Content Items in the Library”.
Use the upload dialog which automatically creates a new content item for your file. The type of the created content item depends on the MIME type of the file. For an image, for example, a Picture will be created.
Directly drag a file into the Library or a link list which automatically creates a new content item. The type of the created content item depends on the MIME type of the file. For an image, for example, a Picture will be created.
The mapping between the MIME type of the file and the created content item is defined in the Upload Settings
settings item in /Settings/Options/Settings.
An uploaded Word document is a special case. Studio analyzes the Word document and creates an Article which contains the text from the document in the Article Text field. The Article Title field is filled with the filename. If the Word document contains images, Studio creates Picture items for the images and links them from the Pictures and Media field of the Article.
When a file is uploaded and a content of type Download is created, the filename of the uploaded file is stored
in the property File Name of the Download content.
The filename can be used for creating links in the CAE which can be enabled by setting the settings item
useCMDownloadFilename to true either directly in the respective Download content or in its
parent Channel hierarchy.
Drag and Drop into the Library or Link List
The easiest way to upload files is to drag them directly in the Library or into an appropriate link list.
Open the Library and select the folder in which you want to create the content item for the file.
or
Open a content item and the tab which contains the link list to which you want to add the content item with your file.
Drag the file(s) onto the link list of the content item or in the folder in the Library.
You can drag and drop more than one file simultaneously where the files can even have different types. However, when you drag the files into a link list, and the list does not support the type of the created content item, you will get a warning and the operation fails.
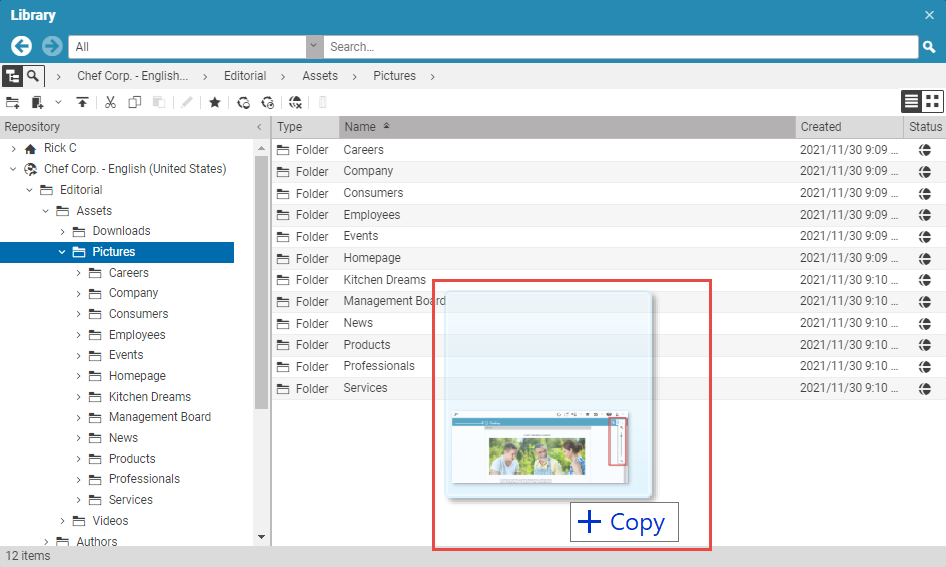

Studio creates content items for all files, where the type depends on the MIME type of the file. If you dragged the files onto a link list, the created files are automatically linked from the link list and the files are created in the same folder as the link list content item. The files will not be opened automatically.
Using the Upload Dialog
In order to upload files using the upload dialog, proceed as follows:
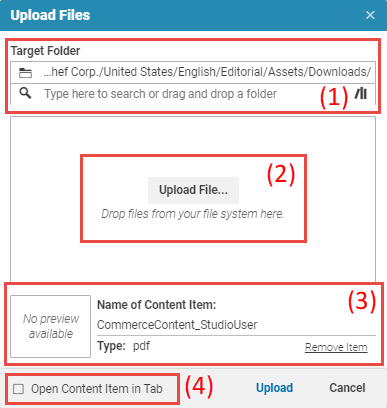
Open the upload dialog from the menu (see Section 4.4.1.2, “Creating Content Items from the Header Bar”) or click the [Upload files] icon in the library. The upload dialog opens.
The Target Folder field (1) shows the default path. You can edit the path.
Drag the file onto the drop area (2) of the dialog. The field (3) appears and the Content name field will automatically be filled with the name of the file.
You can add more files to the dialog in order to do a bulk upload. The files need not to have the same MIME type.
If you want to have the new content item(s) opened in a form tab, then check the Open content in tab checkbox (4). Otherwise, the content item(s) will be checked in and not opened.
Click [Upload] in order to create the content items.
The content items will be created in the target path. If you have checked Open Content Item in Tab, the items will be opened.
