Studio User Manual / Version 2107
Table Of ContentsLink lists contain links to other content items within CoreMedia CMS. Link lists can be used to link layout information to a content item, to set up navigation structures or to specify the articles for a website, for example. In principle, a link list can contain an unlimited number of links: however, the configuration of your system may limit the maximum (or minimum) number available. Generally, only content items of a specific type can be inserted into link lists.
| Icon | Name |
|---|---|
| Delete | |
| Open for editing | |
| Cut | |
| Copy | |
| Paste | |
| Create and add new content item | |
| Open the library to drag and drop content. |
Table 4.16. Names of link list icons

Inserting a link
There are different ways to insert a link into a link list.
Search or select a suggested link
CoreMedia Studio can offer you suggestions for content you might want to add to a link links. Alternatively, you can directly start a search in the link list field.
The suggested content items are a best guess what might be interesting to insert next. It will initially show your recently edited content items and when switched to search mode it will first search for results close to your currently edited document, which is for example contents in the same site as your current document first.
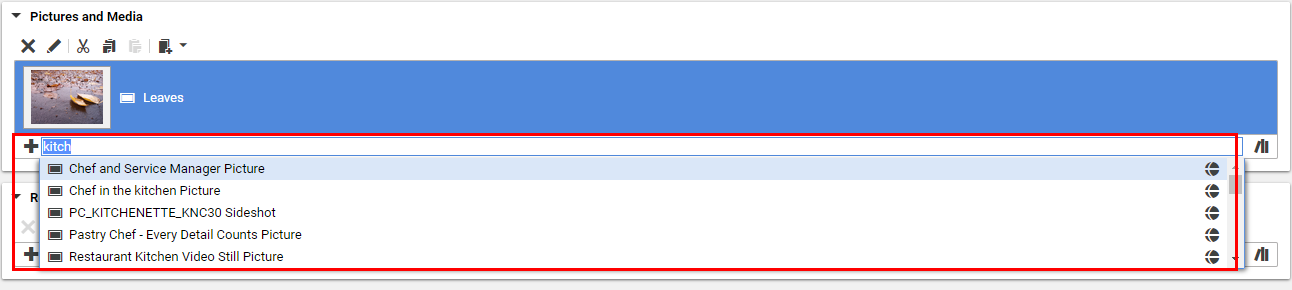
Click into the text field below the link list, which is marked with the plus sign.
Some recently edited content items are suggested for addition in a drop down box.
Select a content item from the drop down box to add it to the list. Optionally, enter a search term into the text field to switch to search mode and continue typing to narrow down the suggested content items.
The suggested content items are a best guess what might be interesting to insert next. Content items of the same site are shown first, if the link list is defined in a content item that is part of a site. Apart from that, recently edited content items appear first in the suggestions.
At any time you can click on the [Open Library] button to open the library instead to add the content via drag and drop. In case you entered a search term, it will be used as prefix-based search term in the opened library.
Drag and Drop existing content
Click on the [Open Library] button on the right-hand side below the link list.
The library opens up and all content items in the current site are shown that have the content types allowed for this link list.
Select the content item you wish to insert from the Library.
Now drag the content item to the link list.
Copy and Paste links
Copy a link from the Library or another link list.
Click the [Paste] icon in the appropriate link list.
Creating and adding a new content item
Click the [Create and add new content item] icon in the link list.
A dialog opens up. If the link list can hold different content types, you have to select the required type from a list that appears before the dialog box.
Enter the name and folder of the new content item.
Click [Confirm]
The content item now appears in the link list. If you try to insert a content item of the wrong content type, a small "stop" sign is shown.
Upload a file, create an item and link
If the link list links to content which contains binary files such as images, videos or PDF documents you can simply drag the file from the computer into the link list.

Studio creates the required content item (for example an item of type Picture for a PNG image), adds your
file to the item and links it from the link list. See Section “Drag and Drop into the Library or Link List” for more details.
You can drag and drop more than one file simultaneously which can even have different types. However, when the list does not support the type of the created content item, you will get a warning and the operation fails.
Copying a link
You can copy a link from a link list and paste it into other link lists or the library. You can either mark the link and click the [Copy] icon or simply drag the link to the new link list.
Cutting a link
Select the link you want to cut from the link list.
Click the [Cut] icon.
The link has been removed from the link list and has been saved in the clipboard. You can copy the link into other link lists but not in the Library.
Deleting a link
Select the link you wish to delete from the link list.
Click the Delete icon.
The link is now deleted from the link list.
Changing the order of your links
Depending on the way the list is used, the order of its links may make a difference. To reposition your links in the link list, simply drag and drop them using the mouse.
Opening a linked content item
Simply double-click the content item.
or
Mark your chosen content item in the link list.
Select Open in tab from the context menu or click the Open in tab icon.
Annotated Link List
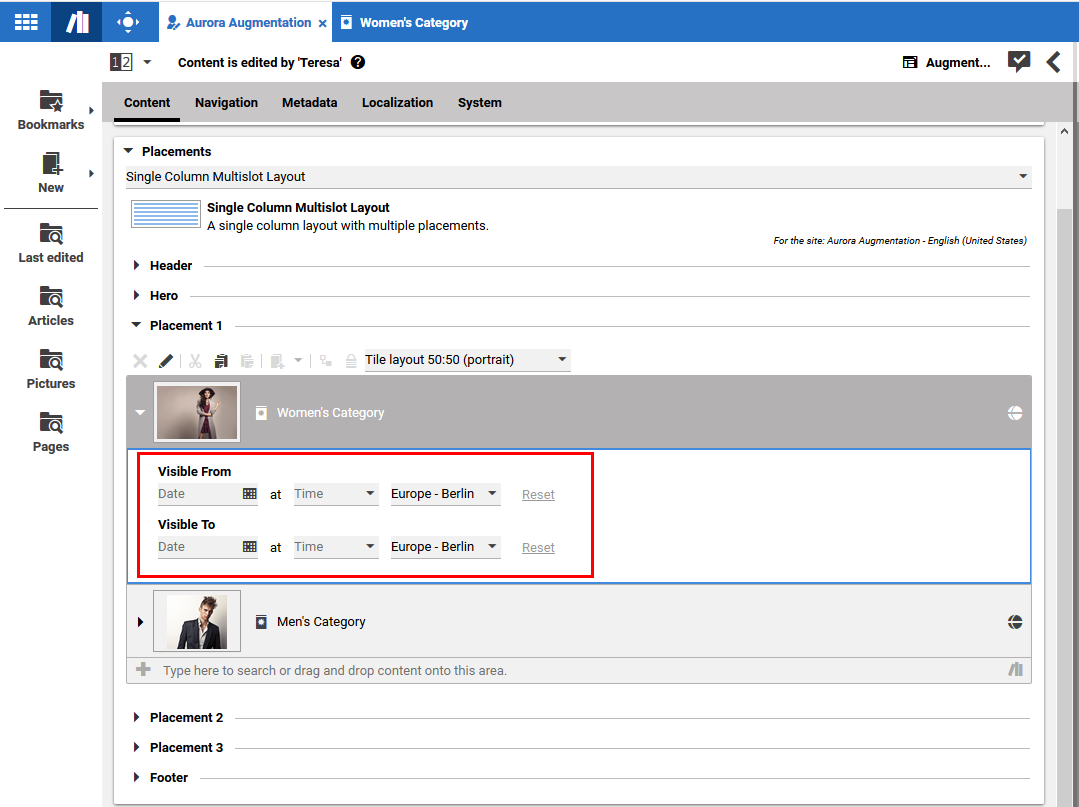
Annotated link lists work like normal link lists, but you can add information to the linked content. An example is the advanced teaser management, where you can add call-to-action buttons to the teaser targets (see Section 4.6.9, “Advanced Teaser Management”). The row expander of a link list item shows, if the default state of the additional information was changed. In Figure 4.58, “ Annotated link list with changed default state of link list item ” the Show Call-to-Action Button checkbox has been checked and therefore, the expander has changed the appearance.

Another example is the Visible From label in link lists in placements, for example in pages. Here, you can select, when a content should appear in the placement (see Section 4.6.14, “Time Dependent Visibility” for more details)