Studio User Manual / Version 2107
Table Of Contents
In this chapter you will learn how to work with personalized content. As an example, a
Personalized Content content item from CoreMedia
Blueprint is used.
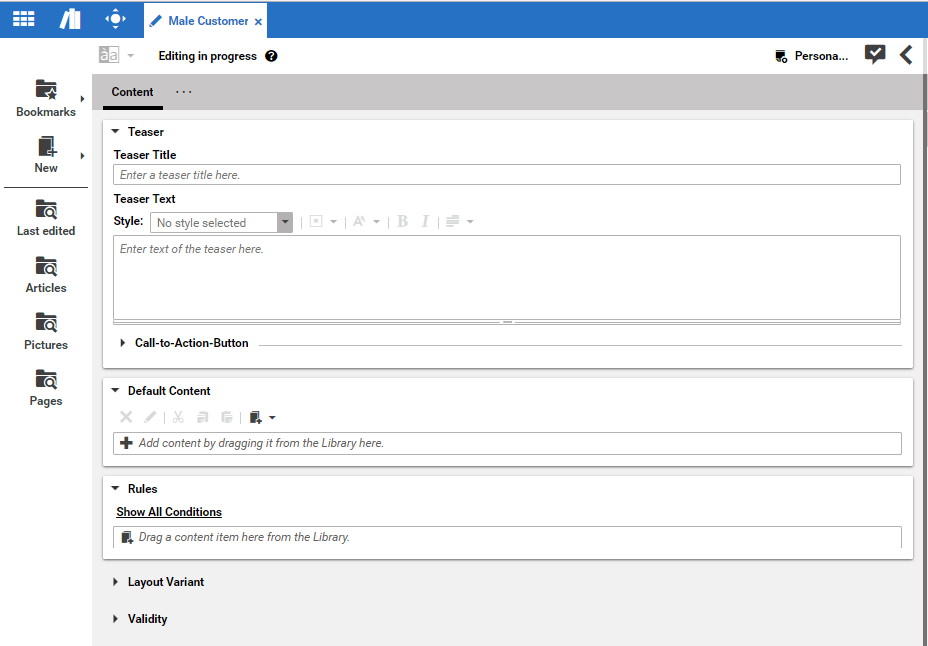
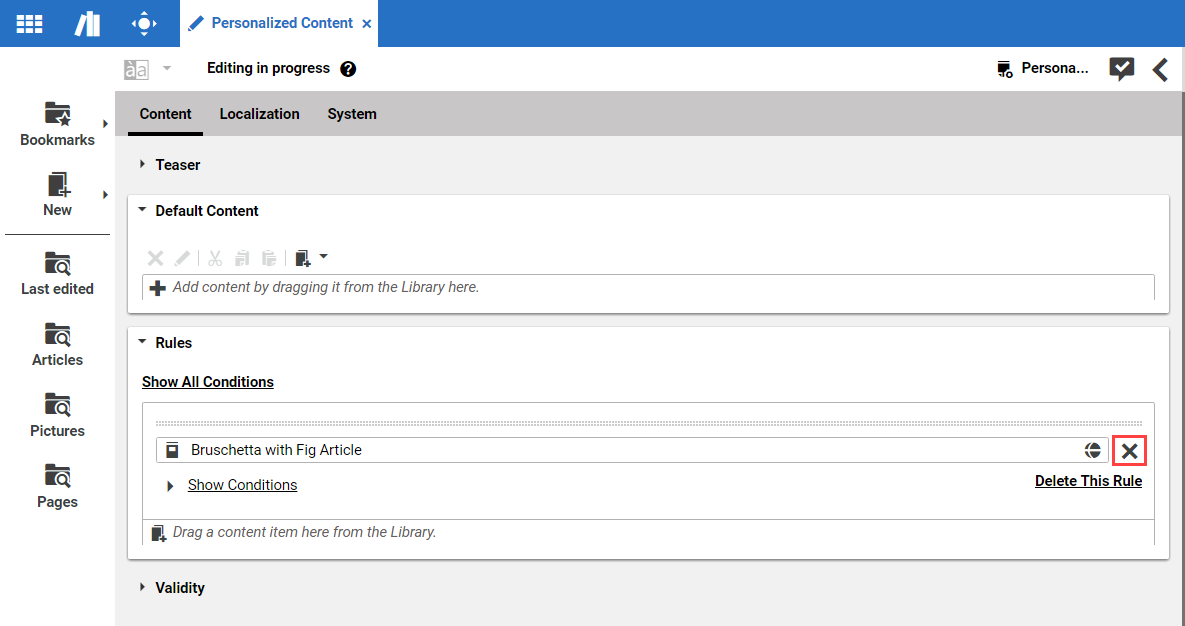
A newly created Personalized Content content item is empty. It contains a property
editor for the teaser title, a rule list drop box and the editor for default content in the
Content tab.
Adding rules and content
Before the Personalized Content content item will render any content, you have to
define content which can be selected and conditions which define if the content is shown. The combination of
selecting a content item and adding conditions to it is called a selection rule. A
Personalized Content content item contains a selection rule list with zero or more
rules and optionally default content to show when none of the rules apply.
Adding default content
Default content will be shown when the condition evaluates to "false". You can simply drag content to the default content property editor.
Creating a new selection rule
In order to create a new rule you need to add a content that will be shown when the condition evaluates to "true" and then add rules which define when the content is shown.
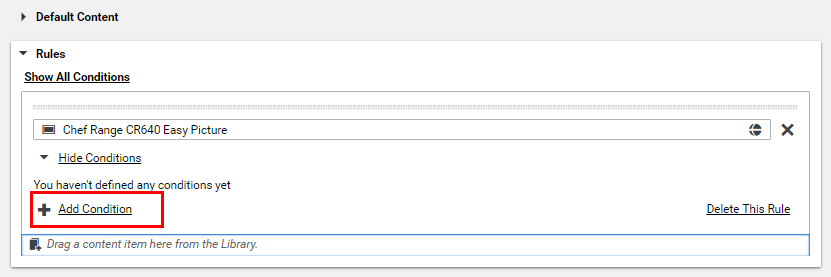
Drag and drop a content item to the rule list drop box.
Click Add condition to add a new condition.
Select a condition type from the drop down box. The condition types you see depend on your system configuration.
The following fields depend on the selected condition type. If you select the Day of Week condition, then only two fields remain.
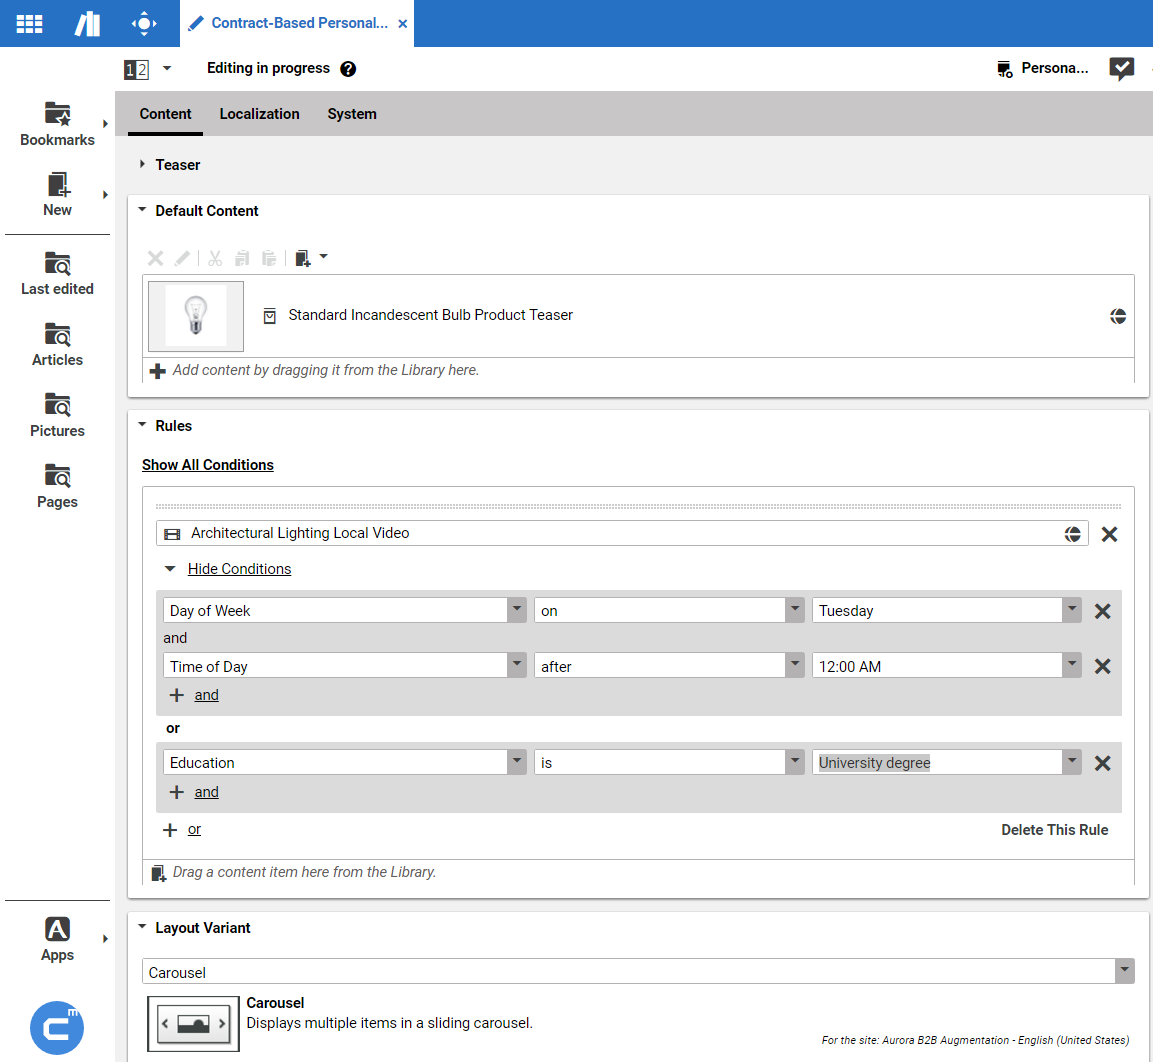
Select an operator (on) and a day (Tuesday) (1).
Now, you have added the first condition which must be fulfilled to show the content.
You can use the OR and AND buttons to add more conditions. The content is shown when either one of the conditions is true (OR) or when all conditions are true (AND).
The result might look as in the following figure:
This condition will be "true" if it is Tuesday and after 04:00 PM or if the Explicit Interest contains "Commerce".


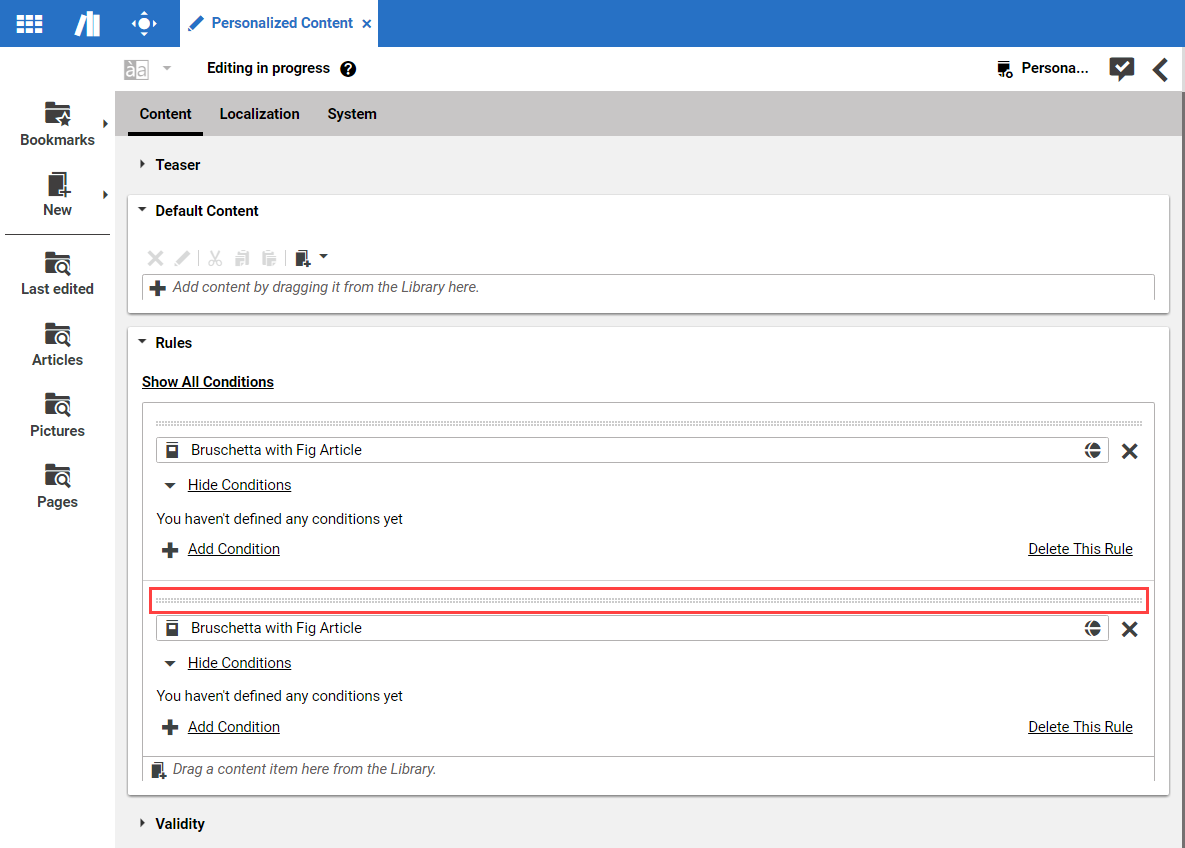
You can add more than one content item to the Personalized Content content item and
define different rules for each item. The rules will be evaluated in the order in which they
appear in the rules editor.
Delete or edit a selection rule
You can change the content associated with a rule at any time by clicking the delete button. To set a new content item for the rule, you can simply drag another content item in the rule panel. The same way, you can delete a condition.
Changing the order of rules
You can change the order of rules in the selection rule list by dragging a rule to its new desired position in the list. The order is essential to the evaluation of the selection rule list.