


Studio User Manual / Version 2107
Table Of ContentsAn important part of projects are to-dos. In the project tab, you can work with to-dos. This involves the following:
Creating to-dos
Adding a description
Adding editors
Adding due date
Marking the to-do as finished
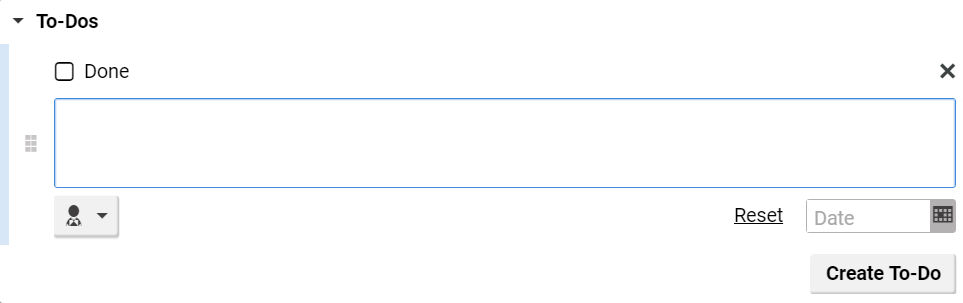
Creating a To-Do
Simply click the [Create To-Do] button in the To-Do section of the Project tab.
A new to-do appears and the focus is on the description field. Start writing a description.
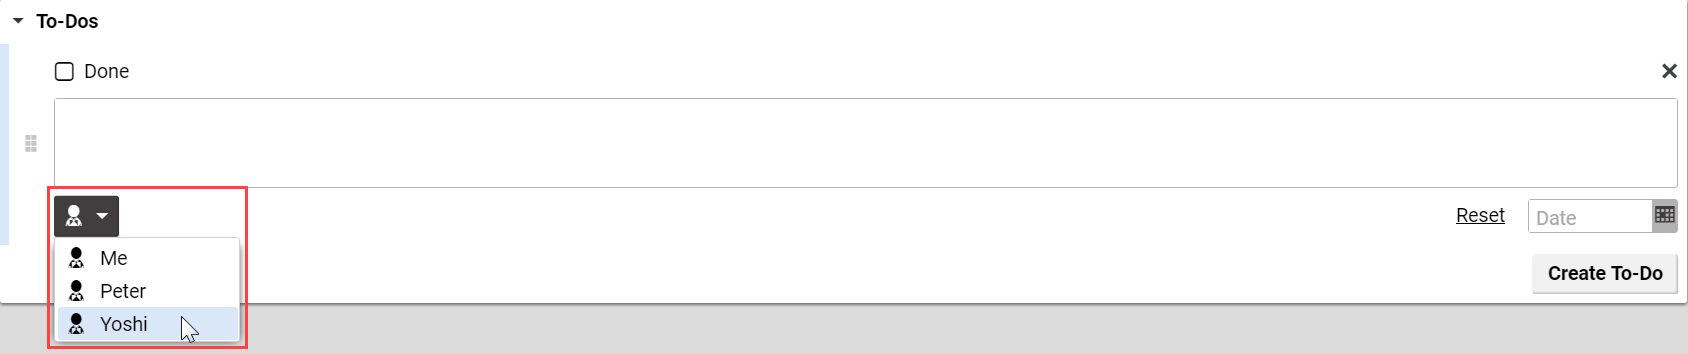
Adding a User
Select the to-do and click ![]() . Select the user from the list. The user gets a notification that you have
assigned a to-do.
. Select the user from the list. The user gets a notification that you have
assigned a to-do.
Adding a Due Date
Select the to-do and click the ![]() icon. Select a date from the date picker. The due date is shown in the to-do field
and highlighted in the calendar of the project. If the due date lies after the due date of the
project, you will see a warning.
icon. Select a date from the date picker. The due date is shown in the to-do field
and highlighted in the calendar of the project. If the due date lies after the due date of the
project, you will see a warning.
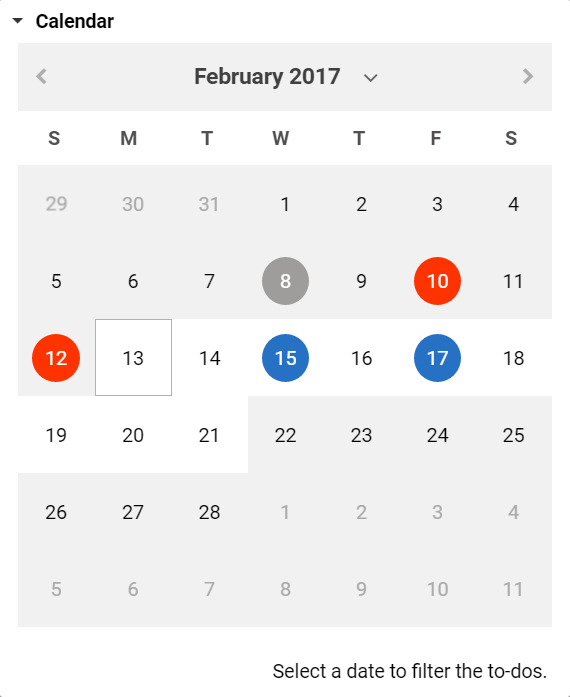
Colors mark different to-dos:
The light frame highlights the current date
The blue circle highlights open to-do due dates. When more than one to-do has the same due date, the circle will be blue, as long as at least one of these to-dos is not completed.
The gray circle highlights done to-dos
The red circle highlights overdue to-dos
The white circle highlights the due date of the whole project
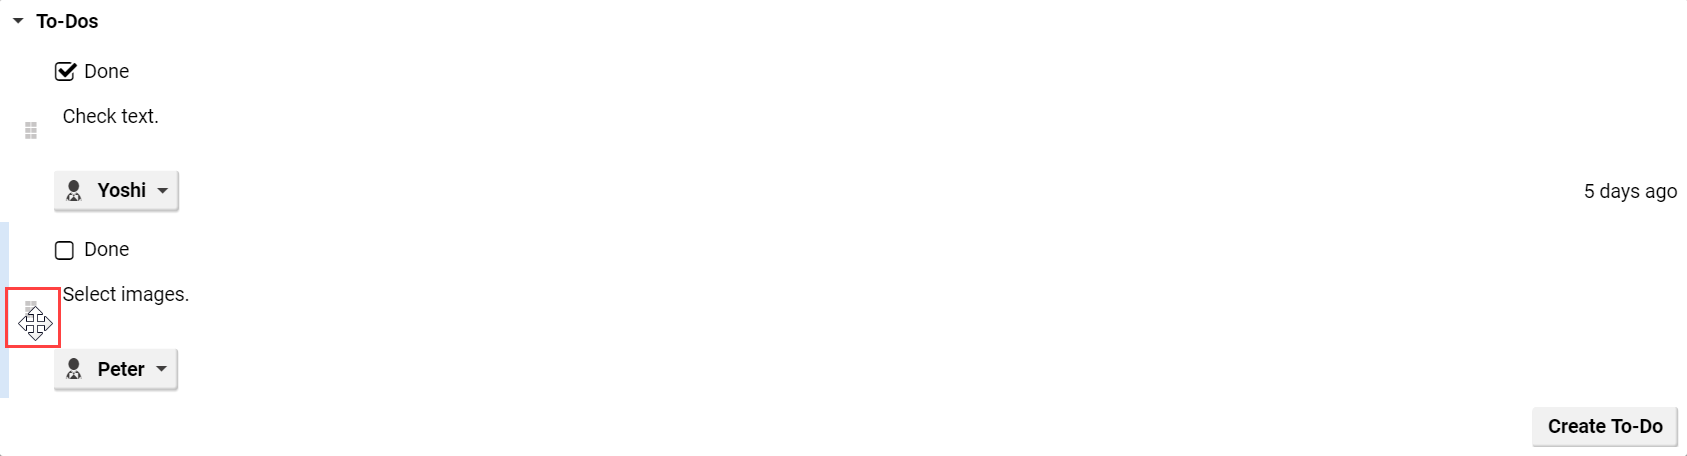
Marking To-Do as Completed
Check the checkbox of the to-do to mark the to-do as completed.

The to-do is grayed out and the circle with the due date of the to-do in the calendar is also gray.
Rearranging To-Dos
You can change the order of to-dos. To do so, hover over the to-do and then drag the to-do with the handle in the left bar to the new position.
Filtering To-Dos
You can limit the shown to-dos to a given date. To do so, click on the according date on the calendar of the project. The circle of the selected date is inverted to mark the selected date. In the filtered view, you can neither create new to-dos nor rearrange the to-dos.

In order to show all to-dos again, click the [Show All To-Dos] link in the Calendar of the project.
Deleting a To-do
Click the x icon at the right side of the to-do in order to delete the to-do.
