


Studio User Manual / Version 2107
Table Of ContentsA taxonomy can be used to categorize content in a consistent and hierarchical manner. CoreMedia Blueprint comes with a predefined taxonomy that you can adapt to your needs using the Taxonomy Editor.
Taxonomy entries are stored as content items from type Tag or
Location.
Opening the taxonomy editor
Open the folder from the Favorites Bar and click [Tags] .
Editing taxonomies
You can add, move and delete tags in the Taxonomy Editor
Adding tags
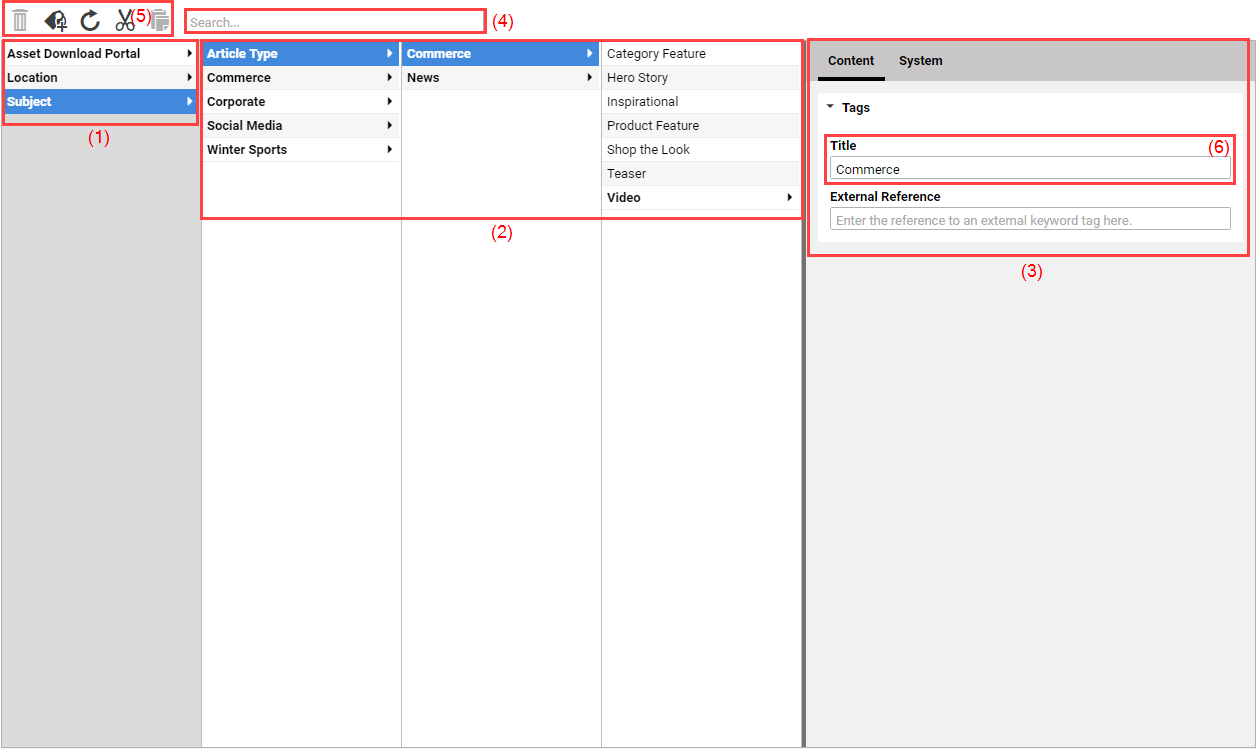
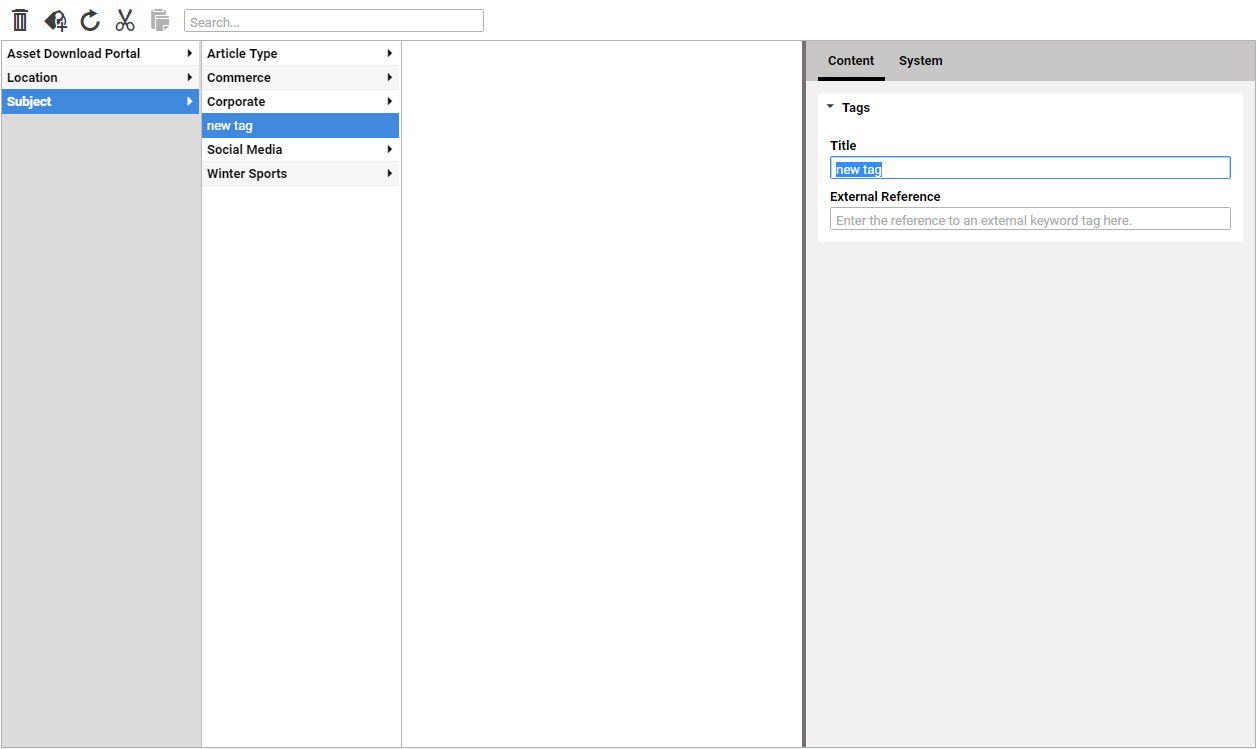
Select a tag to which you want to add a child tag and click the [Add child tag] icon. A form (3) appears where you can enter the name of the new tag (6). The newly created tag will automatically be saved and published to the Live System.
Moving tags
In order to move a tag you can simply use drag and drop or proceed as follows:
Select the tag you want to move.
Click the [Cut tag] icon.
Select the tag to which you want to add the tag as a child.
Click the [Paste tag] icon.
Deleting tags
If you delete a tag, you should check first if the tag is used by other content items. To do so, select the tag in the Taxonomy Editor and open the System tab (1). Check the Contents which link to this content field (2) for linking content items.
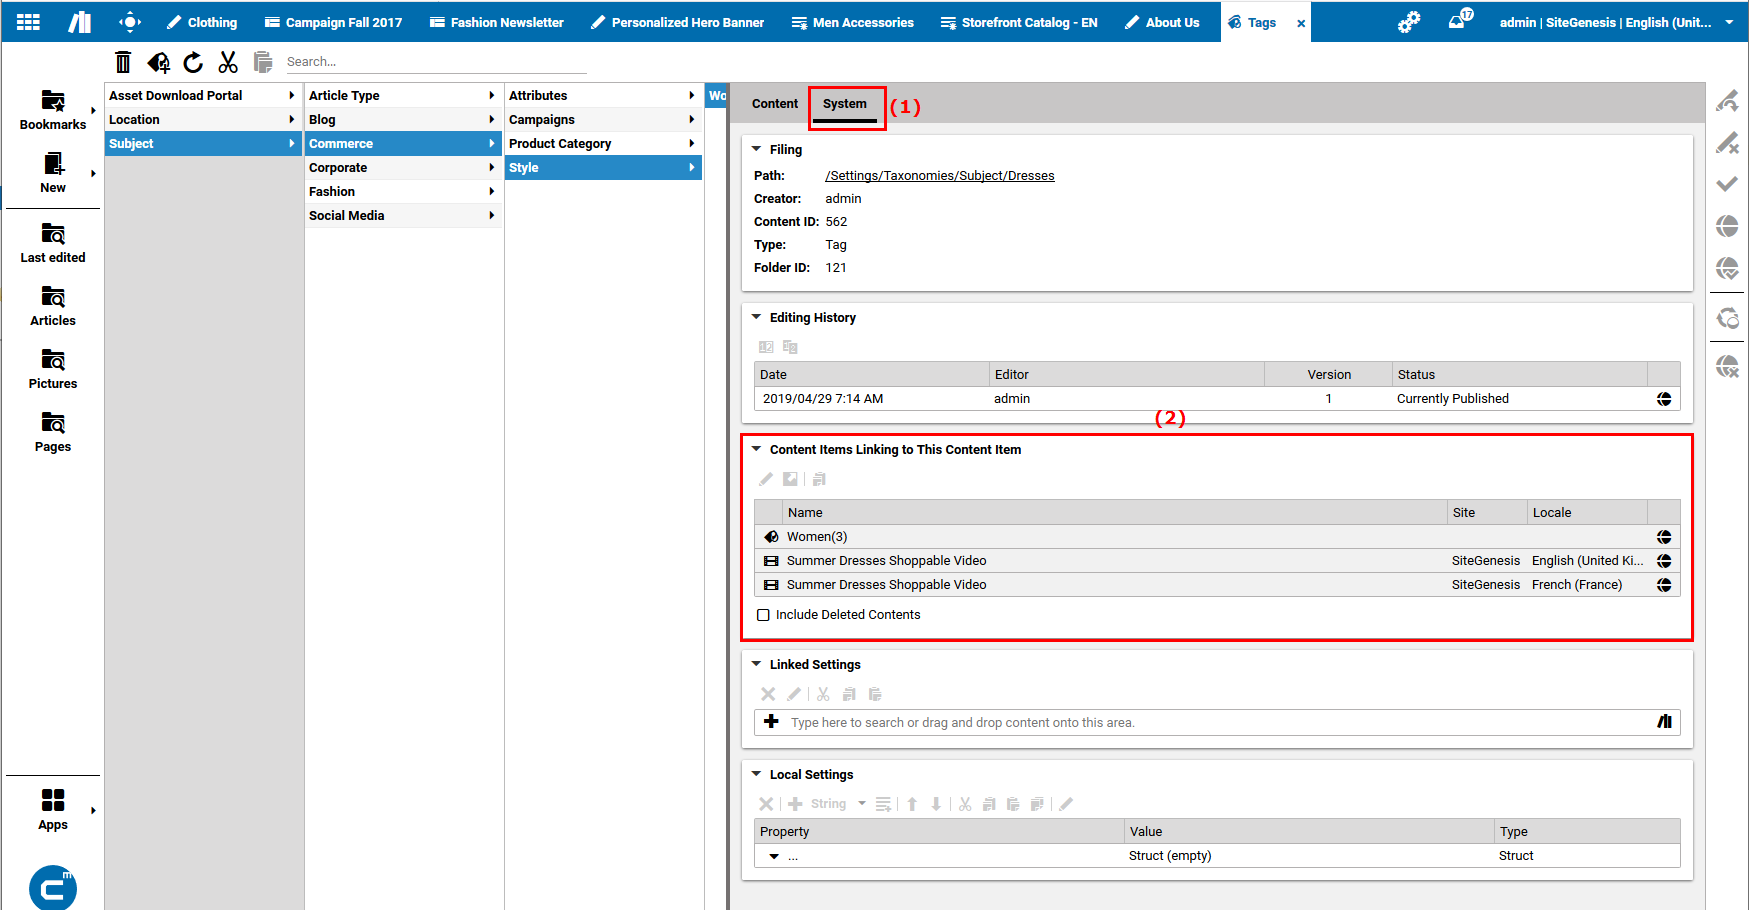
Double click the linking content items to open them and remove the tag from the content items.
If the content item is not linked anymore, select the tag and click the [Remove selected tag] icon. The tag will be deleted and the corresponding content item will be moved into the trash.
