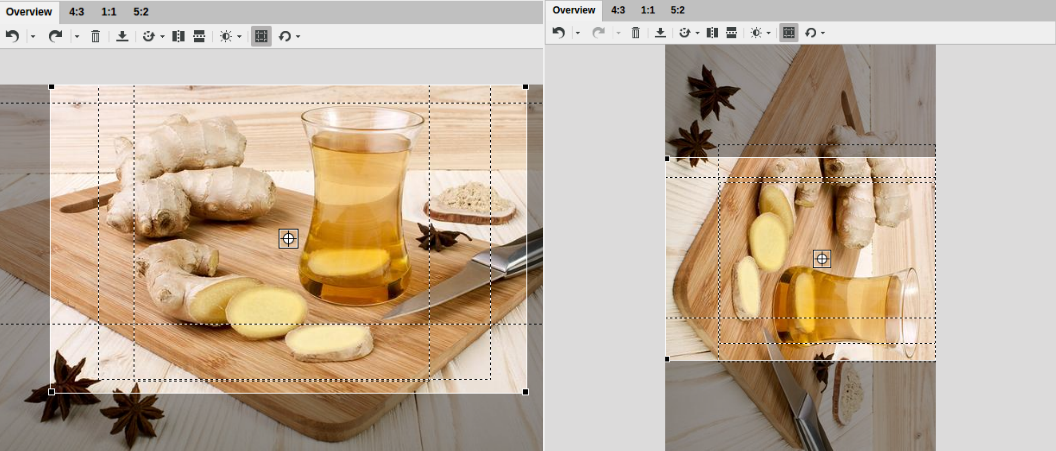
You can flip and rotate images that you have uploaded into CoreMedia Studio. To do so, you can use the following icons:
| Icon | Name |
|---|---|

| Flip the image along the horizontal axis |

| Flip the image along the vertical axis |

| Rotate menu |

| Rotate 90 degrees left |

| Rotate 90 degrees right |
Table 4.20. Icons for flipping and rotating
Flipping images
You can simply flip images at the horizontal or vertical axis with CoreMedia Studio. Keep in mind that always the whole picture is flipped. So, you cannot flip different crops of an image separately. The selection frames are also flipped, so that afterwards the same content is selected.
Flip horizontally
Click the Flip horizontally icon.
Flip vertically
Click the Flip vertically icon.
Rotating images
You can either rotate images in CoreMedia Studio in 90° steps to the left and to the right or continuously align the position. Keep in mind that always the whole picture is rotated. So, you cannot rotate different crops of an image separately. However, CoreMedia Studio tries to keep the relative position of a selection frame with respect to the image. This can lead to an adapted size of the selection frames.
Aligning images
In order to align a tilted horizon, for example, you can infinitely align an image in a given range. When you align the image, there would inevitably be corners with no content, therefore the image is zoomed in to avoid this. This adjustment keeps the aspect ratio of the selection frames, therefore the frames are not changed.
Select the Rotate menu and use the Straighten slider to align the image.
Rotating images with 90° steps
Select the Rotate menu and click the Rotate left icon for a rotation to the left and the Rotate right icon for a rotation to the right. Click the Reset link to recreate the original position. Keep in mind, that the reset will not reset the original size and position of the selection frames.
Revert changes
If you want to recover the original orientation of the image, simply click the [Reset] button.


