In this chapter you will learn how to work with personalized content. As an example, a
Personalized Content content item from CoreMedia Blueprint
is used.
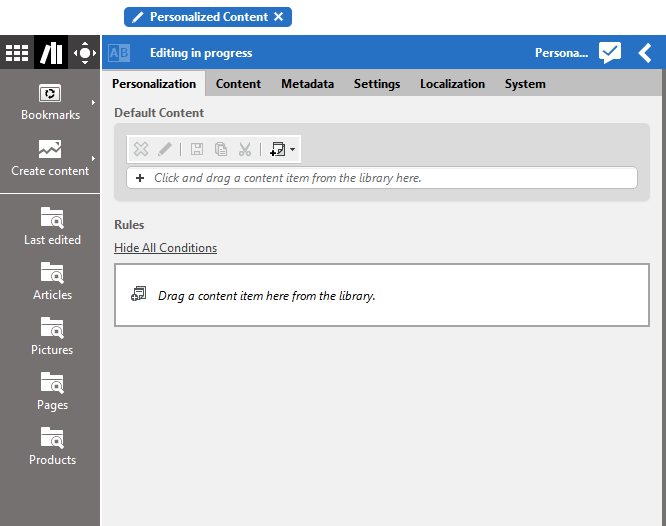
A newly created Personalized Content content item is empty. It contains a property editor for
the title, a rule list drop box and the editor for default content in the Personalization tab.
Adding rules and content
Before the Personalized Content content item will render any content, you have to define
content to select from and conditions to associate with that content. The combination of
selecting a content item and adding conditions to it is called a selection rule. A
Personalized Content content item contains a selection rule list with zero or more rules and
optionally default content to show when none of the rules apply.
Adding default content
Default content will be shown when the condition evaluates to "false". You can simply drag content to the default content property editor.
Creating a new selection rule
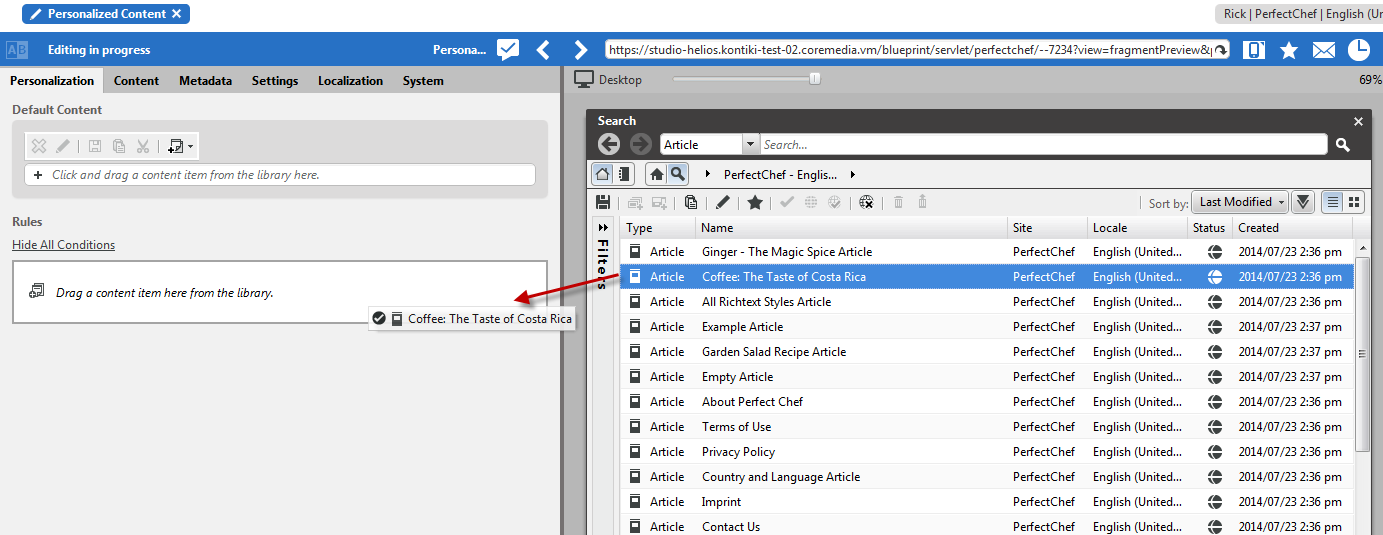
In order to create a new rule you need to add a content that will be shown when the condition evaluates to "true".
Drag and drop a content item to the rule list drop box.
Add conditions as described in Section 7.1, “Creating a Condition”.
You can add more than one content item to the Personalized Content content item and define
different rules for each item. The rules will be evaluated in the order in which they appear
in the rules editor.
Delete or edit a selection rule
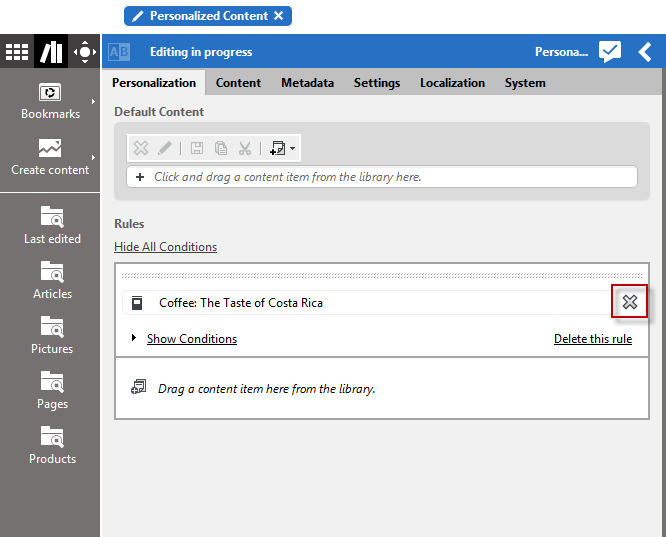
You can change the content associated with a rule at any time by clicking the delete button. To set a new content item for the rule, you can simply drag another content item in the rule panel.
Changing the order of rules
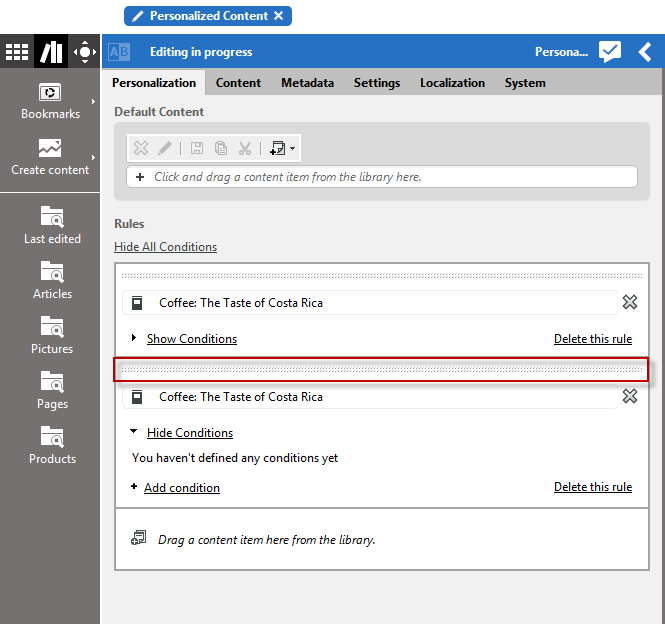
You can change the order of rules in the selection rule list by dragging a rule to its new desired position in the list. The order is essential to the evaluation of the selection rule list.


