Solution Overview for Business Users / Version 2506.0
Table Of ContentsCoreMedia Studio enables you to edit an uploaded image; even animated GIFs are supported.
You can, for example, flip, rotate, crop an image or change brightness and contrast. This functionality is non-destructive and can be reverted. You can use most of these functions like in your standard image processing software. Nevertheless, the cropping feature differs from the usual implementation that you know from other image processing tools.
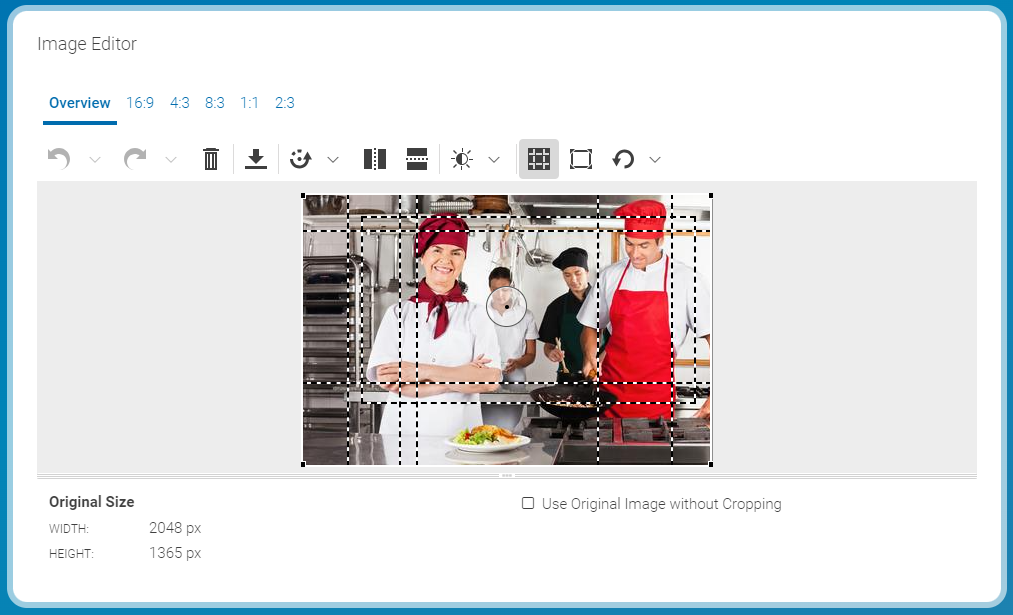
The main idea in CoreMedia Studio is, that you need images for your website which have a fixed aspect ratio that fits perfectly into the page grid. Therefore, your CoreMedia system has been prepared so that you can choose different crops with a fixed aspect ratio and a minimal size for a given image. An example of possible crops are shown in the image . You can use the tabs in the form to select a specific crop. In the preview, you will see all crops in comparison.
So, for example, the 4:3 crop could be shown in an article on your website while the 1:1 crop is shown in a teaser. Where a crop is actually shown, depends on your specific CoreMedia system configuration.
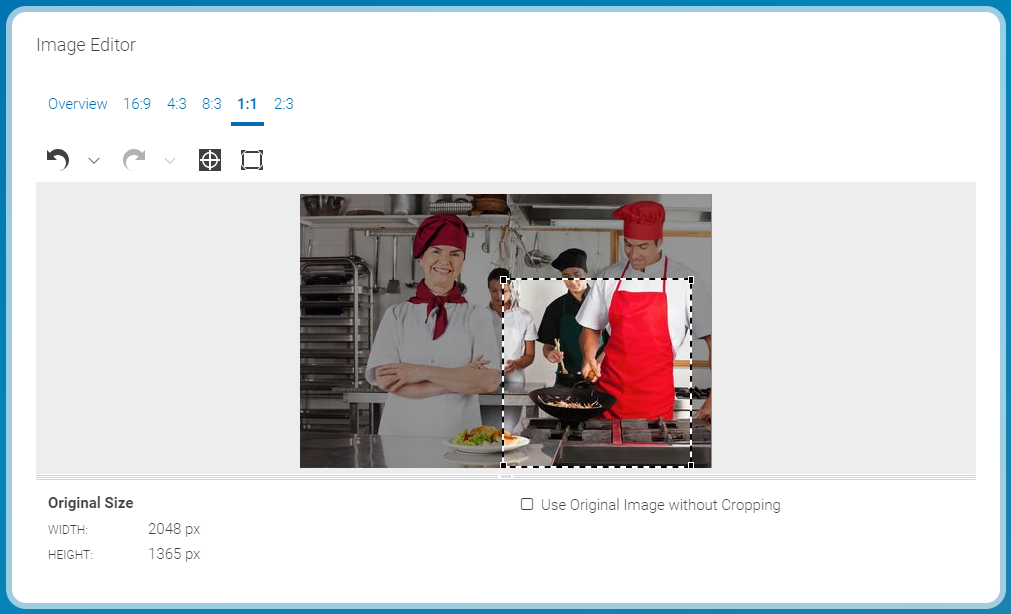
The Selection Frame
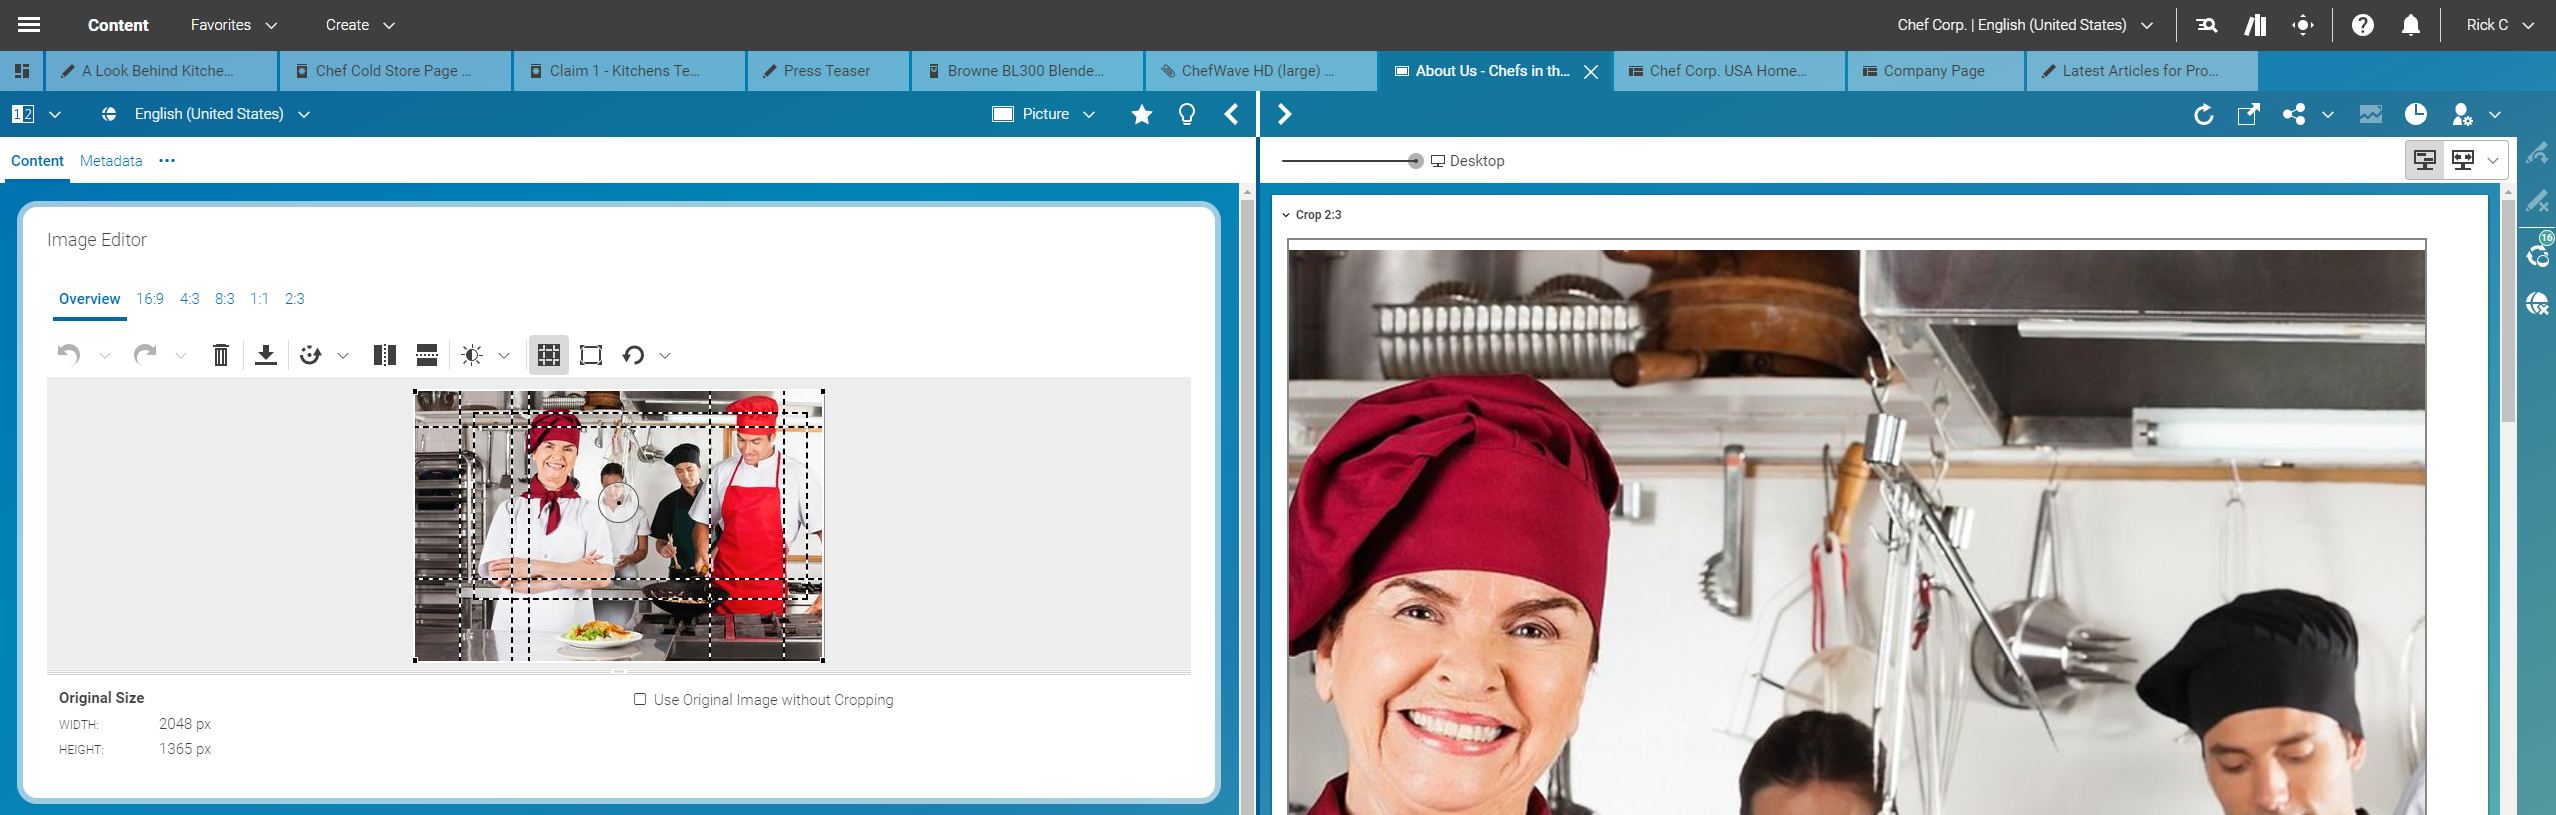
CoreMedia Studio uses a specific concept to couple the selection frames of the crops in an image. When you have uploaded an image or opened an image content item, you will see all dashed selection frames in the overview.
By default, the complete image is selected and all frames have a common center in the middle of the image. The common selection area is highlighted by the solid white frame around the image. If you move or resize the common selection area, then all selection frames are moved and resized accordingly. If the common area is smaller than the image, then the image outside the selection area appears darker.
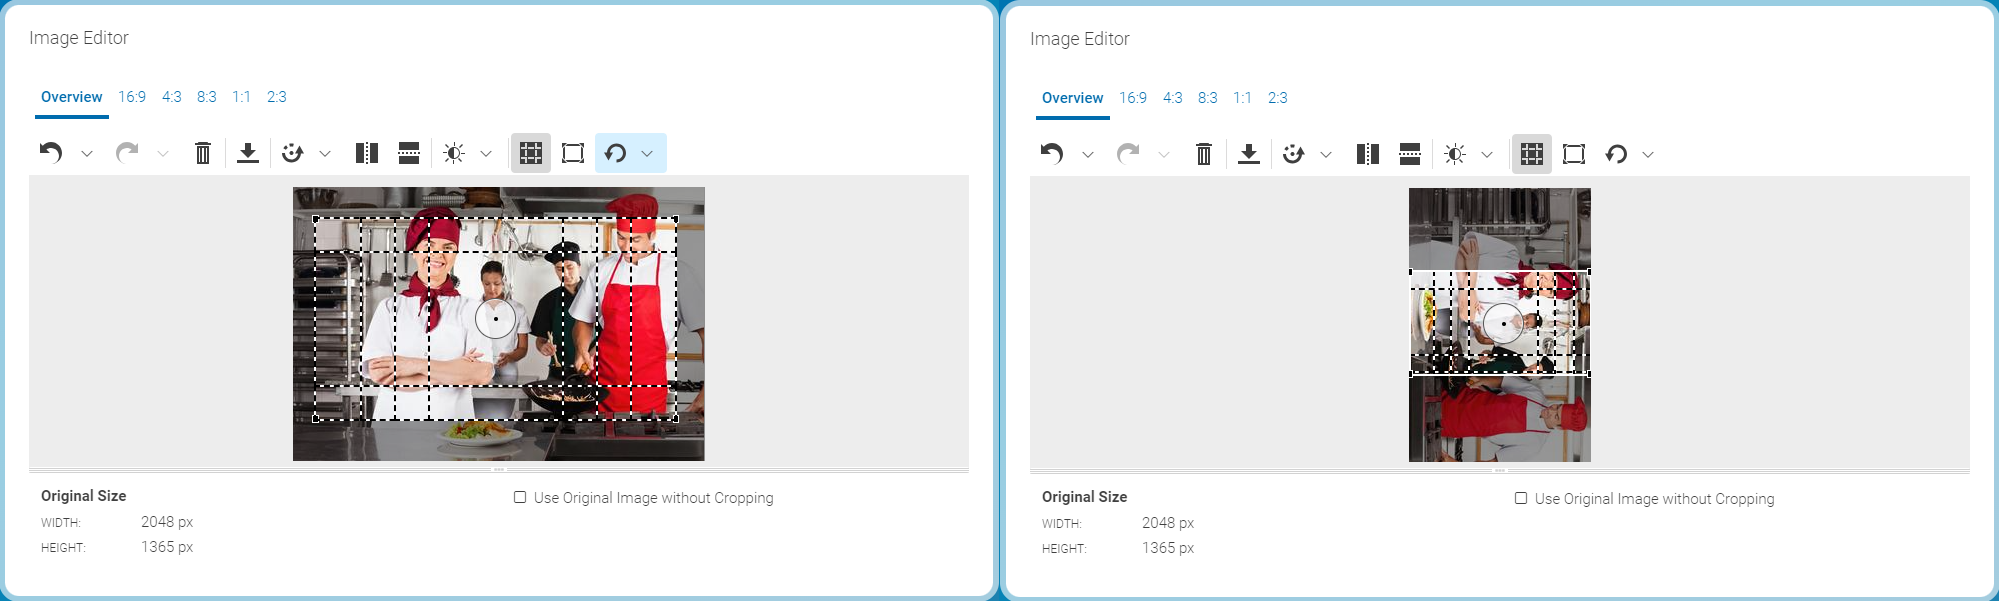
By default, all selection frames are centered around the center of the image. However, the center is not always the main point of interest in an image. So, for example, when you have a landscape image, with the main subject in the left side and you have a 1:1 crop, then the main subject might be missing in the crop. Therefore, you can move the focus point to another location. All selection frames in the common selection area of the image are rearranged in such a way, that the new focus point is as well as possible at the center of the selection frame.
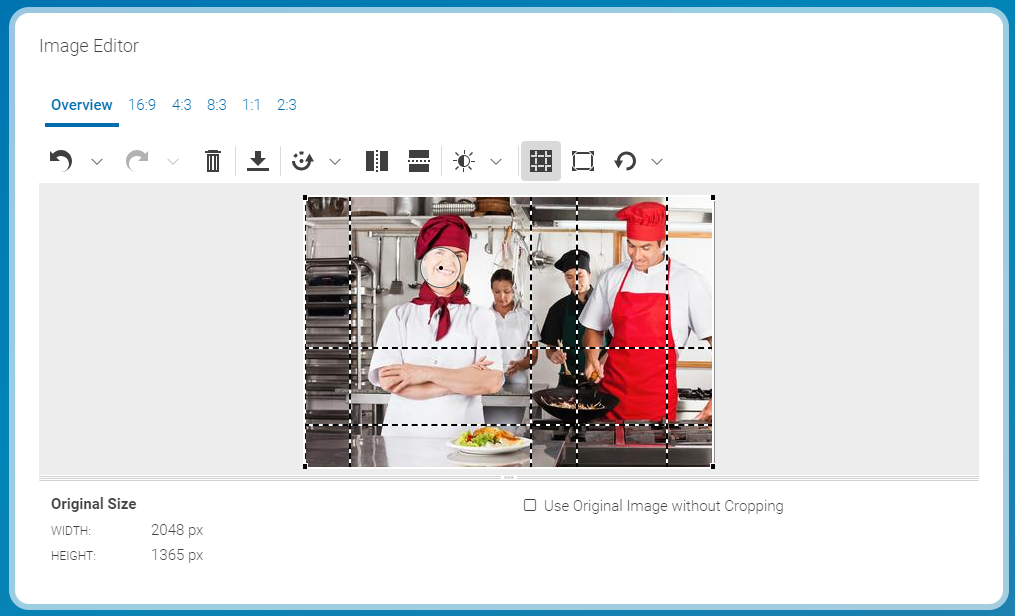
If the common selection is not suited for a crop, you can decouple the crop from the common selection and edit it separately. You can check if a crop is decoupled by the position of the selection frame in the overview or in the separate view of a crop. A decoupled frame is not rearranged when you move the focus point
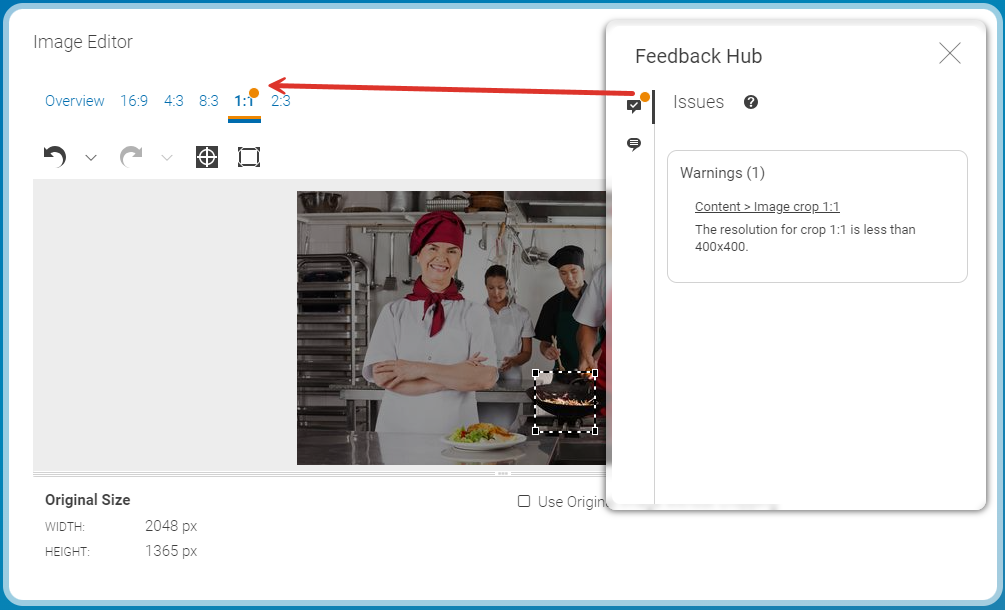
If a crop falls below the minimal width, its selection frame and label will be shown in orange and a warning message will be displayed in the list of content warnings and errors. You can still publish the content item, but you have to expect suboptimal image quality.
Cropping Images
CoreMedia Studio comes with different crops for an image. The size, aspect ratio and number of these crops has been defined by your project team while your CoreMedia system was implemented. Of course, these default setting can be changed, you should ask the person in charge for the CoreMedia system for support.
You can change the position and size - but not the ratio - of the crops.
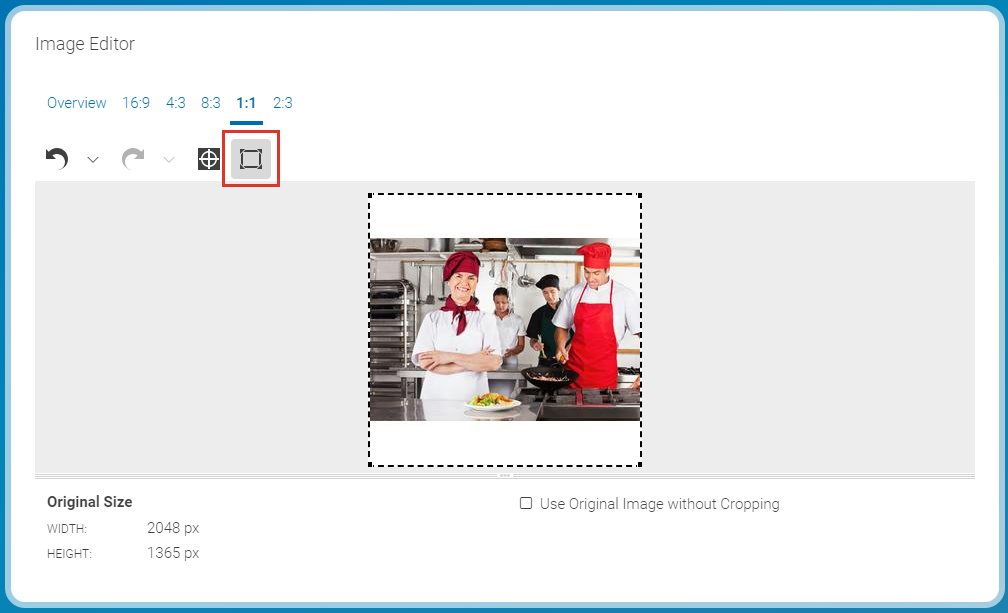
When images are enlarged, the missing parts are filled with white color by default. This should be sufficient in most cases. However, you can define your own color.
Defining the background color
In order to change the background color used for the empty space of an image fitted to a crop, proceed as follows:
Open the System tab of the image and there the Local Settings field.
Add a String property named background to the Struct property coloring. If the property coloring does not exist, create it.
Add the background color as four hexadecimal byte values, for example FF00FF00, to the background property. The first byte denotes the transparency (alpha channel) while the remaining three specify the red, green and blue color values, respectively
Defining the common focus point
By default, all crops are centered around the center of the common selection area. However, you can move the focus point and Studio tries to center all selection frames around the focus point. The size of the selection frames does not change. Therefore, the selection frames will mostly not exactly center around the new focus point.
When you move or resize the common selection frame, then the focus point stays at its position until the common selection frame touches the focus point. When you proceed, the focus point follows the movement of the common selection frame.
In order to change the focus point simply move the focus icon to the new position.

or
Choose the respective frame in the preview.
Right click on that image in the preview.
The selection frame is now shown without the other frames. Only the square icon indicates the center of the common cropping area.
Flipping images
You can simply flip images at the horizontal or vertical axis with CoreMedia Studio. Keep in mind that always the whole picture is flipped. So, you cannot flip different crops of an image separately. The selection frames are also flipped, so that afterwards the same content is selected.
Rotating images
You can either rotate images in CoreMedia Studio in 90° steps to the left and to the right or continuously align the position. Keep in mind that always the whole picture is rotated. So, you cannot rotate different crops of an image separately. However, CoreMedia Studio tries to keep the relative position of a selection frame with respect to the image. This can lead to an adapted size of the selection frames.
Aligning images
In order to align a tilted horizon, for example, you can infinitely align an image in a given range. When you align the image, there would inevitably be corners with no content, therefore the image is zoomed in to avoid this. This adjustment keeps the aspect ratio of the selection frames, therefore the frames are not changed.
Select the Rotate menu and use the Straighten slider to align the image.
Rotating images with 90° steps
Select the Rotate menu and click the Rotate left icon for a rotation to the left and the Rotate right icon for a rotation to the right. Click the Reset link to recreate the original position. Keep in mind, that the reset will not reset the original size and position of the selection frames.
Revert changes
If you want to recover the original orientation of the image, simply click the [Reset] button.
Changing Exposure
CoreMedia Studio lets you adjust the exposure of an image to improve the quality.
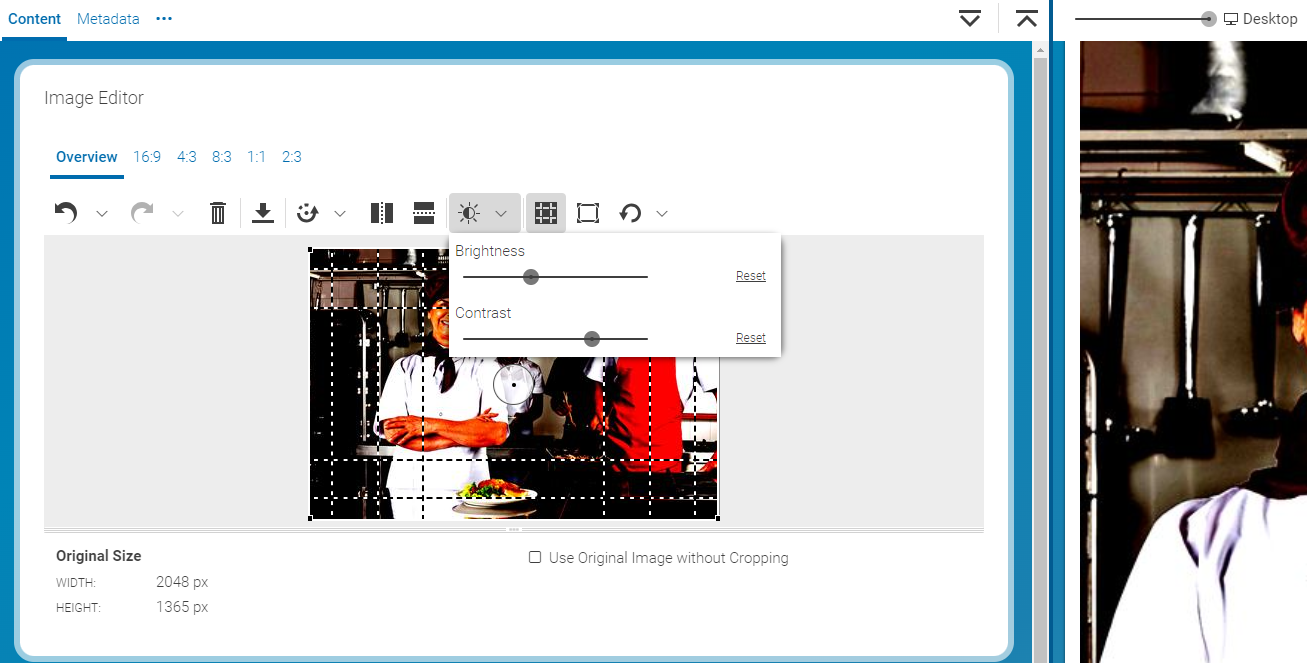
Adjusting Brightness
Click the Change Exposure icon.
Adjust the brightness with the Brightness slider to your needs.
Upon letting go of the slider, you will see the changed brightness immediately in the form and with a slight delay in the Preview. Using the [Reset] button, you can restore the initial brightness of your image.
Adjusting Contrast
Click the Change Exposure icon.
Adjust the contrast with the Contrast slider to your needs.
Upon letting go of the slider, you will see the changed contrast immediately in the form and with a slight delay in the Preview. Using the [Reset] button, you can restore the initial contrast of your image.
Reverting Changes
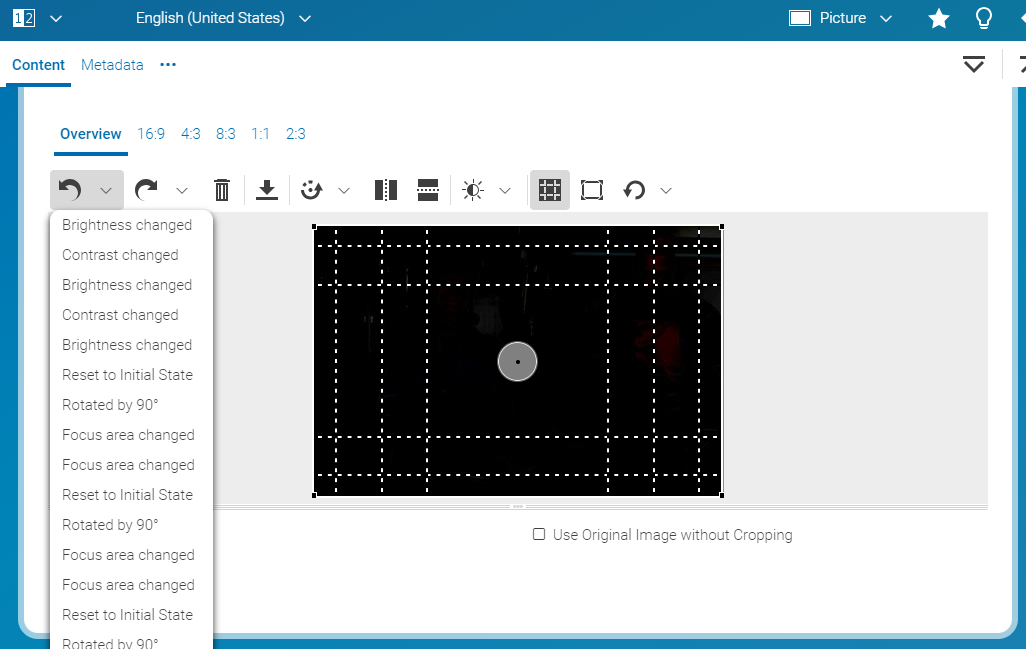
In CoreMedia Studio, you can undo a specific number of processing steps or redo steps you have previously undone. You can also undo all steps at once.