Studio User Manual / Version 2310
Table Of ContentsYou can insert and edit tables in a rich text field.
You can make use of the following functions:
Creating and deleting tables. You can even insert tables in tables.
Inserting and deleting rows and columns
Merge and split table cells
Creating a table
Position the cursor at the location where you want to insert a table. You can even insert a table inside a table.
Click the Create table icon (1).
A window (2) opens in which you can specify the size of the table.
Hover with the cursor over the window to select the size of the table. Click-left with the mouse in order to create the table.
The table now appears in your rich text field.
Deleting a table
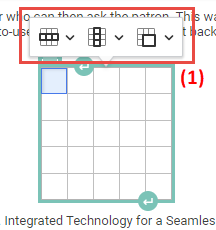
Hover over the table and click into the small square (1). The table is now selected.
Press Del on your keyboard.
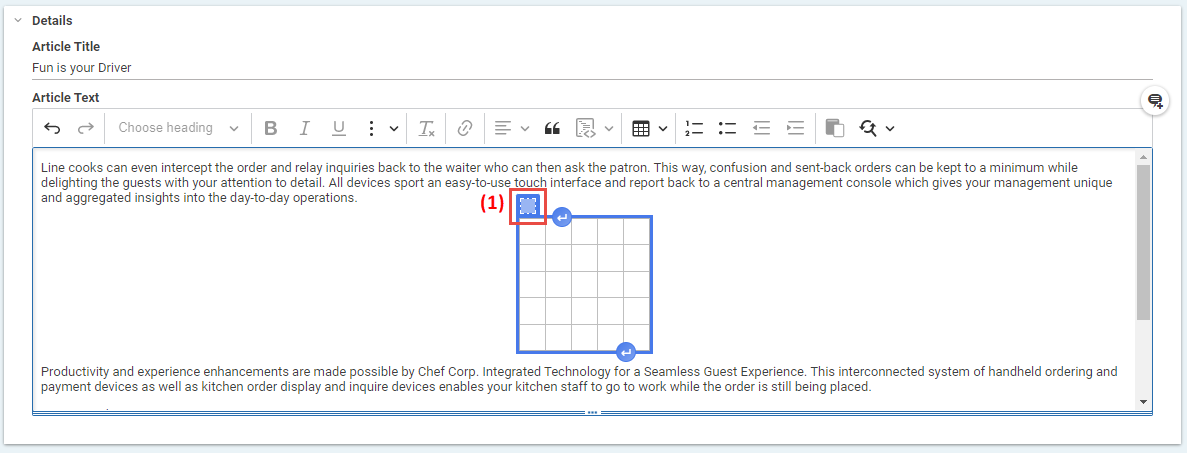
The table and its contents are deleted without further confirmation but you can restore the table with undo.
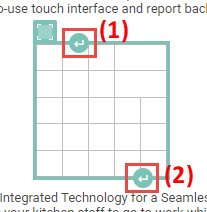
Inserting Paragraphs before and after table
You can simply add paragraphs before or after the table in the rich text field:
Hover over the table and click either the arrow (1) in order to insert a paragraph before the table or the arrow (2) in order to insert a paragraph after the table.
Editing rows and columns
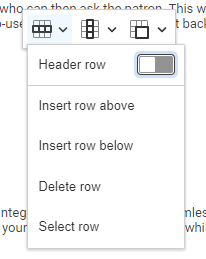
Click into the cell in your chosen column or row. The contextual toolbar (1) appears.
Click the
 icon in order to edit columns or the
  icon in order to edit rows.
From the menu, select the operation you want to perform. When you select or and you are not in the uppermost row or in the far left column all rows or columns up to your current position will be marked as header.
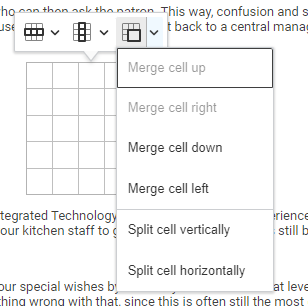
Merging and Splitting Cells
You can merge table cells and split table cells either per row or column or you can merge selected cells.
Merging Selected Cells
Hold the left mouse button and select the cells you want to merge. Release the button.
From the contextual toolbar select the
 icon. The cells are now merged.